
Last updated November 18, 2026
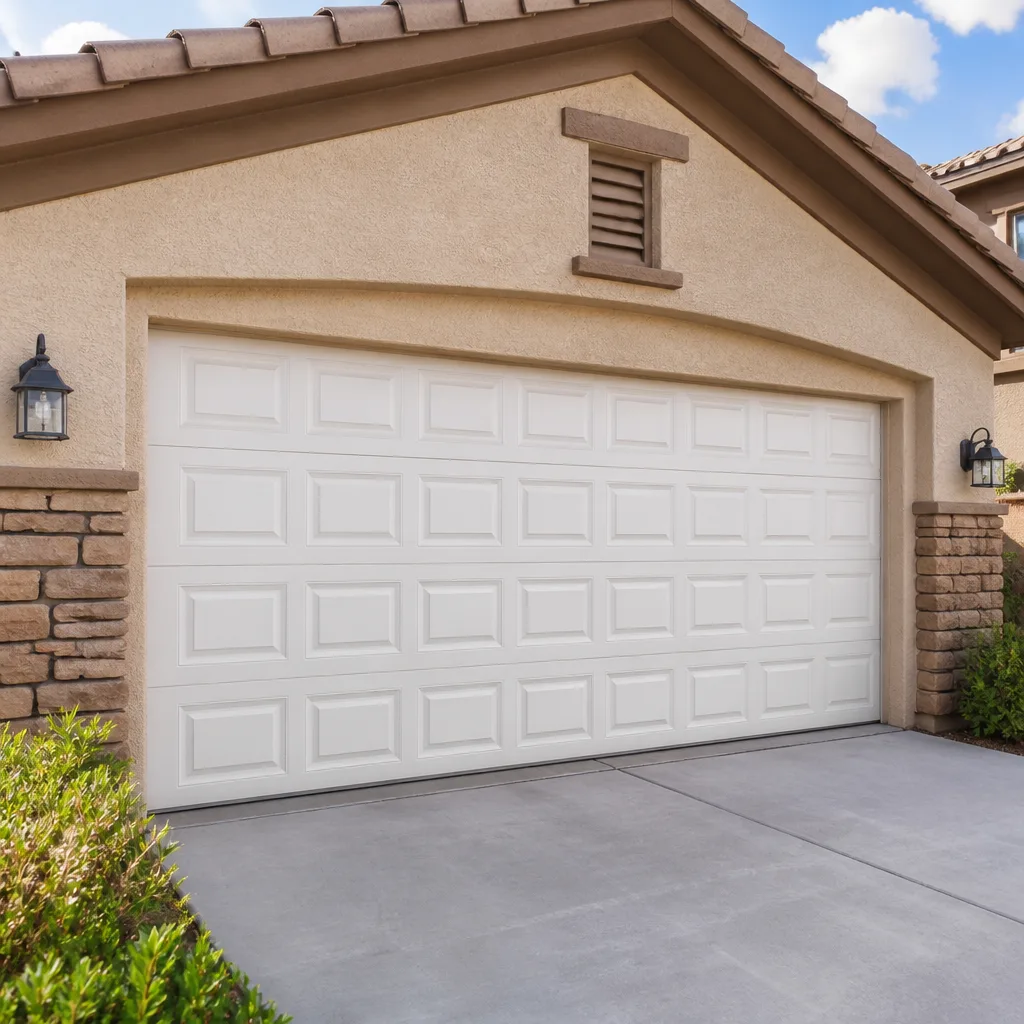 Raised-panel steel
 Carriage house
 Modern flush
 Full-view glass
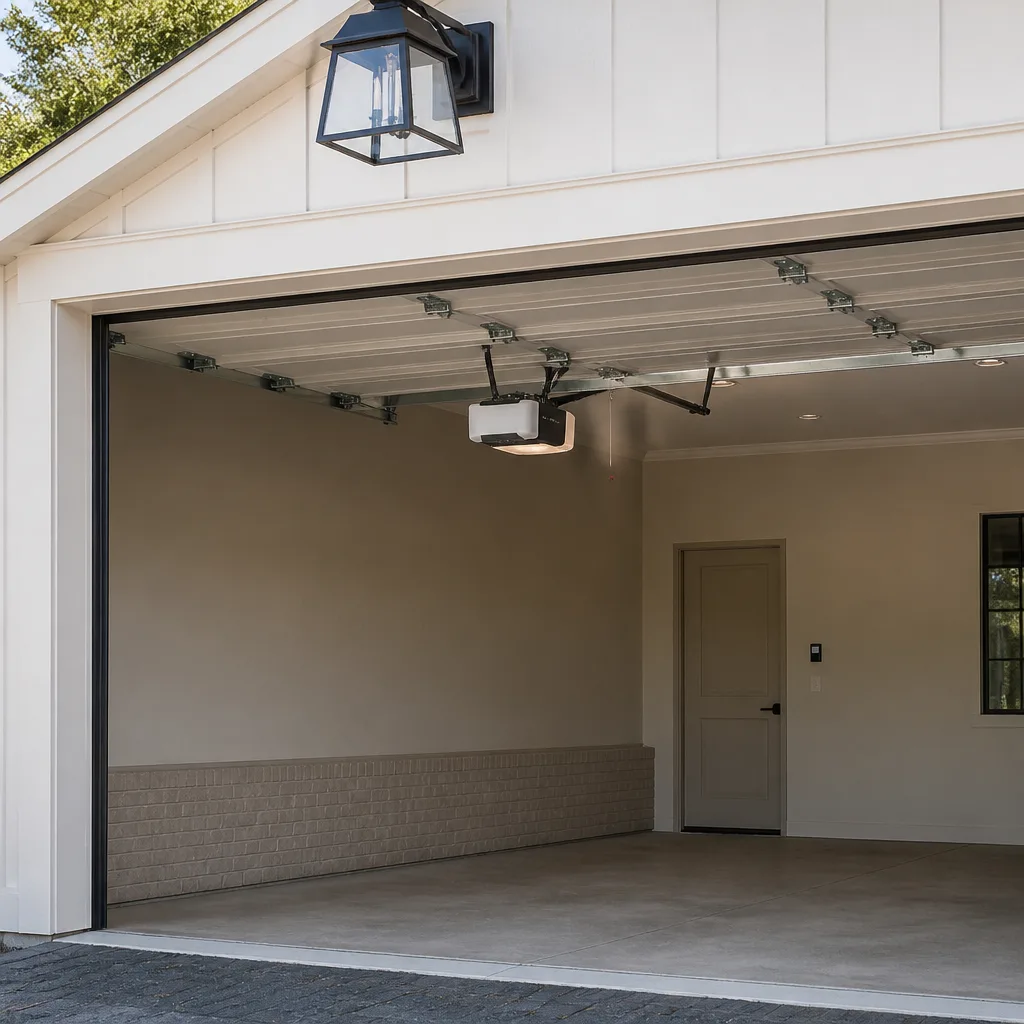 LiftMaster openers
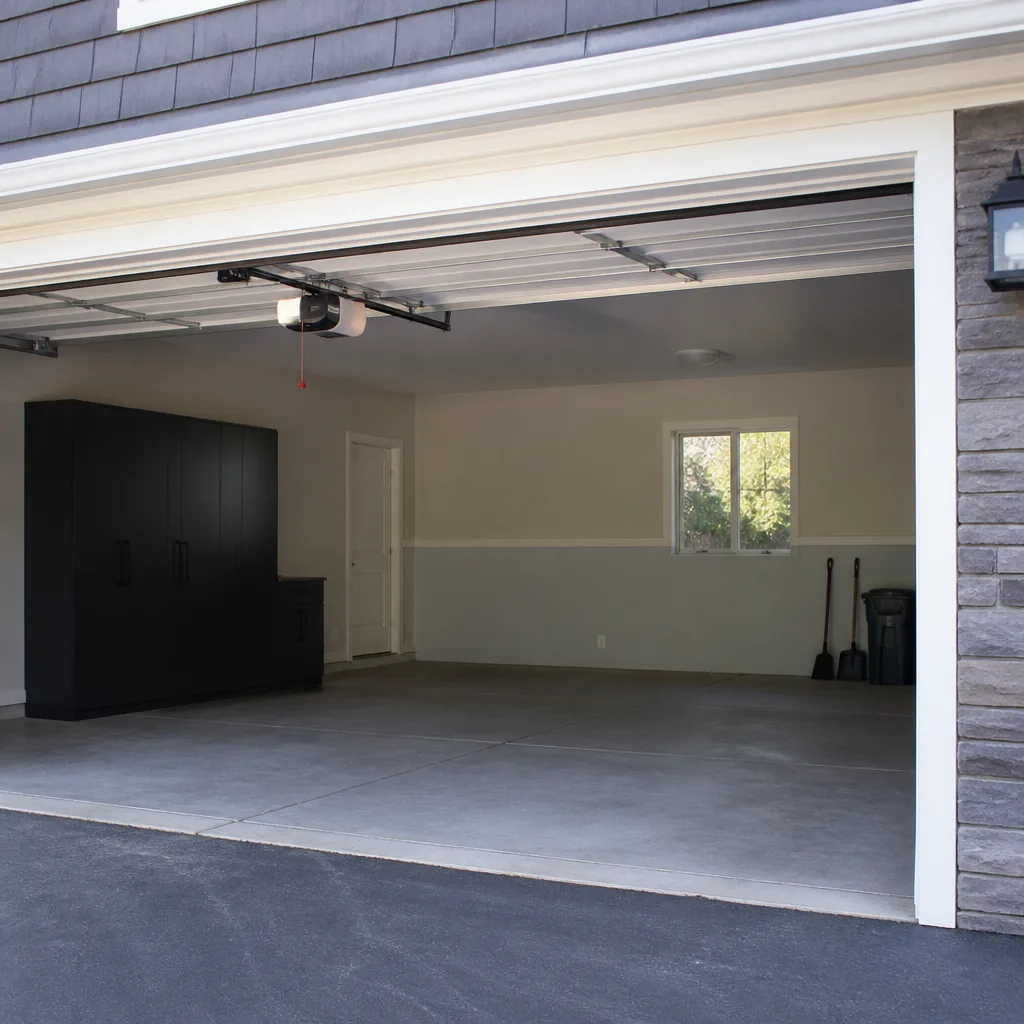 Chamberlain openers
Full 25-point door and opener safety check with every visit - springs, cables, rollers, tracks, and your LiftMaster or Chamberlain opener included
You get a price before we start. It does not change when the pro arrives.
Get your free estimateGarage Door Installation Maintenance Schedule: What to Do and When
New torsion springs lose measurable tension in the first 200 to 400 cycles as the coil sets. That’s not a defect – it’s physics. But it means a door balanced correctly at installation will be detectably out of balance within two months of normal use if no one adjusts it. Most homeowners never learn this, because the installer hands over the remotes and drives off without explaining that a new door has a break-in period. The truth is that the first 90 days after installation matter more than any other stretch of your door’s life, and what you do (or skip) in that window sets how the door performs for the next decade. This guide lays out the full installation maintenance schedule for a new door in Whitney – the 30-day check, the 60-day lubrication pass, the component log you should start on day one, and how the schedule shifts as the door ages.
Quick Answer
A new garage door needs a 30-day post-installation check (spring tension, hardware torque on lag bolts and track brackets, opener limit switch confirmation), a 60-day break-in lubrication pass with lithium grease on hinges and rollers, and then a shift to annual maintenance. From year one onward, inspection cadence is driven by component age rather than the calendar alone. A Whitney door should be inspected every 12 months, and vinyl weather seals in this climate should be checked at 18 months because the UV load here is higher than the moderate-climate intervals most manufacturers print on the box.
Styles & brands we work with
- Raised-panel steel
- Carriage house
- Modern flush
- Full-view glass
- LiftMaster openers
- Chamberlain openers
Table of Contents
- Why a New Door Needs Its Own Schedule
- The 30-Day Post-Installation Check
- Break-In Lubrication vs. Maintenance Lubrication
- Building Your Component Log on Day One
- Annual Inspection by Component Age
- Weather Seals and Whitney’s UV Exposure
- Opener-Specific Maintenance
- The Full Year-One Maintenance Calendar
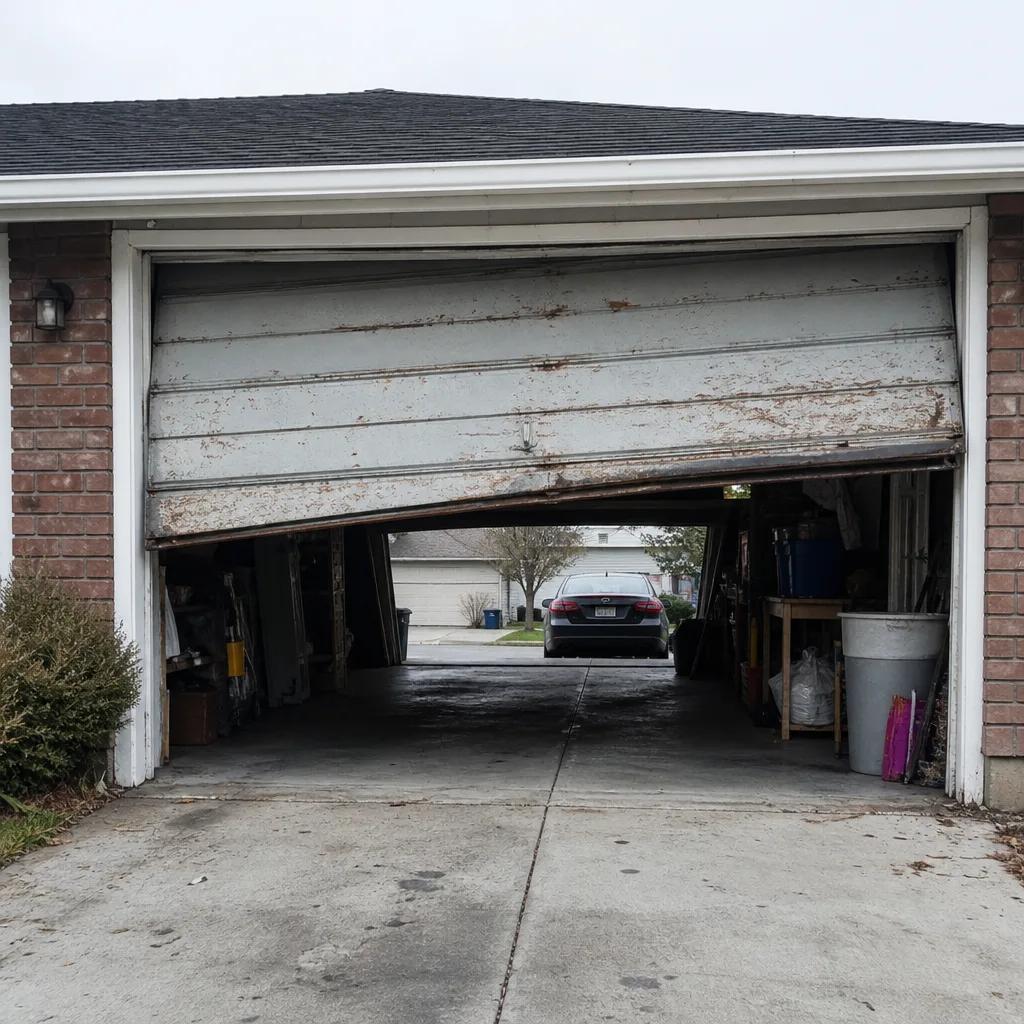 Before
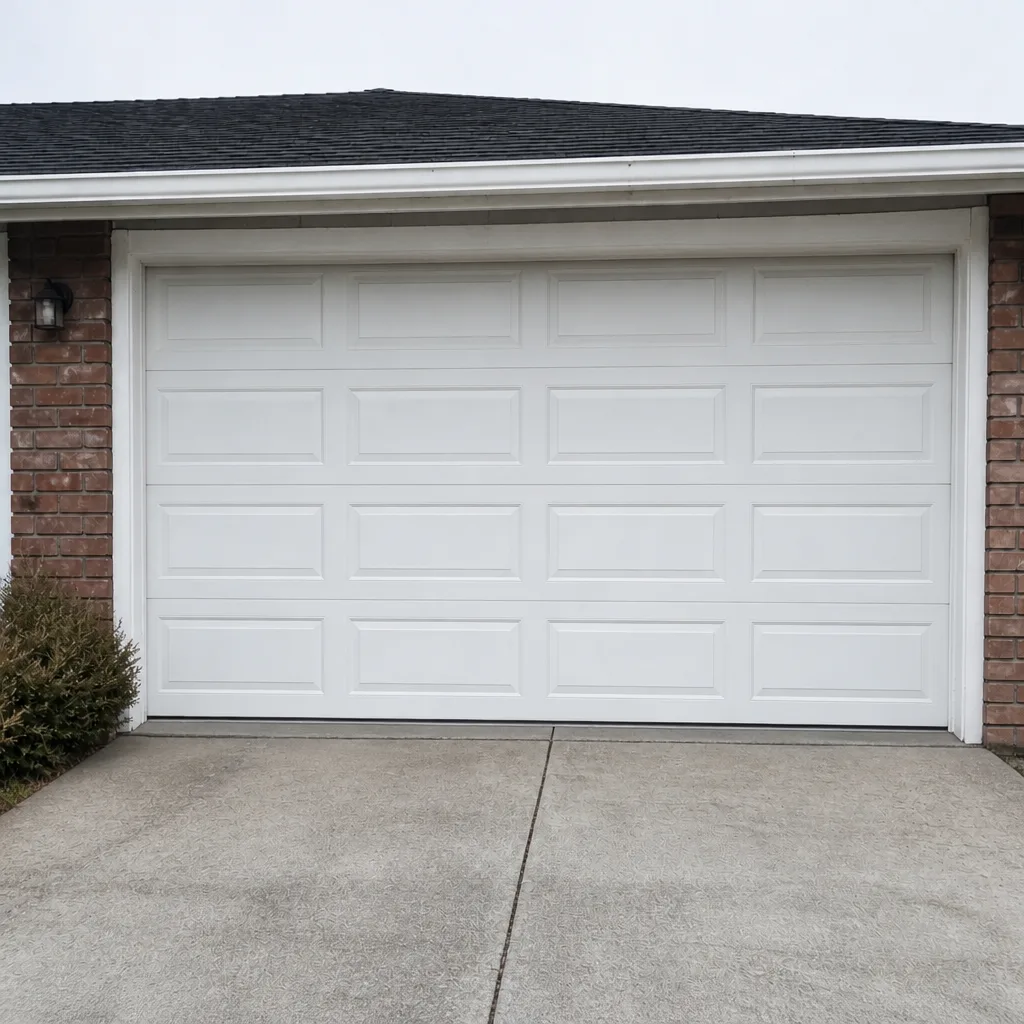 After
Why a New Door Needs Its Own Schedule
An established door and a newly installed door are not the same machine. A door that’s been hanging for five years has already been through settling: the springs have taken their set, the lag bolts have either held or walked, and the panels have moved into whatever alignment they’re going to live in. A door installed last month is still moving. The torsion spring coil is relaxing into its working shape, the cables are stretching a few millimeters under load, and the track brackets are under their first real stress as the door cycles through daily use.
That settling period is why the standard “annual inspection” advice falls short. It assumes a settled door. Whitney homes that got a new door in the last couple of years need a schedule that front-loads the checks: more attention in the first 90 days, then a shift to yearly maintenance once the hardware has stabilized. This is the schedule a technician actually follows when they install a door here, translated for the homeowner who wants to stay ahead of it.
Our technicians have up to 11 years of experience on Whitney installations, and the pattern is consistent. Doors that get a 30-day check after install rarely surprise anyone in year three. Doors that skip it tend to show up with a complaint that starts with “it’s been getting louder for a while.”
The 30-Day Post-Installation Check
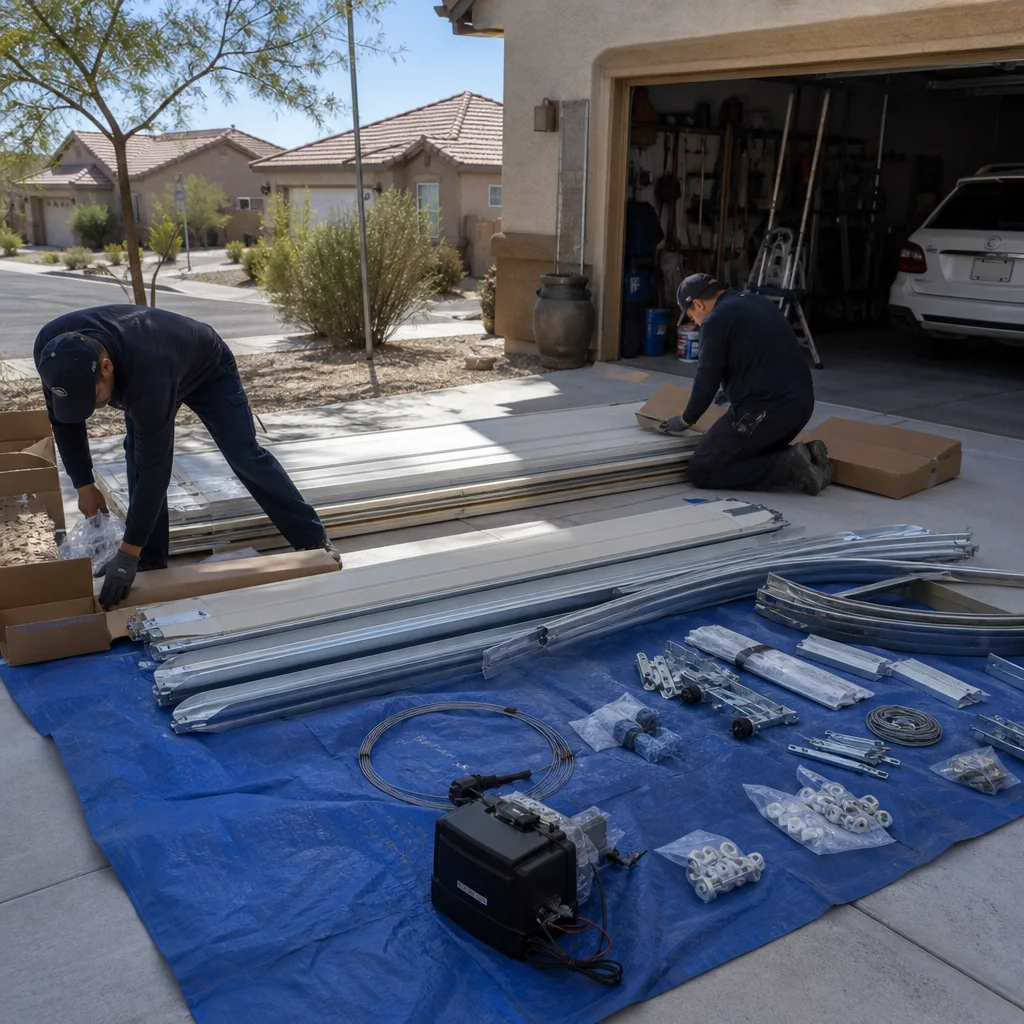
Thirty days after installation, the door has typically cycled somewhere between 60 and 150 times, depending on household use. That’s enough for the springs to take their initial set and for any loose lag bolt or track bracket to reveal itself. The 30-day check is the single most important tick on this schedule, and it’s the one almost every homeowner skips because nobody told them it existed.
Here’s what a 30-day check covers, in order:
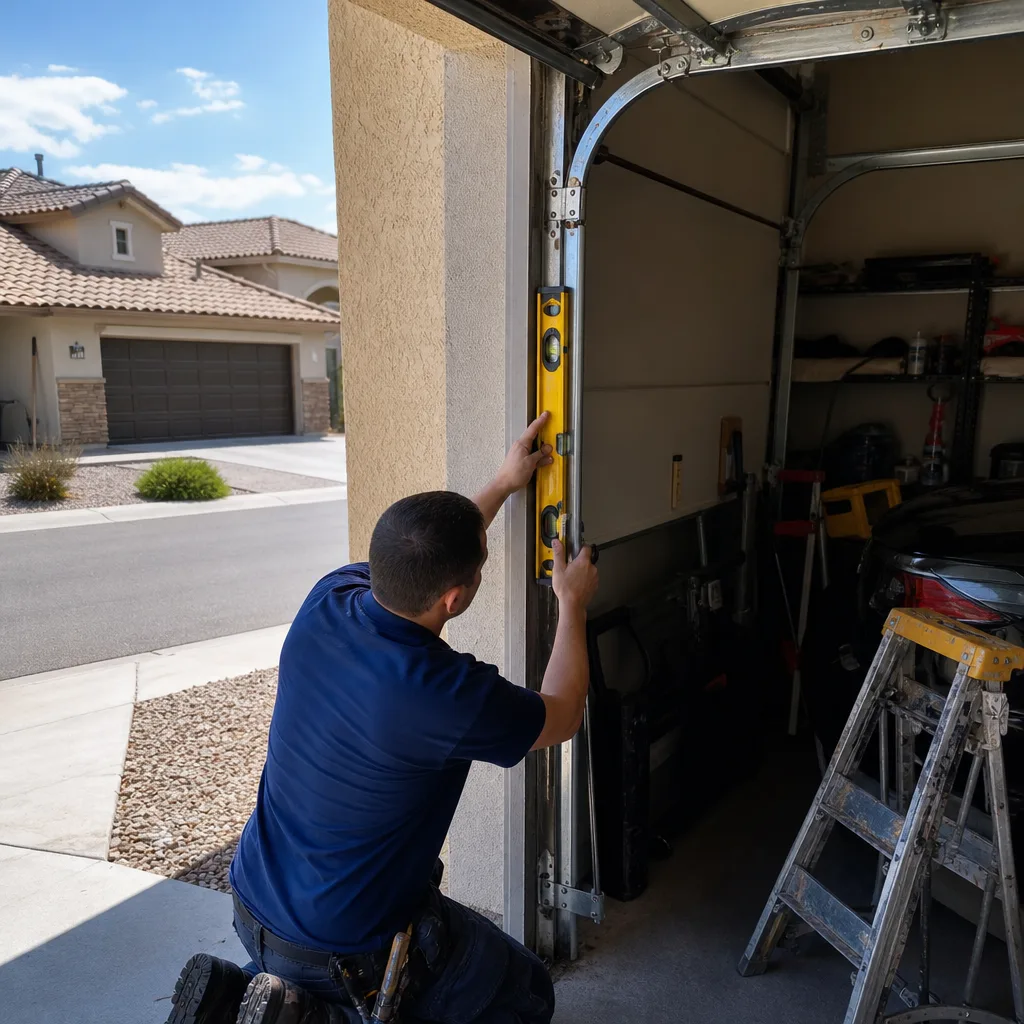
- Spring tension verification. The torsion spring is measured against its installation spec and the door is tested for balance – raising it to the halfway point and confirming it holds. If the door drifts, the spring has relaxed and the tension needs adjustment. This is not a do-it-yourself job. Torsion springs store enough energy to break a hand, and adjusting them requires winding bars and a documented setup. A trained technician handles this.
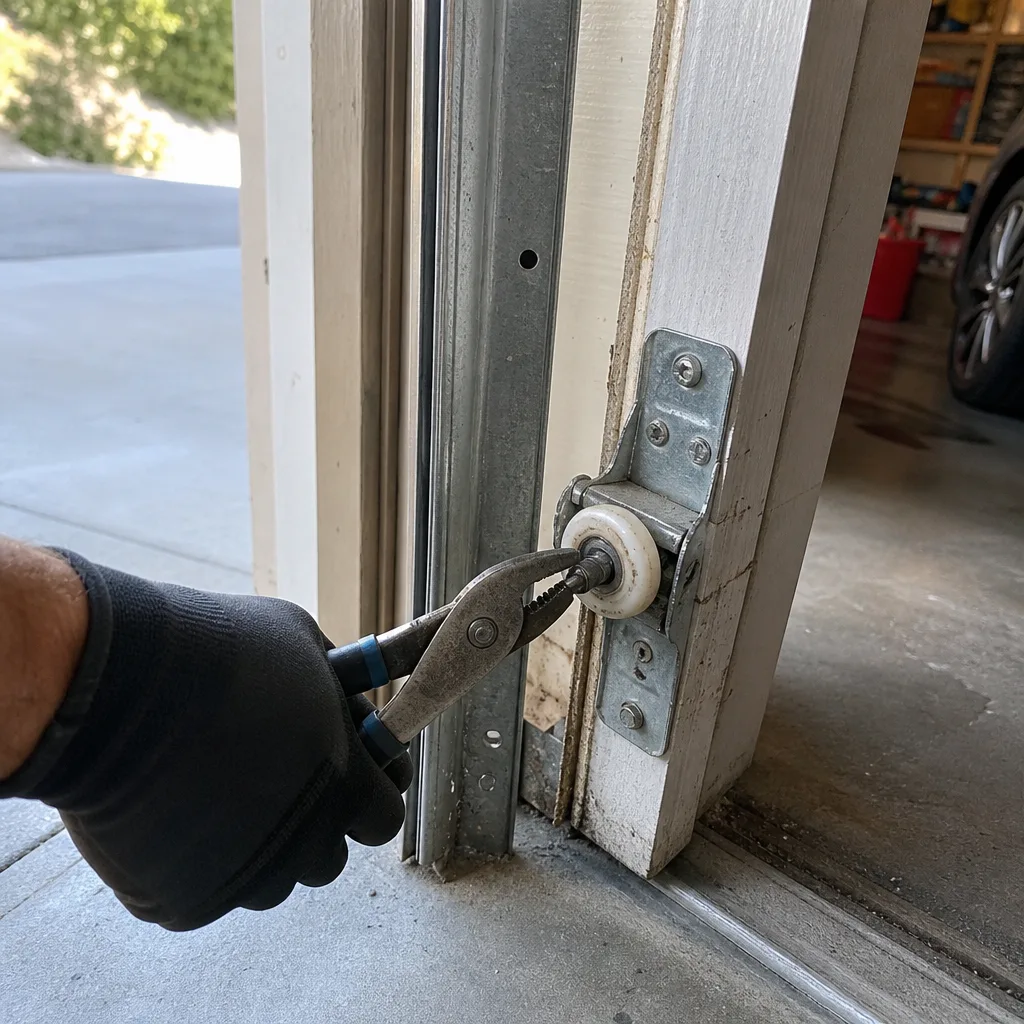
- Hardware torque check. Every lag bolt into the jamb and every track bracket gets re-torqued. The first month of cycling is when a bolt that was snug at install will back out enough to be felt.
- Track alignment. The vertical and horizontal tracks are checked for plumb and pitch after the door has settled. A track that’s a few millimeters off at install can drift further once the door has cycled.
- Limit switch confirmation. The opener’s limit switches (the components that tell the motor where to stop opening and closing) are re-confirmed after thermal cycling. In Whitney, the swing between a 100-degree summer afternoon and a 60-degree night can throw a limit switch off by an inch. That’s the difference between the door stopping flush with the floor and stopping a hand’s width above it.
If any of that sounds like more than you want to handle, that’s the correct instinct. The garage door installation in Whitney process we run ends with a scheduled 30-day follow-up for exactly this reason, and the findings come back to you as a documented photo record rather than a verbal “looks good.”
Break-In Lubrication vs. Maintenance Lubrication
New rollers and hinges should not be lubricated at installation. That’s counterintuitive, but it’s the correct sequence: the factory finish on new rollers and hinges is meant to wear in during the first two months of cycling, and adding grease on day one traps grit against the metal and accelerates wear. Break-in lubrication happens at 60 days, not at install.
The product type matters as much as the timing. Lithium grease on hinges, rollers, and the torsion spring (a light coat on the spring only), not WD-40 or a silicone spray on the moving joints. WD-40 is a solvent and water displacer, not a lubricant, and using it on hinges will dry the pins and attract dust. Silicone spray is correct for the weather seal at the bottom of the door and the vinyl beads on the sides, not the hinge pins.
The rule of thumb:
- At 60 days: first lithium grease pass on hinges, roller stems, and bearings. This is the break-in lubrication.
- Every 12 months after: repeat the grease pass as maintenance lubrication. Wipe away old grease first.
- Every 6 months: silicone spray on the bottom weather seal and side vinyl.
- Never: WD-40 on anything that pivots. Use it to loosen a rusted bolt, then wipe it off and apply grease.
Older doors with high-cycle rollers may need grease closer to every six months. A new door on a two-car garage in Whitney that opens four times a day is a lower-cycle setup, and the yearly pass is fine.
Building Your Component Log on Day One
The single most useful maintenance document you’ll own is a component log started the day the door is installed. It’s the reference that makes every future repair faster and cheaper, because the technician knows exactly what’s on the door before they walk up the driveway.
What to capture:
- Spring specifications. Wire diameter, inside diameter, and length of both torsion springs. This is stamped on the spring and also on the installation paperwork. If one breaks in year six, the replacement is specified in the log instead of measured on the spot.
- Serial numbers. The door panel set, the opener, and any accessories. LiftMaster and Chamberlain both print the serial on a sticker on the opener housing. Photograph it rather than writing it down.
- Opener model and firmware version. If your opener is a smart unit, note the model (for example, a LiftMaster 8500W or a Chamberlain B970) and the firmware version shown in the app. Firmware updates can change how the door reports obstruction, and knowing the version makes a future diagnosis faster.
- Installation date and the technician’s findings. The documented photo record from install day belongs in the log.
- Product brands and part numbers for seals and rollers. Amarr and Wayne Dalton seals spec differently at the bottom edge, and a seal that’s ordered wrong is a return trip.
Keep it in a folder in the garage or as a photo album on your phone. In Whitney, when we return to a door that has a log, the diagnostic phase drops from twenty minutes to five. That savings shows up in the price.
Annual Inspection by Component Age
Once the 30-day and 60-day checks are behind you, the door moves to an annual inspection. But a one-year-old door and a five-year-old door don’t need the same checklist. Component age drives the focus.
What a one-year-old door needs
- Balance test and spring tension confirmation
- Hardware re-torque (every lag bolt and bracket)
- Roller condition and hinge wear check
- Track plumb and pitch
- Opener limit switch, force adjustment, and safety reverse test
- Weather seal inspection (first full check at 18 months in Whitney)
What a five-year-old door adds
- Spring cycle-life assessment. A standard torsion spring is rated for roughly 10,000 cycles. At four cycles a day, that’s about seven years, so a five-year check is when the technician starts forecasting replacement rather than reacting to a break.
- Cable inspection for fraying at the drum. Cables are the second failure point after springs and are not a homeowner item – they’re under the same stored tension.
- Panel and section inspection for rust at the bottom edge, which is a Whitney concern given the summer monsoon humidity.
- Bearing plate wear.
- Opener gear and logic board health, particularly on Craftsman and Genie units that have been through several power flickers – a common Whitney experience during monsoon season.
The shift is from “check everything” at year one to “forecast what’s aging” at year five. That’s the difference between a $120 annual service and a $500 emergency repair on a Sunday night.
Weather Seals and Whitney’s UV Exposure
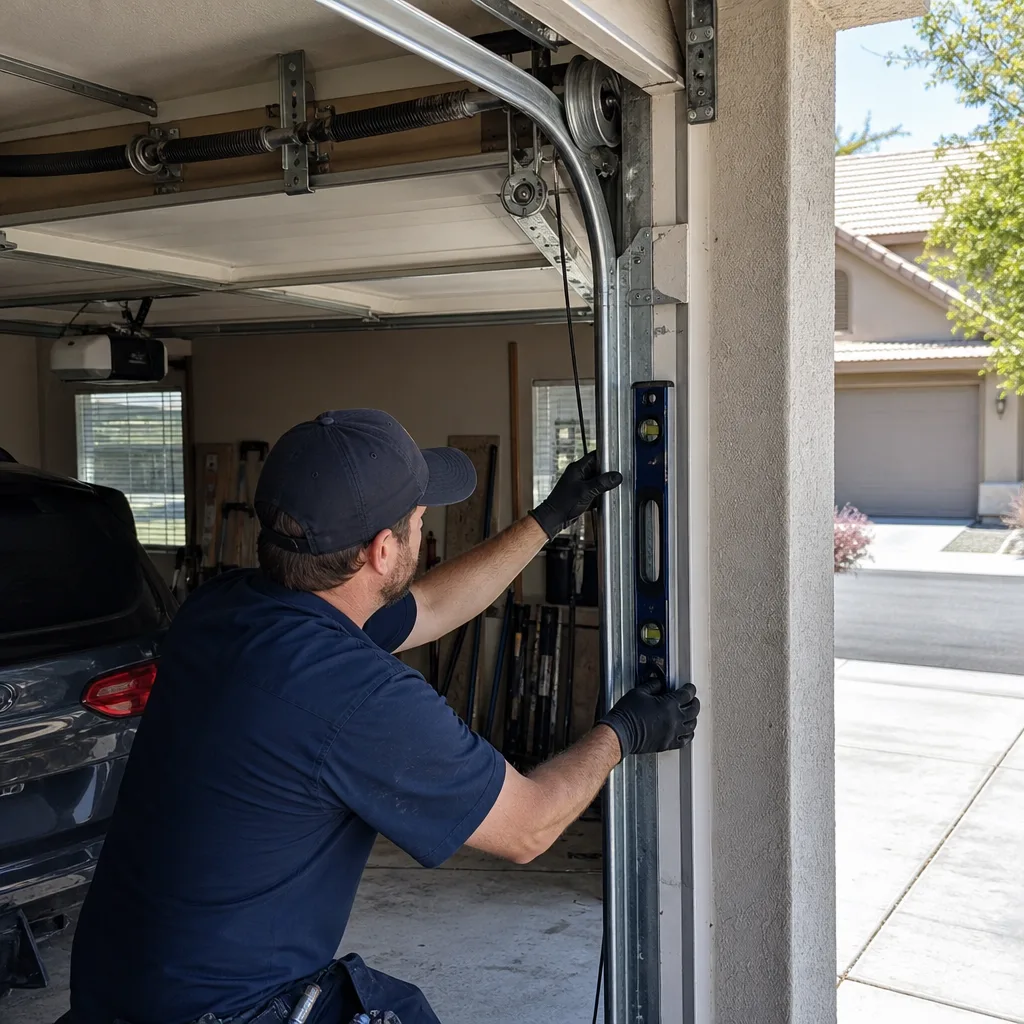
The standard manufacturer interval for inspecting a vinyl weather seal is 24 months. In Whitney, we recommend 18 months. The reason is the UV load: this corner of the Las Vegas Valley gets more than 290 sunny days a year, and the vinyl bead on the bottom seal and the side seals degrades faster here than the manufacturer’s moderate-climate spec assumes. A seal that’s still pliable in a coastal climate at 24 months will be cracked and stiff here at 18.
Why it matters beyond curb appeal: a hard, cracked seal lets in dust, hot air, and – in Whitney – the occasional scorpion or field mouse. A failed bottom seal also throws off the door’s close tolerance, which the opener reads as an obstruction and starts reversing the door at random. That symptom gets misdiagnosed as an opener problem more often than not.
Inspection at 18 months means:
- Run a hand along the bottom seal. It should flex. If it cracks or crumbles, it’s due.
- Check the side seals at the jamb for gaps and shrinkage.
- Look at the top seal where the door meets the header for daylight.
Replacement seals are cheap and the job is quick. What gets expensive is ignoring a seal for three years and finding water damage on the garage slab.
Opener-Specific Maintenance
The opener has its own maintenance track, separate from the door. New openers should be checked at 30 days for limit switch confirmation (as covered above), then annually for the following:
- Safety reverse test. Place a 2×4 flat on the floor under the door and close it. The door should reverse on contact. If it doesn’t, stop using the opener and get it serviced.
- Force adjustment check. The opener has a force setting that determines how hard it pushes before reversing. Seasonal temperature shifts can push it out of spec. This is set with a screwdriver and the manual, but confirming it annually is a technician item.
- Battery backup test. Most modern openers (LiftMaster, Chamberlain, Genie) have a battery backup. Test it yearly by unplugging the opener and cycling the door. A dead backup battery is invisible until a power outage strands the car.
- Logic board and travel module inspection. Visible scorching or a firmware version that’s several revisions behind is worth addressing before it fails.
If your opener is older or you’re seeing hesitation, grinding, or a light that flashes a fault code, the garage door opener repair & installation in Whitney page covers the common failure modes and what the code sequences mean.
The Full Year-One Maintenance Calendar
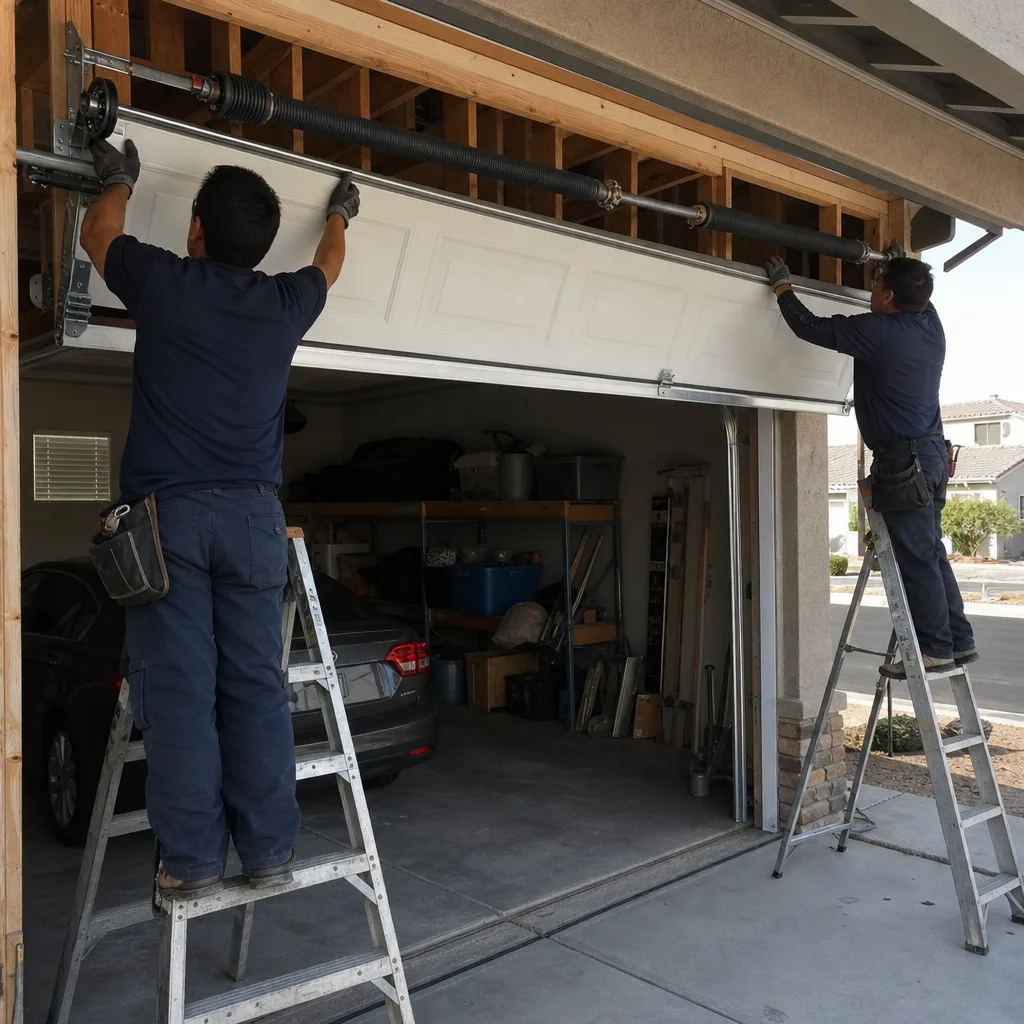
Here’s the schedule in one place, from installation forward:
- Day of installation: Start the component log. Photograph spring specs, opener serial, firmware version, and panel serials.
- Day 30: Spring tension verification, hardware torque check, track alignment, opener limit switch confirmation. This is the check to not skip.
- Day 60: Break-in lubrication with lithium grease on hinges, roller stems, and bearings. Silicone spray on the bottom seal.
- Month 6: Silicone spray on all seals. Visual check of the door’s bottom edge for rust or damage.
- Month 12: First annual inspection. Full checklist. Re-grease.
- Month 18: First full weather seal inspection – earlier than manufacturer spec, because Whitney.
- Month 24 onward: Annual inspection every 12 months, with the focus shifting from “check everything” to “forecast aging components” (springs, cables, bearings).
That’s the full cycle. Most of it is documentation and lubrication. The high-skill items – spring tension, cable inspection, anything involving the torsion system – belong to a technician. See the garage door repair in Whitney page for the failure modes that come up when the schedule gets skipped.
Common Mistakes to Avoid
- Skipping the 30-day check entirely. The single most common mistake. The hardware has not settled by day 30 and a door that was balanced perfectly at install is out of balance by day 60. Without the check, the door runs out of balance for a year.
- Lubricating on install day. Grease on brand-new rollers traps grit against the factory finish and accelerates wear. The break-in period exists for a reason. Grease at 60 days.
- Using WD-40 as a lubricant. It’s a solvent and water displacer, not a lubricant. Hinge pins dry out and start to squeal within weeks.
- Waiting for the seal to fail before replacing it. Whitney’s UV load cracks vinyl seals at 18 months. Replacing a seal before it fails costs a fraction of replacing the slab it protects.
- Not building a component log. Without the spring spec and serial numbers, every repair starts with a measurement and a guess. With them, it starts with a specified part number.
- Adjusting torsion springs yourself. The stored energy in a wound torsion spring is enough to break bone. This is not a homeowner item, and any video that tells you otherwise is a hazard.
- Treating an overnight temperature swing as a door problem. A Whitney summer can go from 100 degrees to 60 overnight. A limit switch that was set in the afternoon can be off by an inch by morning. That’s normal – it just needs a limit switch re-confirm.
See the difference
BeforeAfter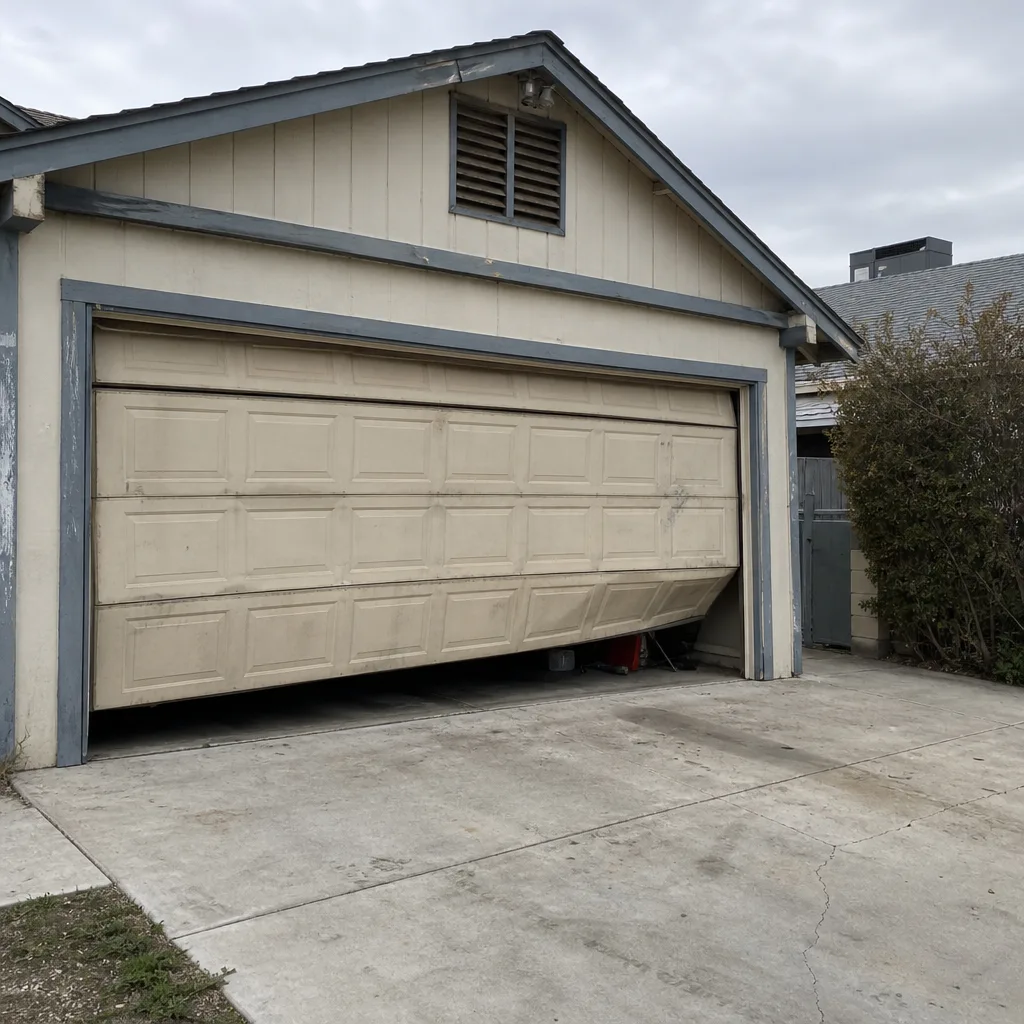 Before
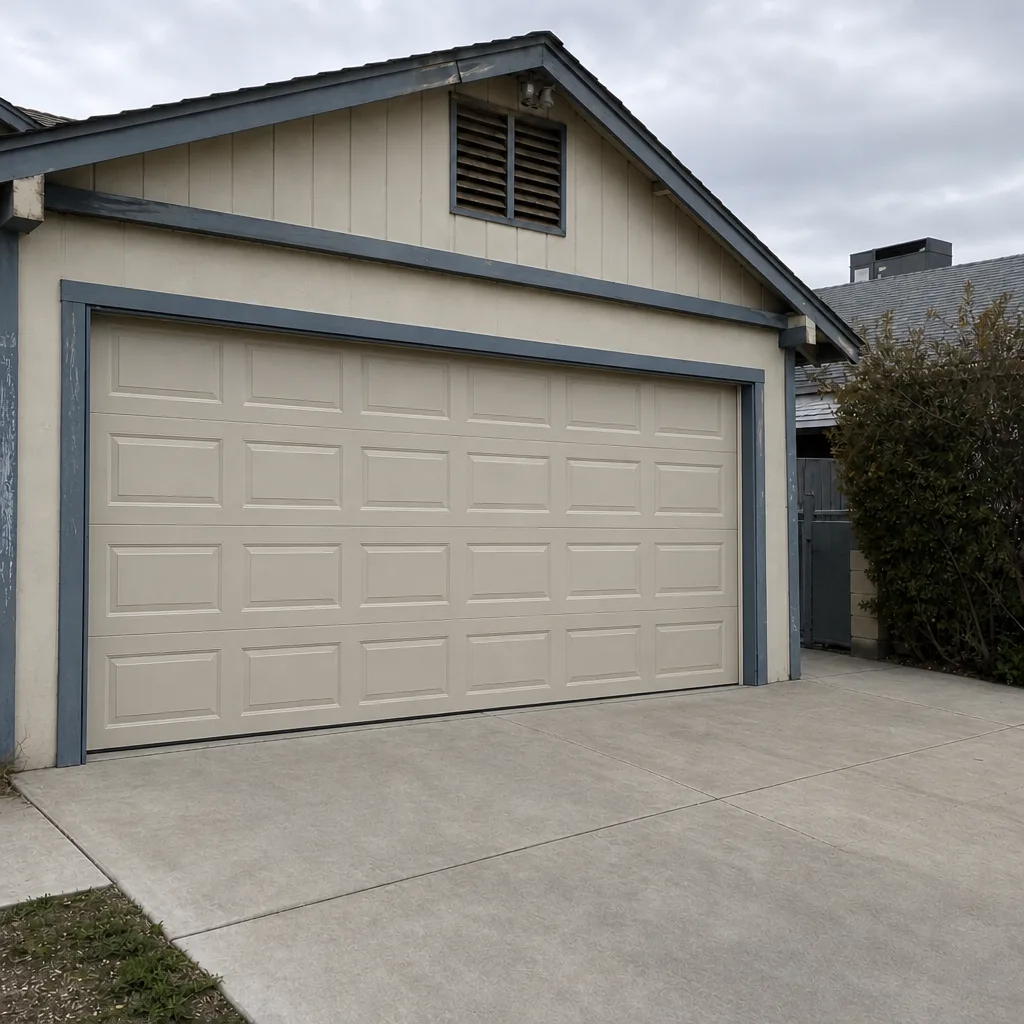 After
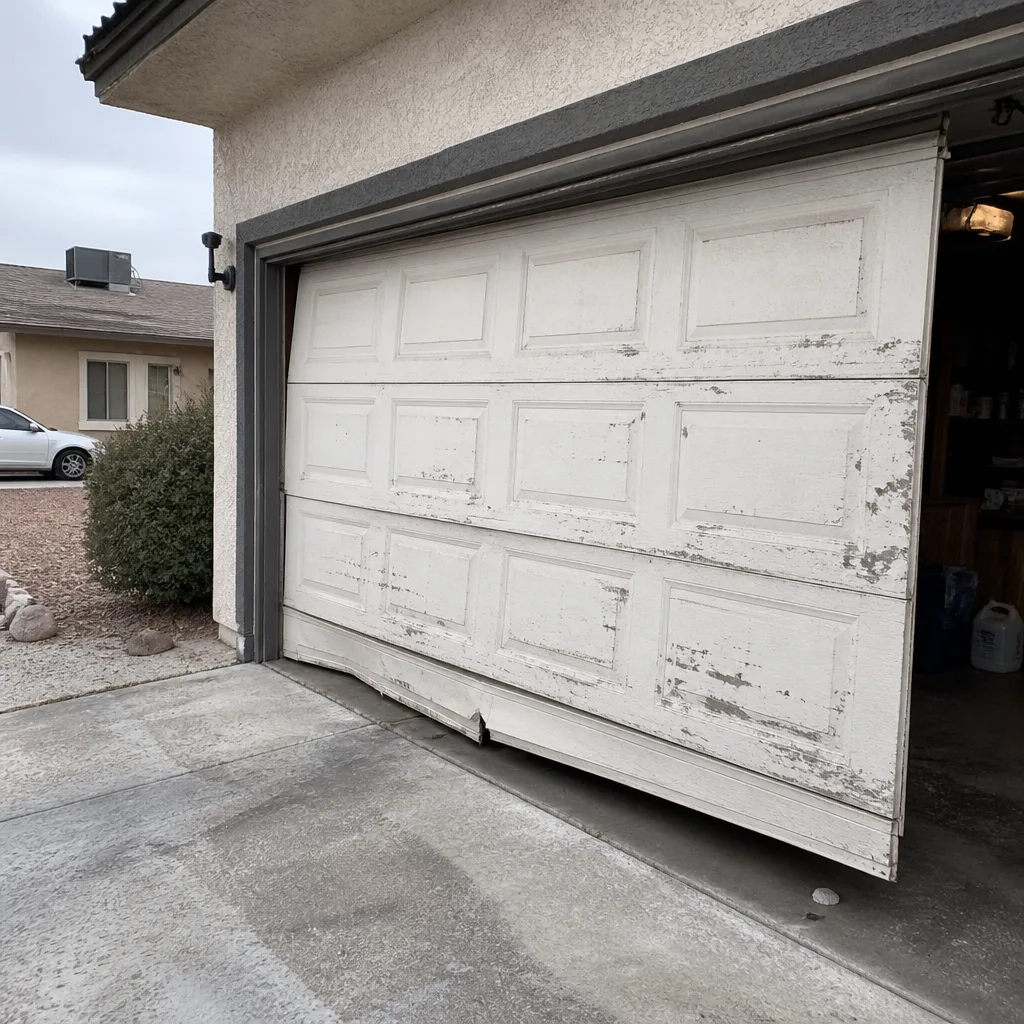 Before
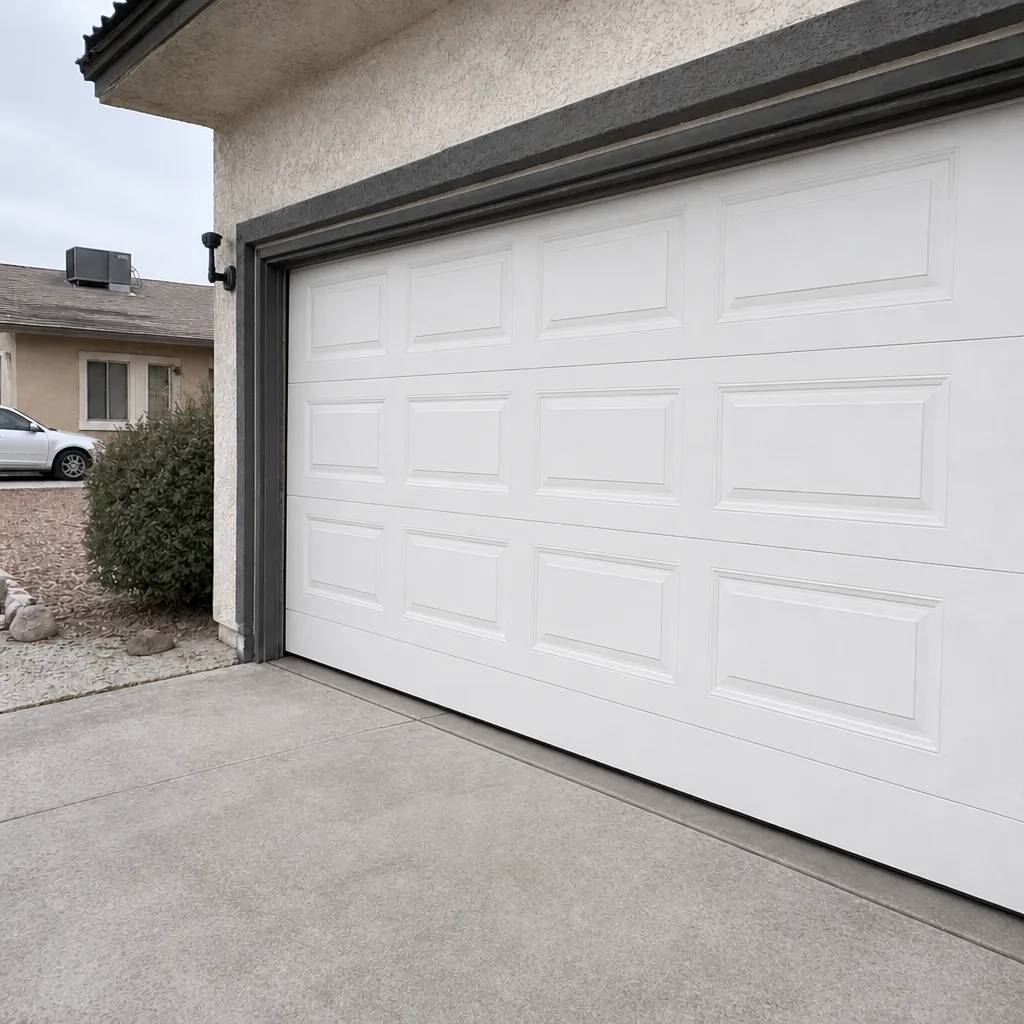 After
When to Call a Professional
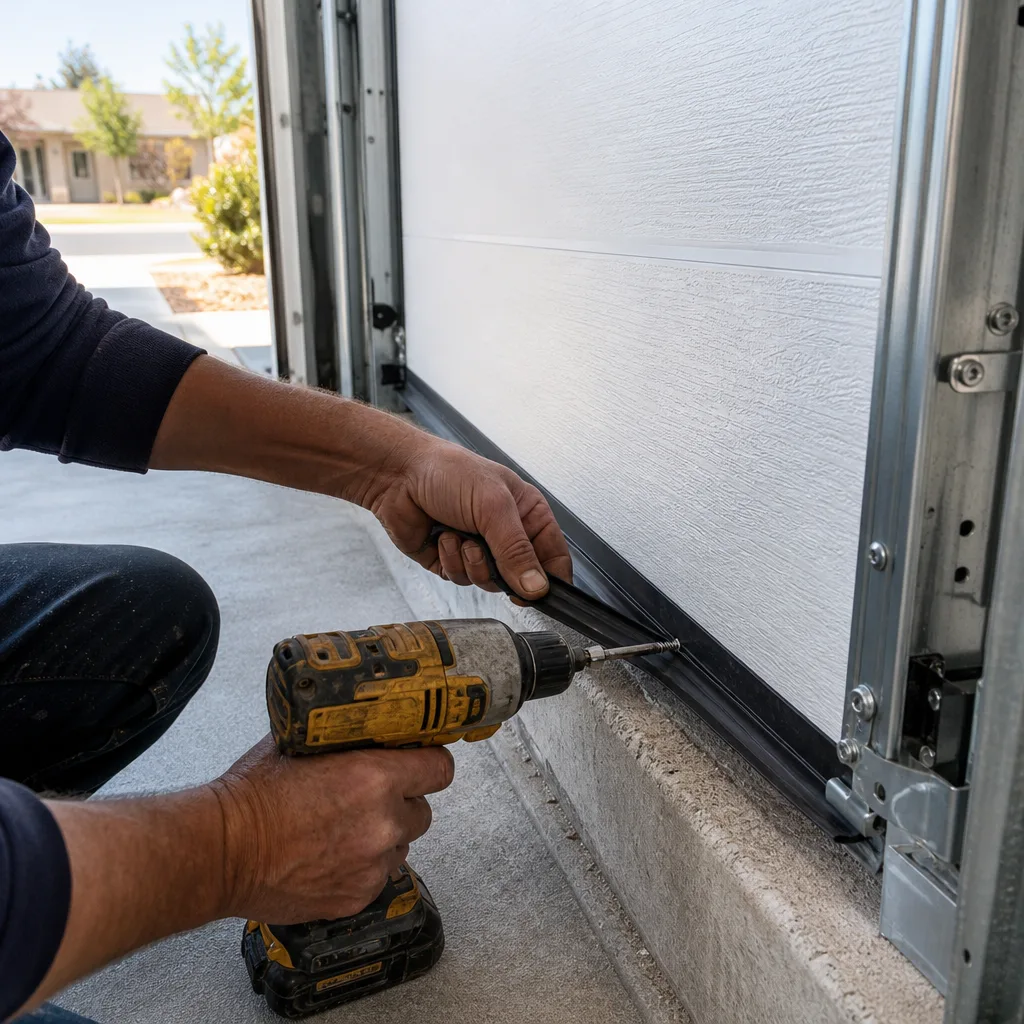
Call a professional for anything involving the torsion spring, the cables, or the balance of the door. Those are the components that carry the door’s weight and the stored energy, and they are not homeowner items. Also call if you hear grinding during the cycle, if the door reverses at random, if the opener light flashes a code sequence, or if the door has started to close unevenly. For a new door in Whitney, the 30-day check and any spring adjustment are the jobs that benefit most from a trained eye – a technician can feel a door that’s a half-ounce out of balance, and it’s the difference between a repair and a replacement later. Servo Garage Doors Whitney offers free estimates in Whitney – call (888) 402-1096. Our price is written and agreed before any work starts, and every visit ends with a documented photo record of what we found and what we did.
Frequently Asked Questions
Thirty days after installation, for the first post-install check. That’s enough time for the springs to take their set and for any lag bolt or track bracket to reveal itself. A second check at 60 days for the break-in lubrication pass, then the annual inspection cadence from month 12.
Because a wound torsion spring relaxes a few percent as the coil sets during the first 200 to 400 cycles. It’s normal and it’s not a defect. The fix is a spring tension adjustment at the 30-day check, which is a technician item because of the stored energy in the spring.
No. WD-40 is a solvent and water displacer, not a lubricant. It will dry the hinge pins and attract dust, and you’ll get squealing within weeks. Use lithium grease on hinges, roller stems, and bearings, and reserve silicone spray for the weather seals.
Inspect them at 18 months, replace when they crack or lose flex. That interval is shorter than the 24-month manufacturer spec because Whitney’s UV load (over 290 sunny days a year) degrades vinyl faster than the moderate-climate reference.
Yes, usually. A door that’s been out of balance for a year often needs a spring adjustment plus a hardware re-torque plus an opener limit switch re-confirm, where the 30-day check catches all of that in one visit. The written price on a service visit is agreed before the technician starts, and a free second opinion is available on any competing written estimate.
Spring specifications (wire diameter, inside diameter, length), door and opener serial numbers, opener model and firmware version, the installation date, the installer’s documented findings, and part numbers for seals and rollers. Photographs are better than handwriting. The log makes future repairs specified instead of measured.
The Bottom Line
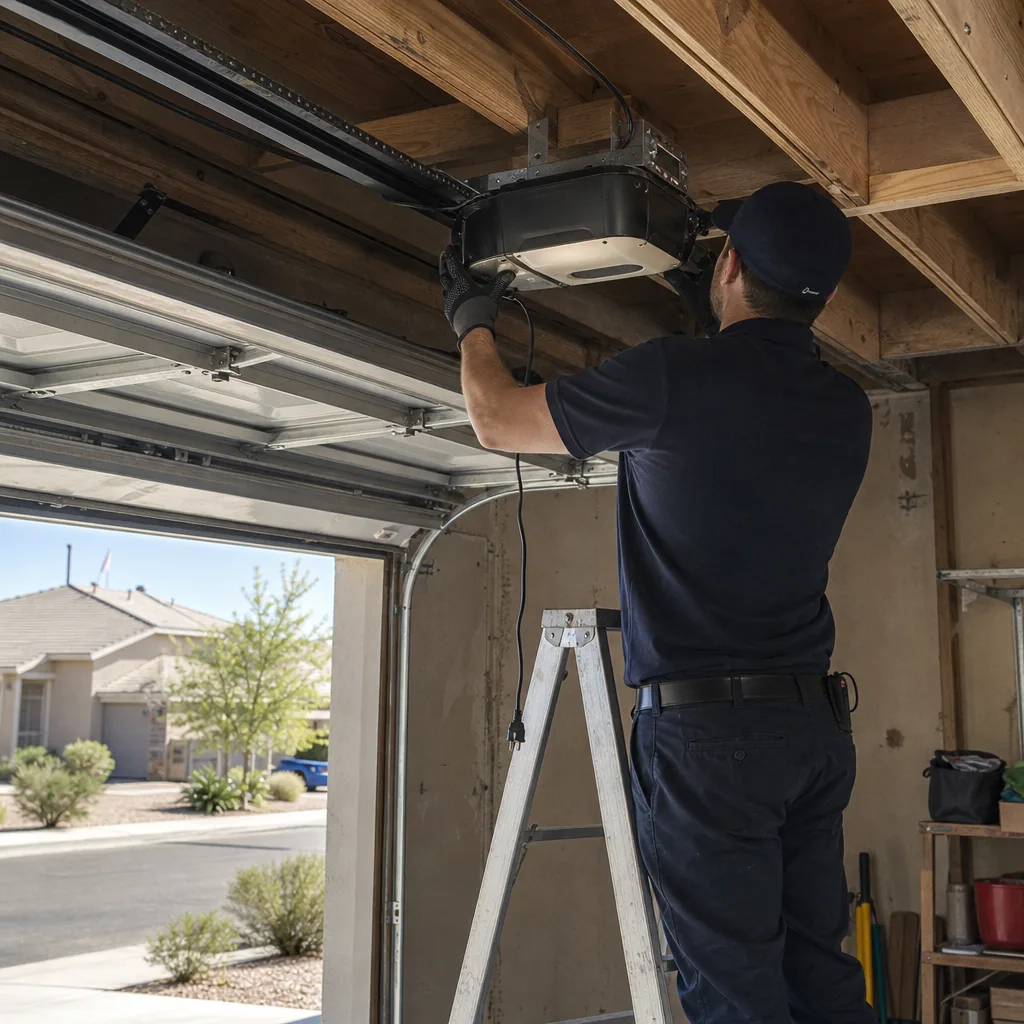
A new garage door is not a set-and-forget machine. The first 90 days are the most consequential stretch of its life: a 30-day check catches the settling that physics guarantees, and a 60-day break-in lubrication pass with the right product (lithium grease, not WD-40) sets the door up for years of quiet cycling. Start a component log on day one, inspect the weather seals at 18 months instead of 24 because Whitney’s UV load demands it, and shift to an annual inspection with a spring forecast at year five. Everything involving the torsion spring, the cables, or a balance adjustment belongs to a technician. The rest is documentation and grease.
If you want the schedule run correctly on a door we installed – or a second opinion on the one you have – Servo Garage Doors Whitney is reachable at (888) 402-1096 for a free estimate. You’ll get a flat, written price and a written scope before any work starts, the technician’s findings photographed before anything is quoted or replaced, and a 365-Day Done Right Promise backing the work. We service every major brand, including Amarr and Wayne Dalton doors and LiftMaster and Genie openers, and a live person answers the phone at any hour. Explore our Servo Garage Doors Whitney home page for the full range of what we do.
Written by the team at Servo Garage Doors Whitney.