
Last updated November 18, 2026
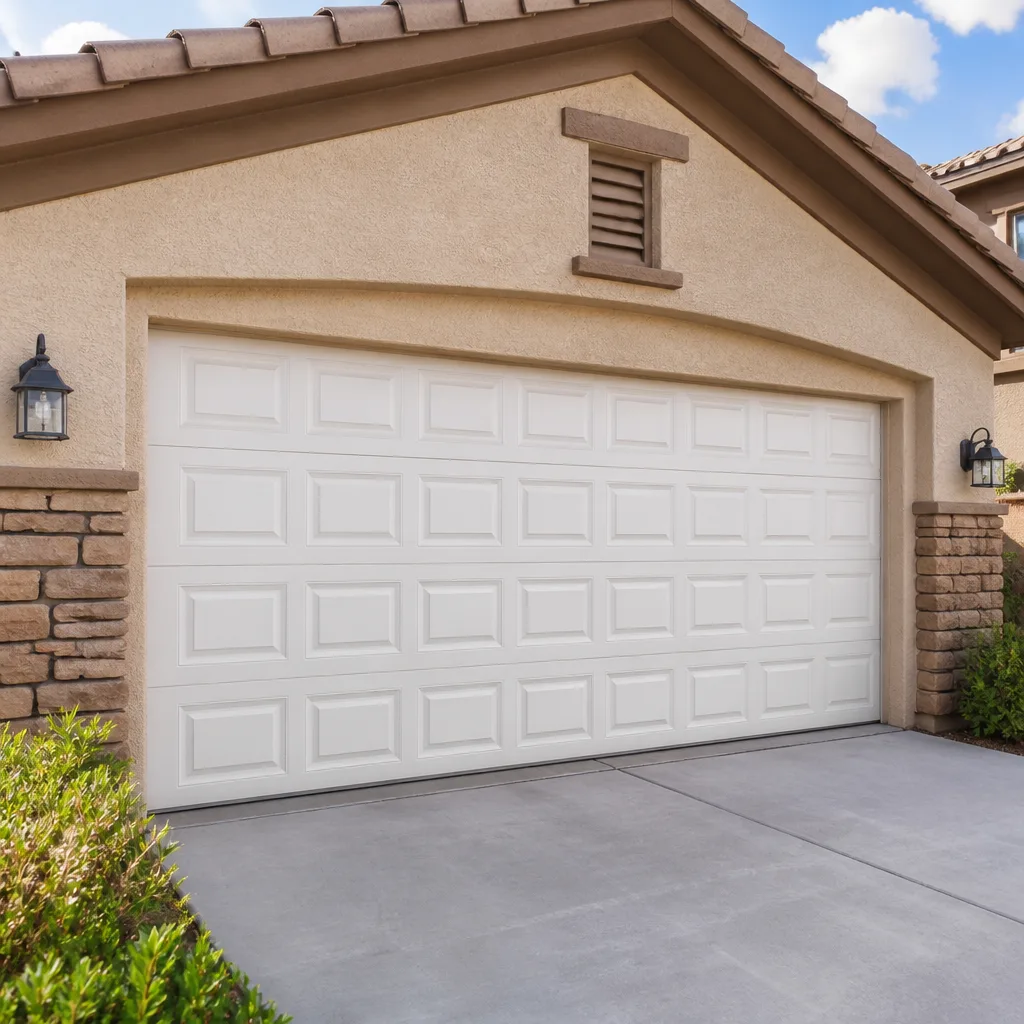 Raised-panel steel
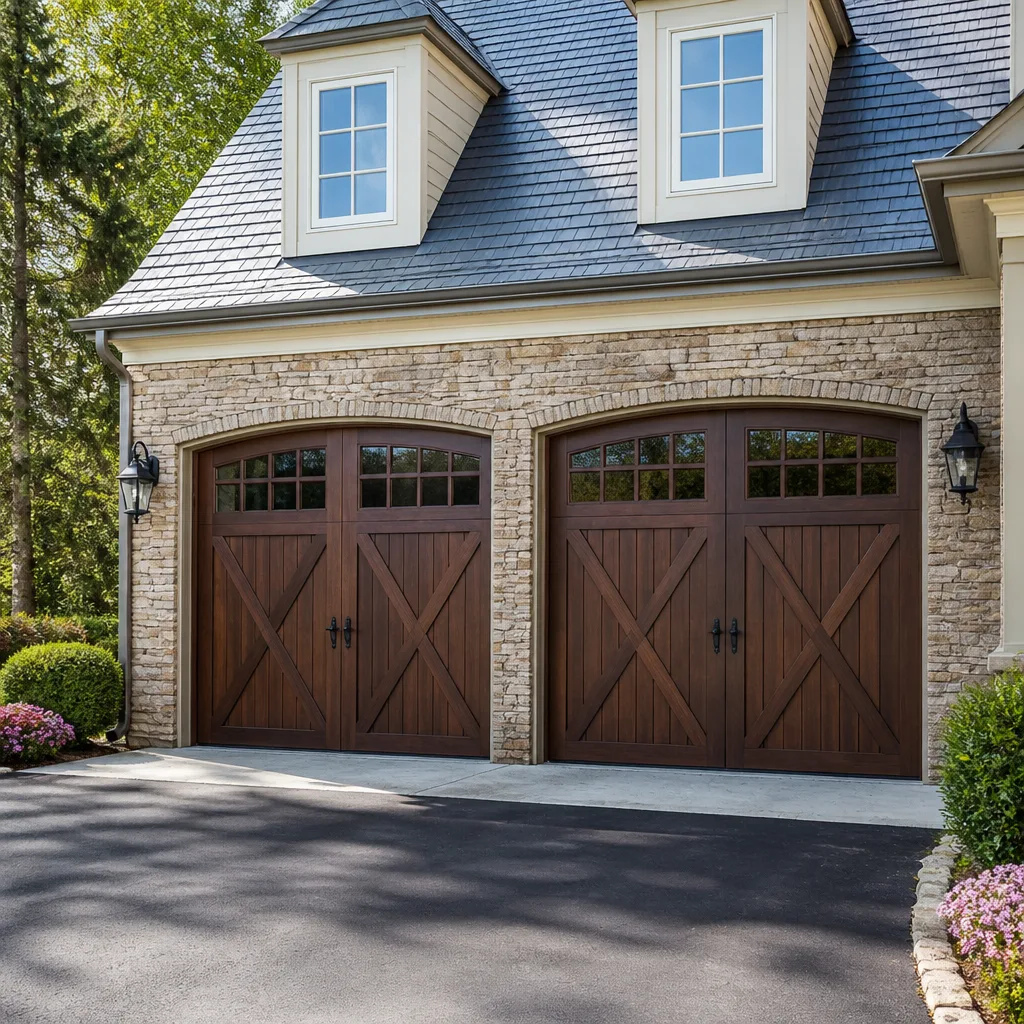 Carriage house
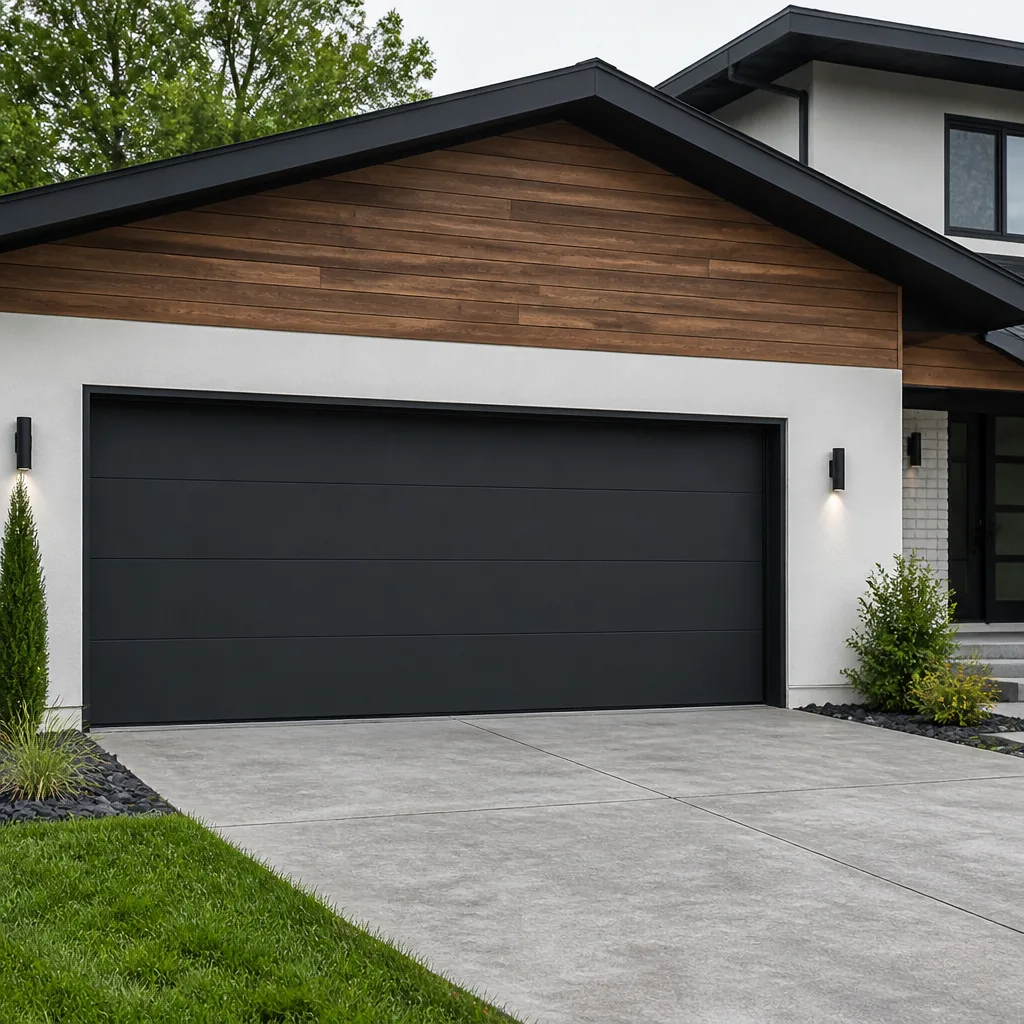 Modern flush
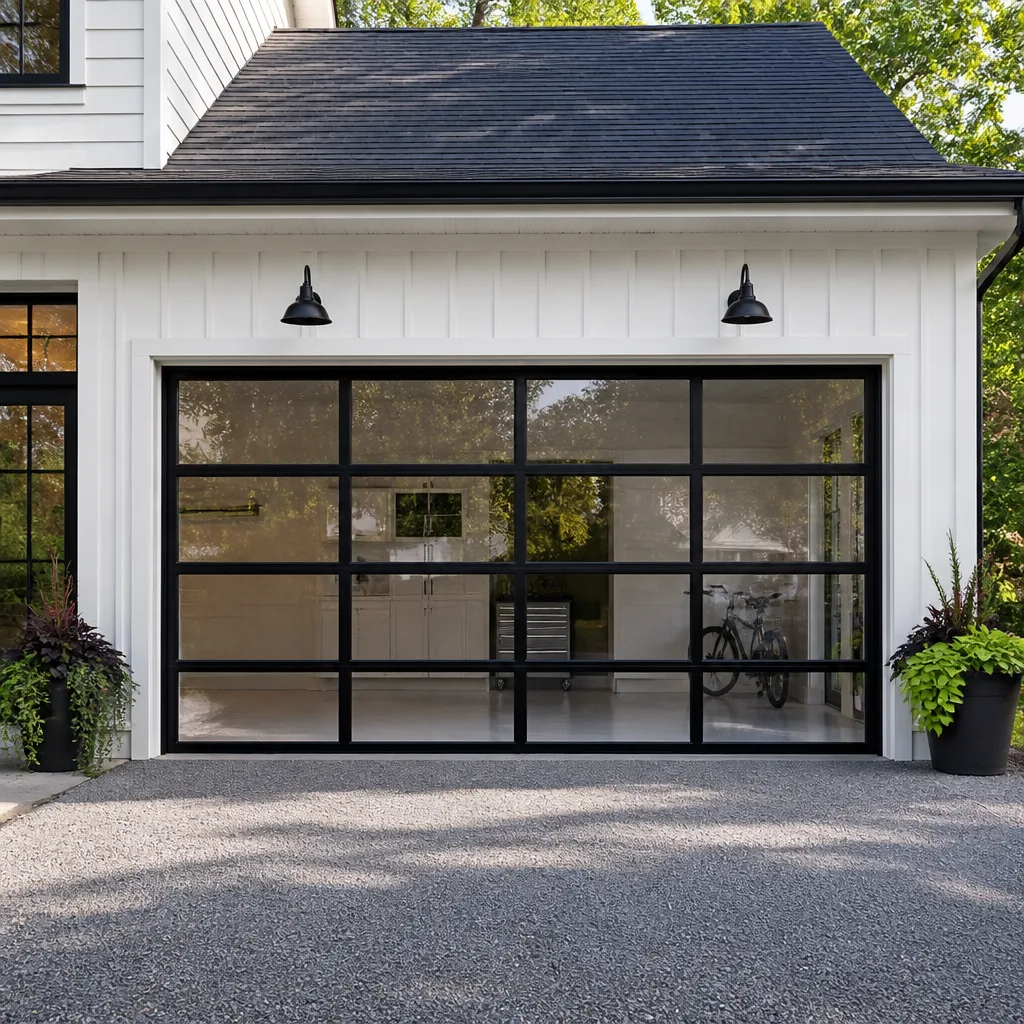 Full-view glass
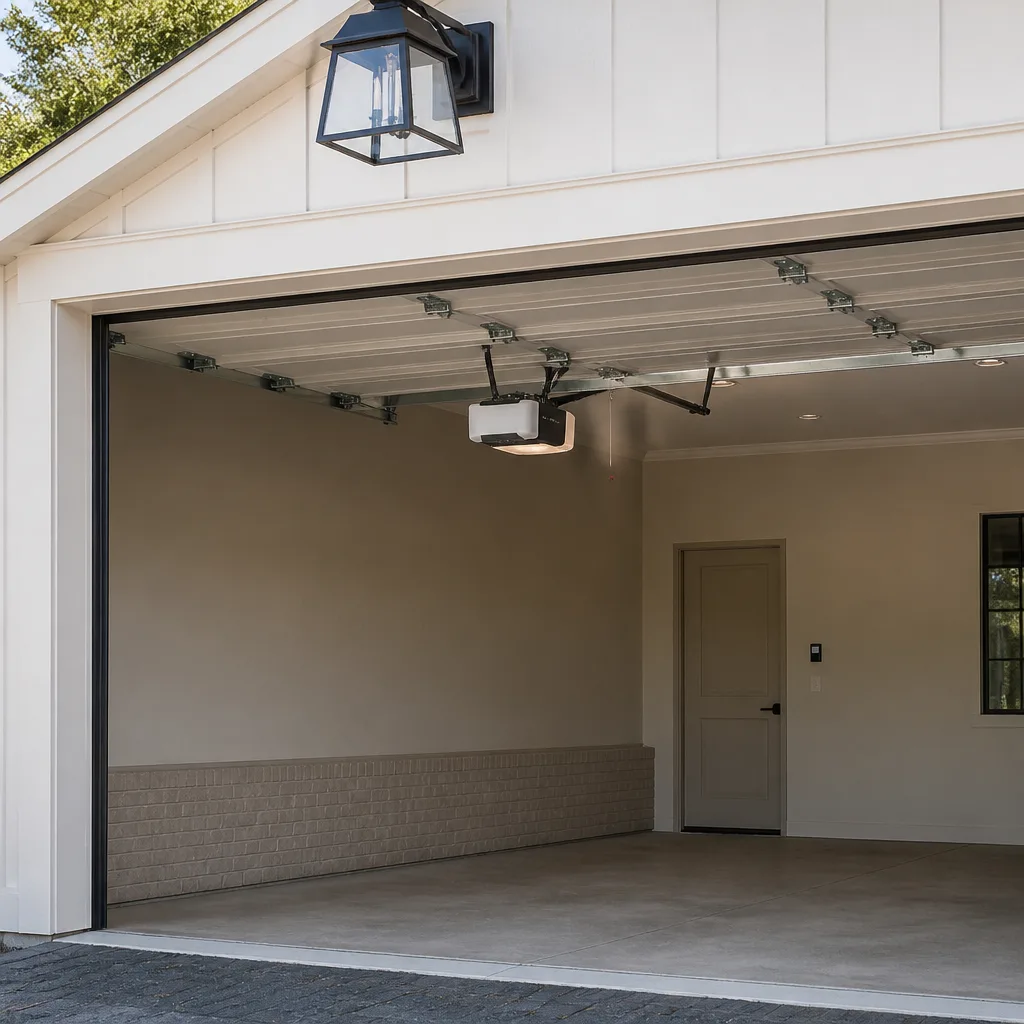 LiftMaster openers
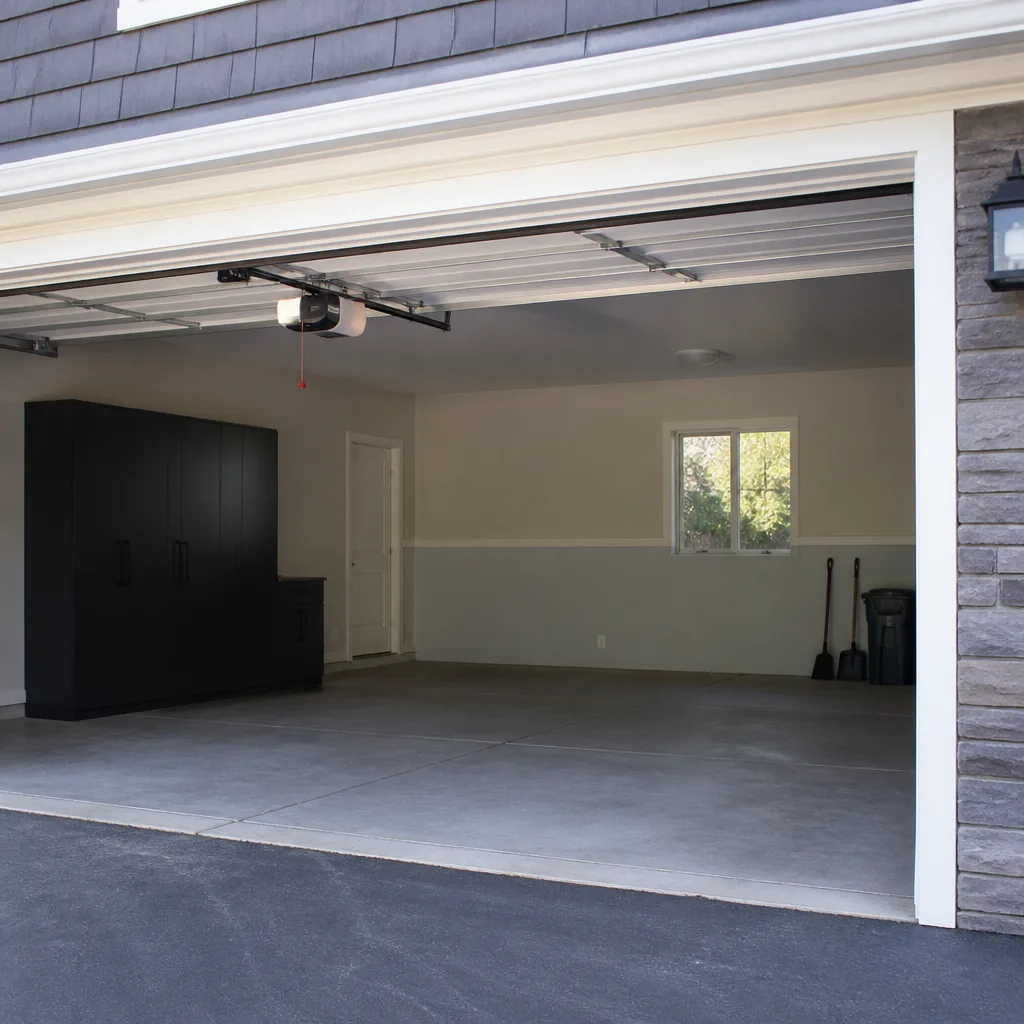 Chamberlain openers
Full 25-point door and opener safety check with every visit - springs, cables, rollers, tracks, and your LiftMaster or Chamberlain opener included
You get a price before we start. It does not change when the pro arrives.
Get your free estimateGarage Door Installation Troubleshooting: Common Problems and How to Fix Them
A door that rubs one side of the opening on every cycle wasn’t manufactured crooked. It was installed on an opening that wasn’t square, and the cable tension wasn’t equalized to compensate. That’s not a product problem. It’s an installation accountability question. Most post-installation complaints we see in Whitney trace back to one of four setup errors made on install day: uneven cable tension, a limit switch set wrong, misaligned photo-eye brackets, or insufficient header room causing the top section to bind. This guide names each one, shows you how to test with a level and a tape measure whether the fault belongs to the product or the install, and walks you through the 72-hour punch list that catches what a same-day inspection can’t.
Quick Answer
Most new-door problems are installation faults, not manufacturing defects, and the fastest way to tell them apart is to check the opening for square, the cables for even tension, and the opener’s limit switch for correct travel. If the door rubs, binds, or fails to close fully within the first 72 hours, document the measurements with photos and request a written callback from the installer, because an installation deficiency should be corrected at no charge while a true product defect falls under the manufacturer’s warranty.
Styles & brands we work with
- Raised-panel steel
- Carriage house
- Modern flush
- Full-view glass
- LiftMaster openers
- Chamberlain openers
Table of Contents
- The Four Setup Errors Behind Most Post-Installation Problems
- How to Tell a Product Defect From an Installation Deficiency
- Limit Switch Problems: Set Too Short or Too Long
- Photo-Eye Alignment and Why the Door Reverses
- Why a New Opener Won’t Hold Programmed Remotes
- Insufficient Header Room and Top Section Bind
- The 72-Hour Post-Installation Punch List
- The Right Escalation Path When a New Door Misbehaves
 Before
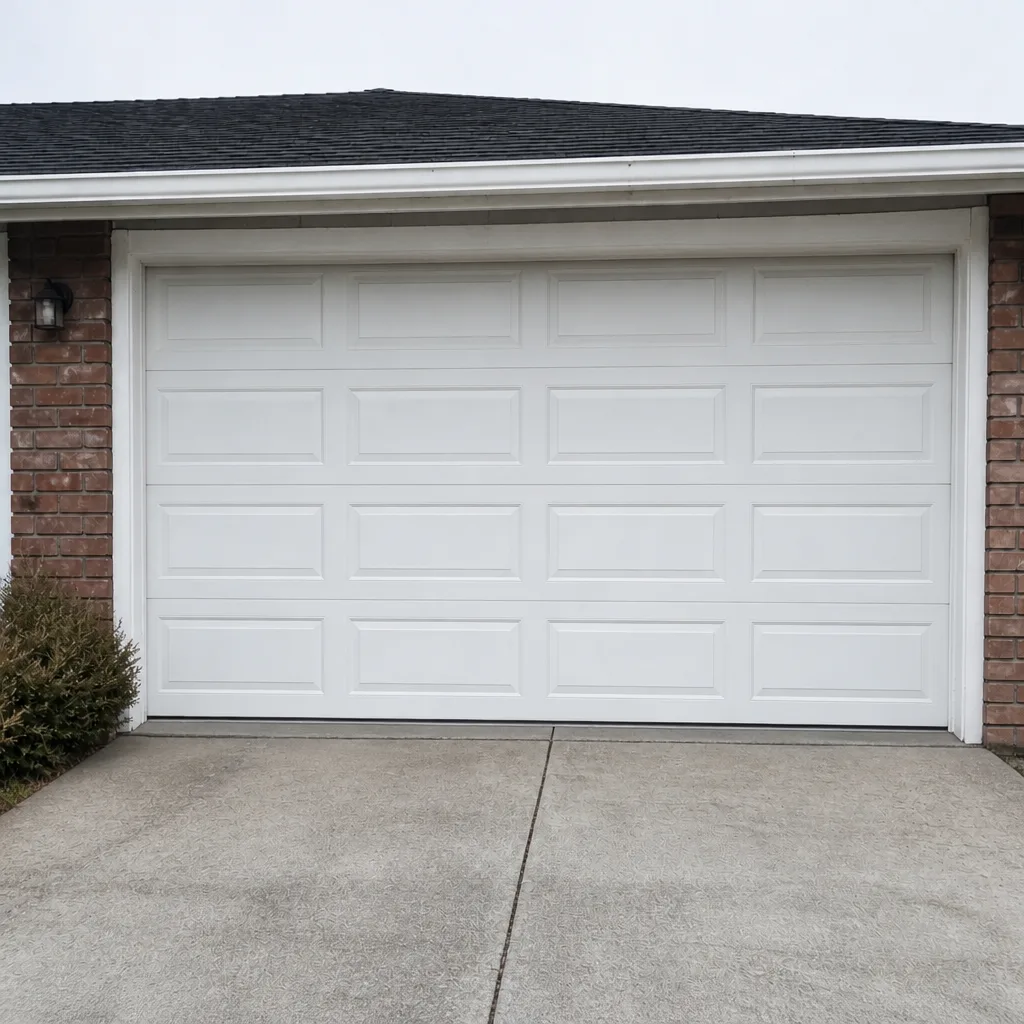 After
The Four Setup Errors Behind Most Post-Installation Problems
When a door that looked perfect on install day starts misbehaving a week later, the cause is usually one of four setup errors, and each one has a signature symptom you can identify before anyone arrives.
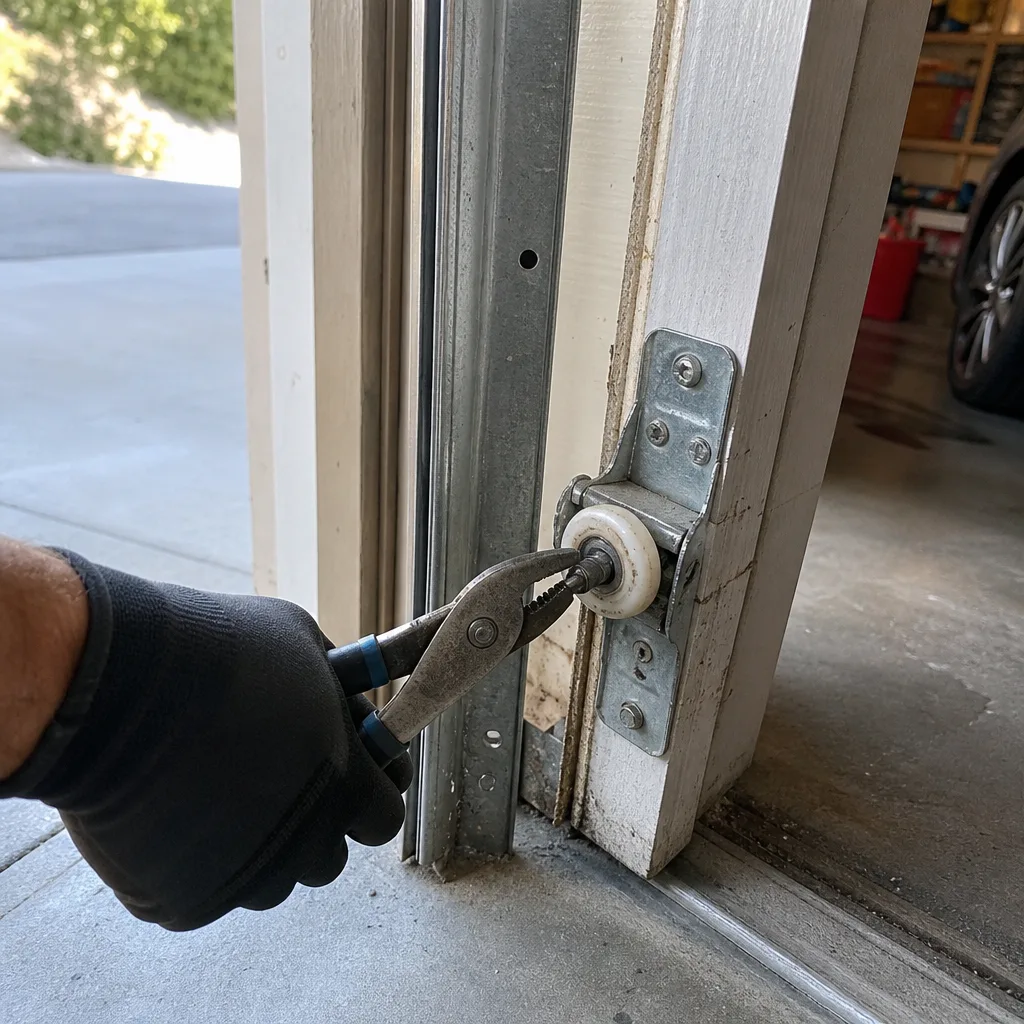
- Uneven cable tension. One cable carries more load than the other, so the door drifts or rubs to one side. You’ll see a gap that changes as the door travels, and the cables won’t feel equally taut when you test them by hand with the door closed.
- Limit switch set too short or too long. The opener’s travel limits tell the motor where the door should stop. Set wrong, the door stops before the floor or slams against the header. This is a programming error, not a mechanical failure.
- Misaligned photo-eye brackets. The safety eyes must face each other within a narrow tolerance. A bracket knocked out of line during installation, or mounted on a slightly uneven jamb, will trip the reversal every few cycles.
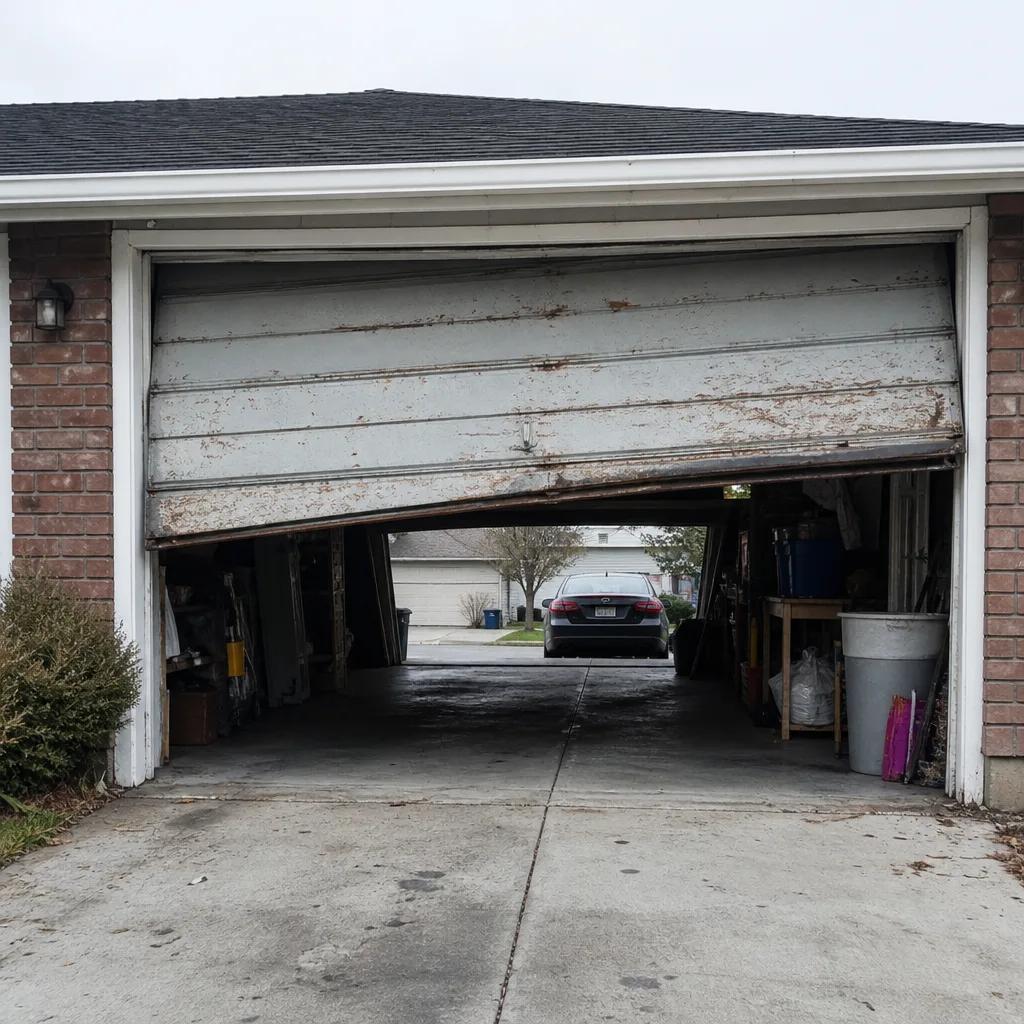
- Insufficient header room causing top section bind. If there isn’t enough clearance above the opening, the top panel binds against the header as it curves back on the track. This one is structural and shows up as a scraping sound right at the top of travel.
Three of these four are pure installation errors, and all four show up within the first several days of real use. If your new door is doing any of the above, the problem likely belongs to the installer, not the factory. For doors that have been in service longer, the issue may fall into repair territory, and our Garage Door Repair in Whitney page covers the failure patterns we see in older systems.
How to Tell a Product Defect From an Installation Deficiency
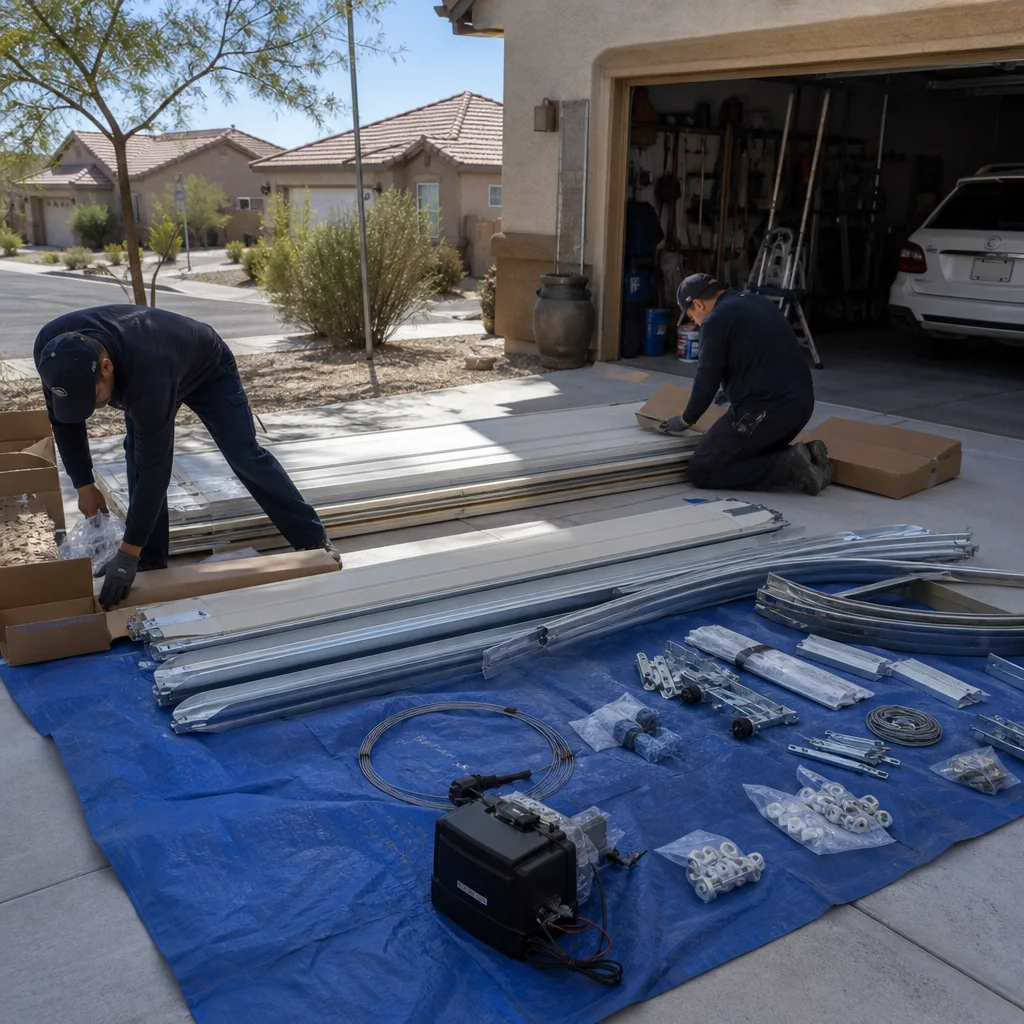
You need evidence, not a feeling, before you call the installer. Two tools settle most of these arguments: a spirit level and a tape measure. The test takes about ten minutes and produces a record you can photograph.
- Check the opening for square. Measure the opening width at the top and again at the bottom. Measure the height on the left and the right. A square opening gives you equal numbers within a small tolerance. If the top and bottom widths differ noticeably, the opening itself is out of square, and the door was fitted to a crooked frame.
- Check the door for level in the closed position. Lay the level across the bottom panel. If the door sits low on one side, the cables aren’t tensioned equally, or the track was set out of plumb.
- Photograph the gap on both sides. A door that consistently rubs one jamb is showing you the deficiency in a single photo. Get the number on the tape measure in the frame.
- Note when the problem appears. Binding that happens only during the top or bottom third of travel points to track or header alignment. A rub that’s constant across the whole cycle points to a warped panel, which is more likely a product issue.
Write down the measurements and the conditions. “The door rubs the left jamb by roughly a quarter inch across the full cycle, opening measures 16 feet 1 inch at the bottom and 16 feet at the top” is documentation an installer can act on. “It rubs” gets a shrug. This is the same standard we hold ourselves to: our technicians photograph the failed component before anyone quotes a fix, because a written record turns a disagreement into a fact.
Limit Switch Problems: Set Too Short or Too Long
The limit switch is the opener setting that defines the open and closed travel points. When it’s off, you get two opposite symptoms. Set too short, the door stops short of the floor on the way down and leaves a visible gap, or it doesn’t rise all the way on the way up. Set too long, the door presses hard against the floor or slams the header at the top, which strains the motor and the springs over time.
The symptom that sends most homeowners searching is a door that reverses the instant it touches the floor, or one that never quite closes. On a LiftMaster or Chamberlain unit, the travel limits are adjusted on the motor head with the up and down buttons, and the correct method is in the manual for that specific model. We don’t recommend working through that adjustment yourself on a new installation, because it’s often the last step the installer should have gotten right and getting it wrong again can damage the opener.
Here in Whitney, the seasonal swing matters. Doors that behaved all install day can act up as the weather turns, because the metal in the tracks and the opener’s travel stops expand and contract differently from summer to winter. If the door worked for two weeks in mild weather and started misbehaving with the first cold snap, the limit could still be correct and the tracks could have shifted. That’s a call, not a self-fix. Our Garage Door Opener Repair & Installation in Whitney page walks through how travel and force settings interact.
Photo-Eye Alignment and Why the Door Reverses
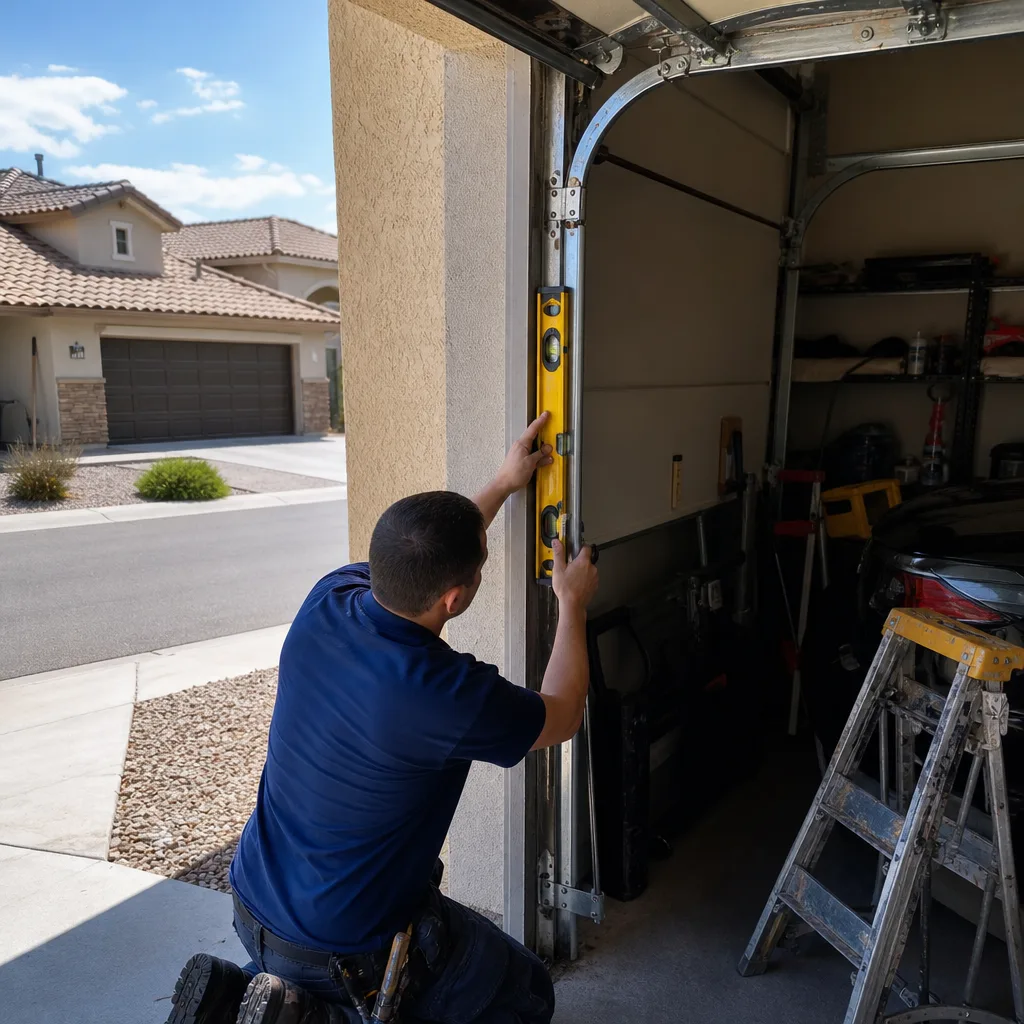
The photo eyes are the two small sensors mounted near the floor on each side of the opening. One sends an invisible beam, the other receives it. If anything breaks the beam, the door reverses on contact rather than closing. A brand-new door that reverses for no visible reason is almost always a photo-eye alignment problem, and it’s the most common post-install complaint that doesn’t actually involve the door at all.
- Finger check first. Wipe both lenses with a soft cloth. Dust, a spider web, or a smear from the install day is enough to interrupt the beam.
- Look for the indicator light. Each eye has a small LED. If one is dark or flickering, the alignment is off or the wiring is loose.
- Check the bracket for squareness. The eyes have to point at each other. A bracket mounted slightly askew on an uneven jamb will drift out of alignment as the door comes down.
- Look for an obstruction. A stored item, a coiled hose, or a sagging tag on the bottom bracket can sit in the beam path only when the door is partway down.
Adjusting the brackets and rechecking the beam is a five-minute job for a tech and worth a callback if your door keeps reversing. Don’t tape over the eyes or bypass them to “test” the door; that safety feature exists for a reason and is not optional. If your door is an older install, not a new one, photo-eye trouble sometimes shows up alongside other opener faults, and a single visit handles both.
Why a New Opener Won’t Hold Programmed Remotes
A new opener that won’t hold a programmed remote is usually a wiring problem, not a radio problem. The most common culprit is a loose or reversed connection at the wall console or the safety-eye wiring, which can interrupt the logic the opener uses to confirm its state. That’s why the fix is to check the wiring before you assume the remote is dead.
On a Genie or LiftMaster unit, the pairing sequence is a button press on the motor head followed by a button press on the remote, and the sequence has to happen within a short window. If the opener keeps dropping the remote, work through this order:
- Check the wall console wiring. Look at the terminal strip on the back of the motor head. Any wire that’s loose, nicked, or landed on the wrong terminal can throw the opener into a state where it accepts a remote and then forgets it.
- Check the safety-eye wiring. The same wires that carry the beam signal also travel through the same harness. A splice that came apart during installation will keep the opener cycling its pairing logic.
- Rule out the battery and the remote. A new door with a fresh opener can be paired to a remote you already own, but a weak battery in an older remote mimics a pairing failure.
- Re-pair after the wiring fix. Once the connection at the motor head is solid, clear the opener and pair again. Most post-install pairing errors resolve here.
If the wiring checks out and the remote still drops, the opener’s logic board may be the fault. That’s a warranty question, not an installation one, and our opener repair guide covers how to tell which is which. We service LiftMaster, Chamberlain, Genie, and other major brands and can usually tell you at the door.
Insufficient Header Room and Top Section Bind
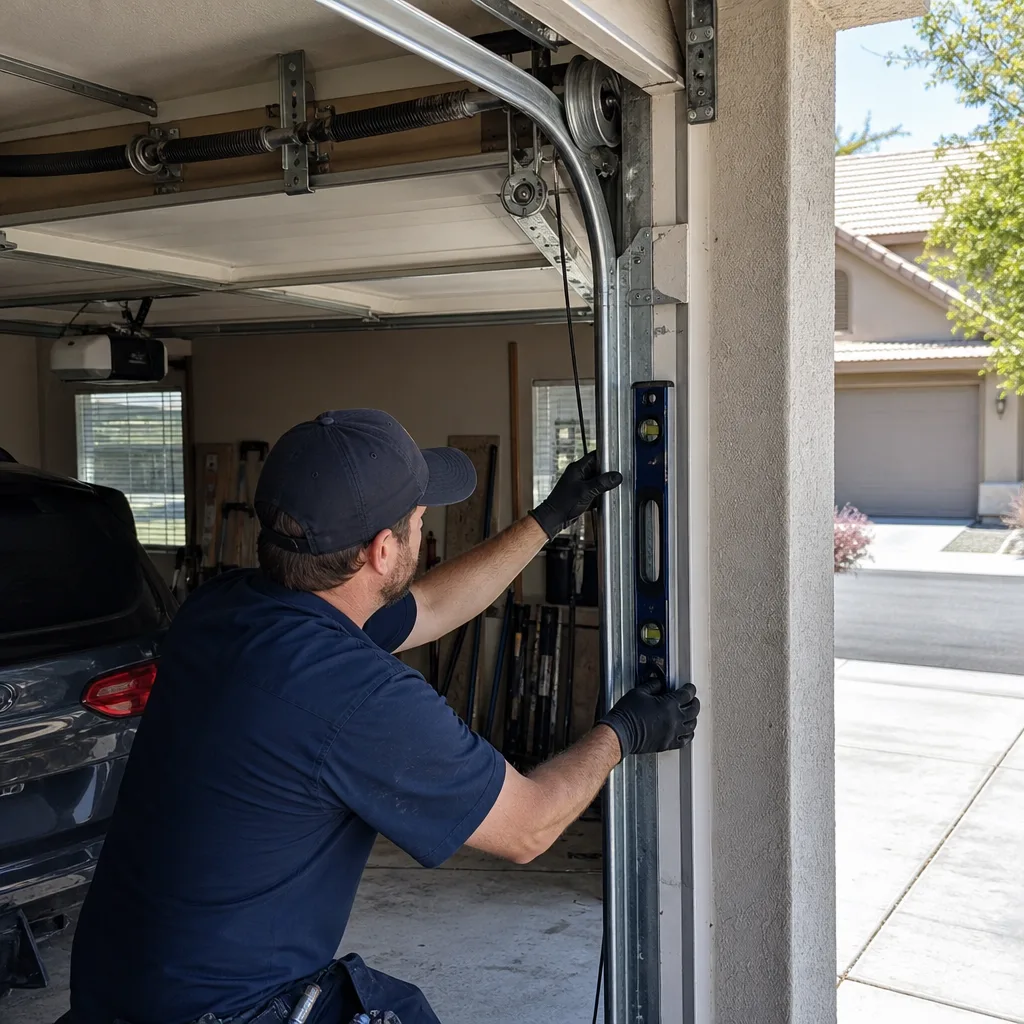
Header room is the clearance above the opening between the top of the door and the ceiling. A door needs enough of it for the top section to curve back into the horizontal track as it opens. When there isn’t enough, the top panel scrapes or binds against the header, and the opener strains to push through a bind it wasn’t built to overcome. This is the one error on the list that’s structural, and it’s the one most likely to have been missed during the pre-install measurement.
You can hear it before you see it. A scraping sound right at the top of travel, a door that jerks as it clears the opening, or a top section that wears unevenly over the first few months are all symptoms. A Clopay or Amarr panel that looks fine in the showroom can bind if the opening wasn’t measured correctly before ordering. Because panel sizes are fixed, the fix isn’t always obvious – sometimes the track is repositioned, sometimes the header requires rework, and in some cases the correct door is a lower-profile model.
This is not a homeowner adjustment. The torsion system over the door is under high tension and the track carries the full weight of the door. A trained technician uses the correct brackets, correct spring calculation, and correct track pitch to solve it safely. If your door binds at the top, get it looked at before the opener keeps pushing, because continued operation wears the panel and the motor together.
The 72-Hour Post-Installation Punch List
Some installation problems can’t be caught on the same day because the door has to go through thermal cycling and real use first. Panels settle, tracks shift slightly, springs relax, and the opener’s behavior changes once the door has been cycled dozens of times instead of once. That’s why we recommend the 72-hour punch list as a standard step, not an afterthought.
Run it in the evening or morning when the temperature has shifted since the door was installed:
- Cycle the door fully five times and watch the whole travel. Note any rub, scrape, or hesitation and where in the cycle it appears.
- Check the photo eyes from the outside while the door is closing. The door should reverse on contact. If it doesn’t, the eyes are not aligned properly.
- Look at the gap under the door in the closed position. A consistent gap across the width is normal. A gap that’s wide on one side and tight on the other means the cables aren’t equal.
- Check the top section for scraping where it meets the header. This is where insufficient header room shows up first.
- Press every remote and the wall console once. If any one of them takes more than one press to work, note it.
- Take photos on both sides of the opening and at the top and bottom. A visual record from day three is the evidence you’d need if something shifts later.
- Listen for new noises. A new rattle, a squeak, or a clunk that wasn’t there on install day deserves a second look.
In Whitney, the thermal swing between an install day and the third day can be enough to move a track a fraction of an inch, which is why a three-day wait catches what a same-day walkthrough misses. Write each item down, even the ones that pass. When we close out a job, we leave a documented photo record of what we found and what was done, because a picture from day three answers a lot of questions a phone call can’t.
The Right Escalation Path When a New Door Misbehaves
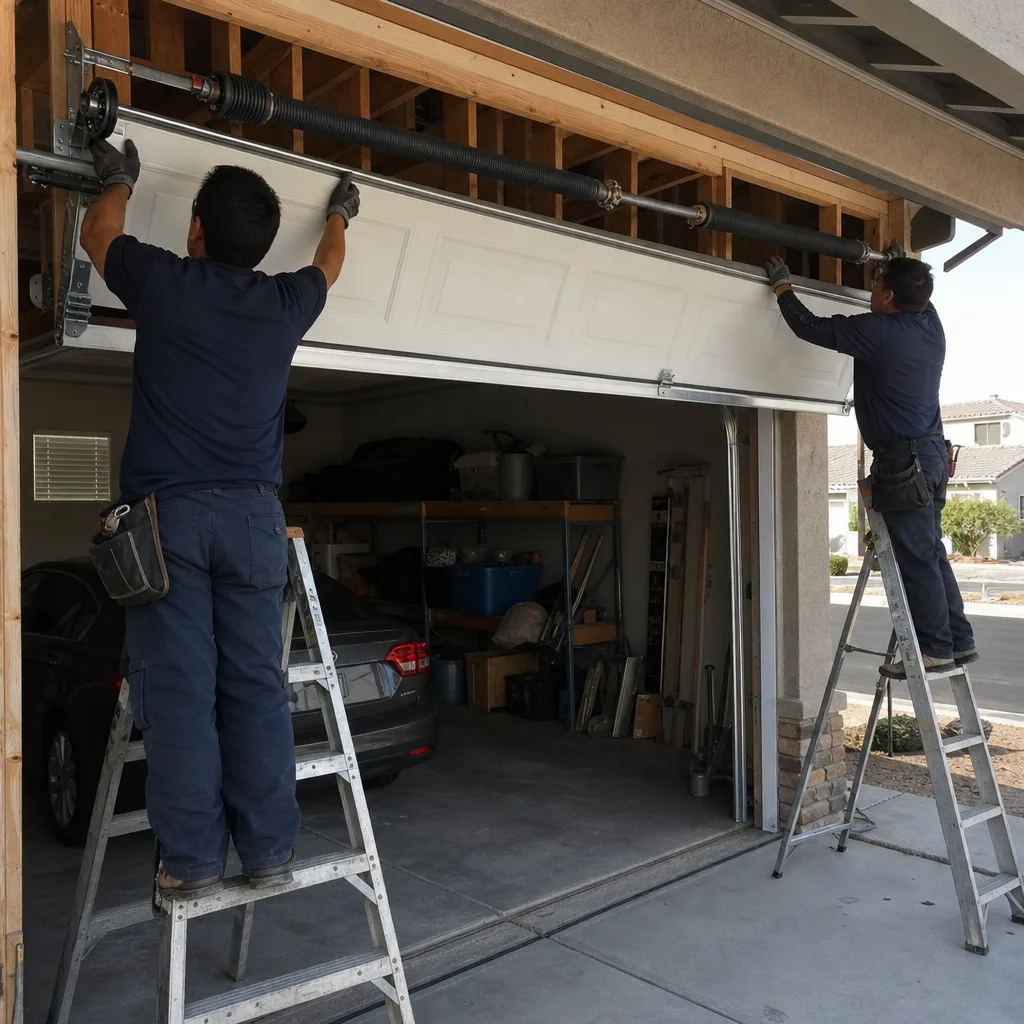
The first call goes to the installer, not the manufacturer. Manufacturers build the door; installers put it on your opening. When something goes wrong in the first few weeks, the question is which party is responsible, and the answer decides whether it’s covered by the product warranty or the installation warranty.
Here’s the distinction that matters:
- The product warranty covers what the factory built. A warped panel, a failed spring, a logic board that won’t hold a state. These come from the manufacturer and are usually backed for years.
- The installation warranty covers how it was fitted. Uneven cable tension, an out-of-square opening, misaligned photo-eye brackets, a limit switch set wrong, insufficient header room. These come from the installer and are typically covered for a shorter window, often the first year.
- The overlap causes most disputes. A door that binds at the header could be a wrong-size panel (product) or a measurement error (install). The evidence from your level-and-tape checks decides which.
When you escalate, put the request in writing. Send the installer a short email with the measurements, photos, and a specific ask: a written callback date and a description of what will be corrected. Ask them to confirm in writing whether the issue falls under the product warranty or the installation warranty. If the installer agrees the problem is theirs but the work doesn’t correct it, a second written opinion is worth its cost, and we offer a free second opinion on any written estimate from another company if you bring the paperwork in.
Common Mistakes to Avoid
- Bypassing the photo eyes to “test” the door. Taping over the sensors or jumping the wiring to force the door closed defeats the one feature that prevents injury, and it can void the opener’s warranty. If the door keeps reversing, fix the alignment instead.
- Measuring after install instead of before. The single most common error in Whitney installs is skipping the pre-install opening measurement. If the opening isn’t square before the door arrives, the door arrives wrong.
- Adjusting the limit switch by trial and error. Changing the limits without resetting the force profile can stress the opener and the springs. If you’re going to touch the limits, do it once, by the manual, with the door unloaded.
- Assuming the manufacturer is responsible for everything. A door that rubs because the opening wasn’t square is an installation question. Calling the manufacturer first wastes a week, and the evidence trail suffers.
- Ignoring the three-day punch list. A same-day inspection can’t catch thermal cycling or a settling track. If you sign off on install day without a scheduled re-check at 72 hours, you lose the record you’d need for a warranty conversation.
- Accepting a verbal promise of a callback. In Whitney, we see far too many homeowners told “we’ll come back next week” with nothing in writing. Ask for the date, the description, and the name in an email.
- Letting a binding door keep running. A door that scrapes at the header will wear the panel and strain the opener motor. Every cycle does more damage than the last.
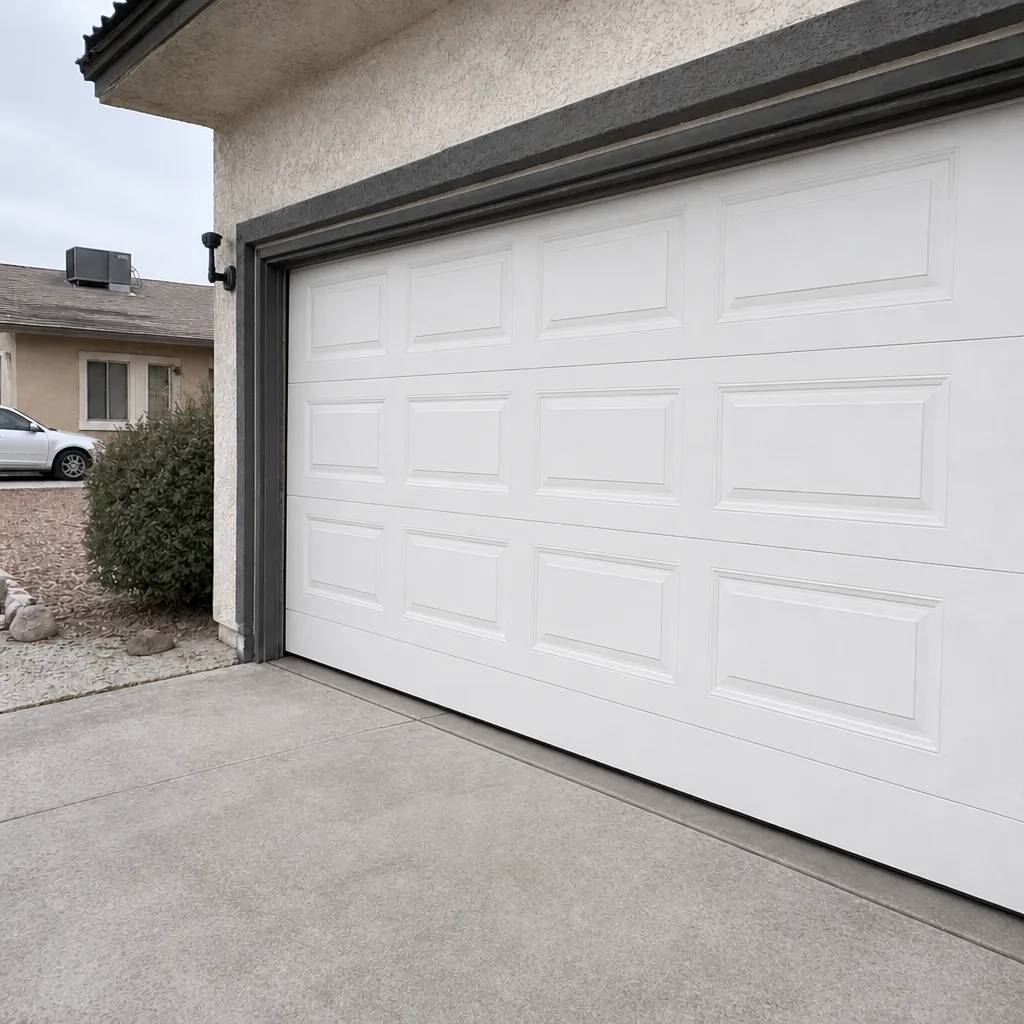
See the difference
BeforeAfter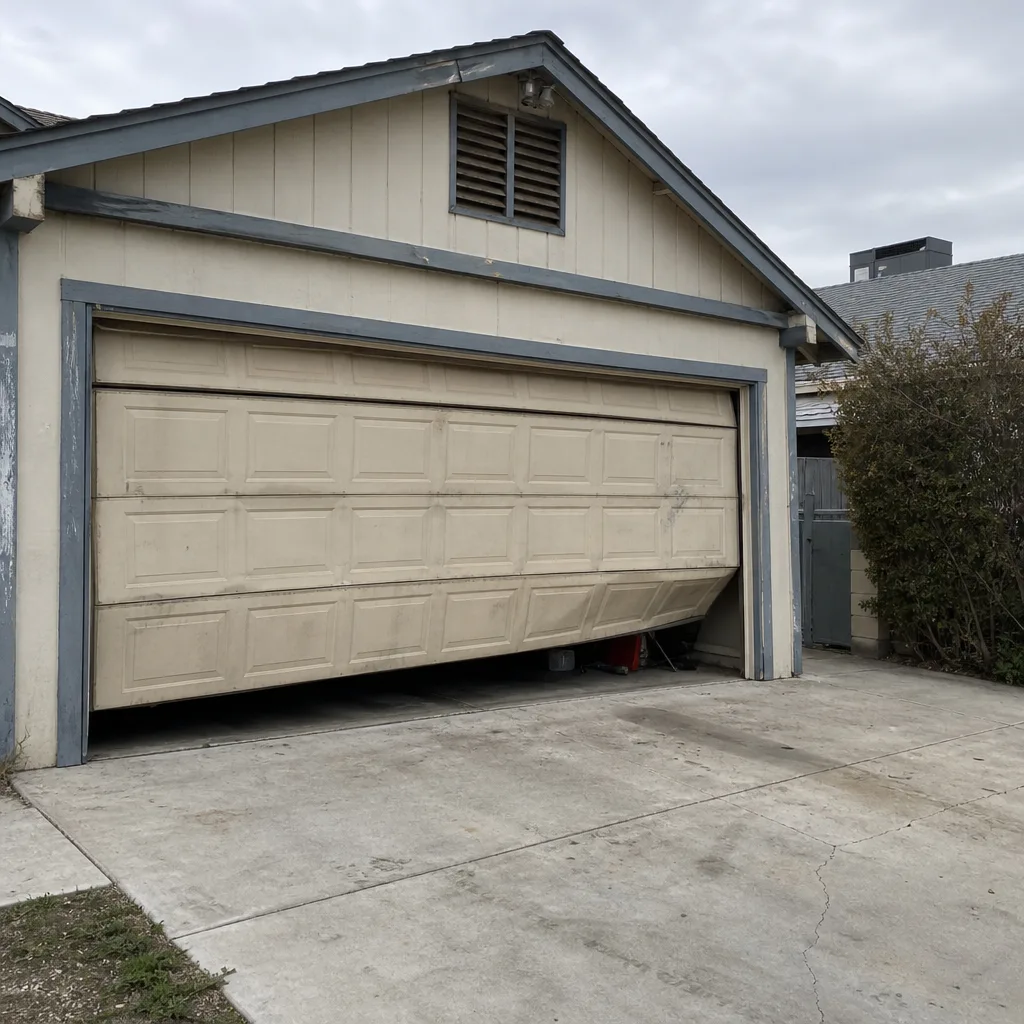 Before
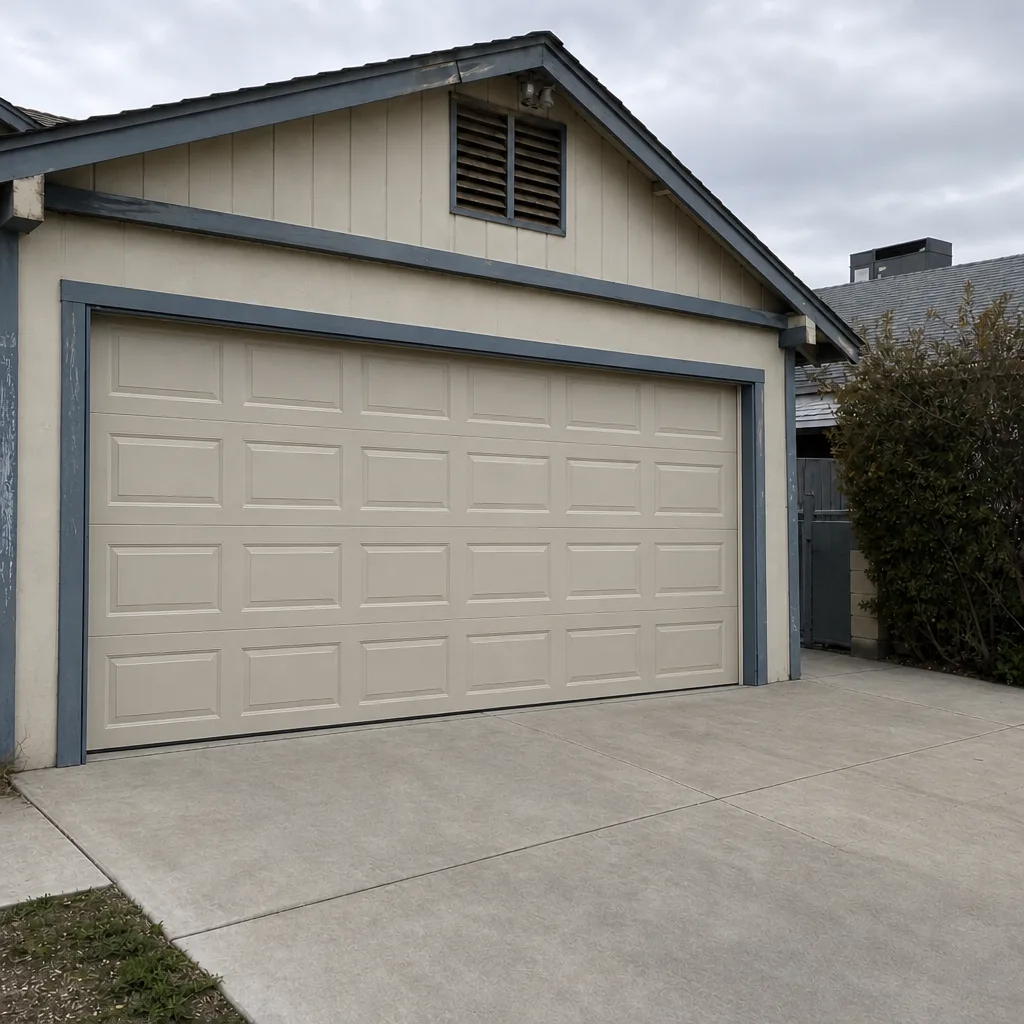 After
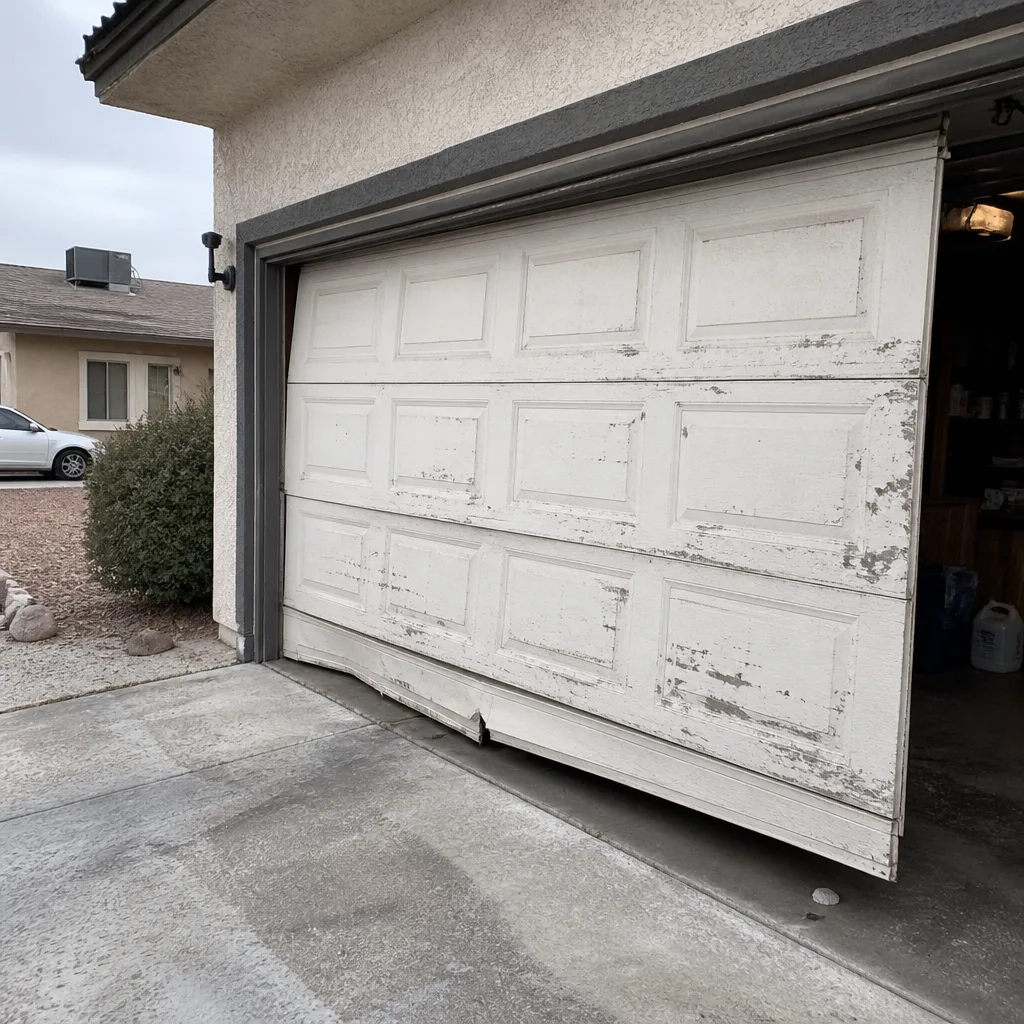 Before
 After
When to Call a Professional
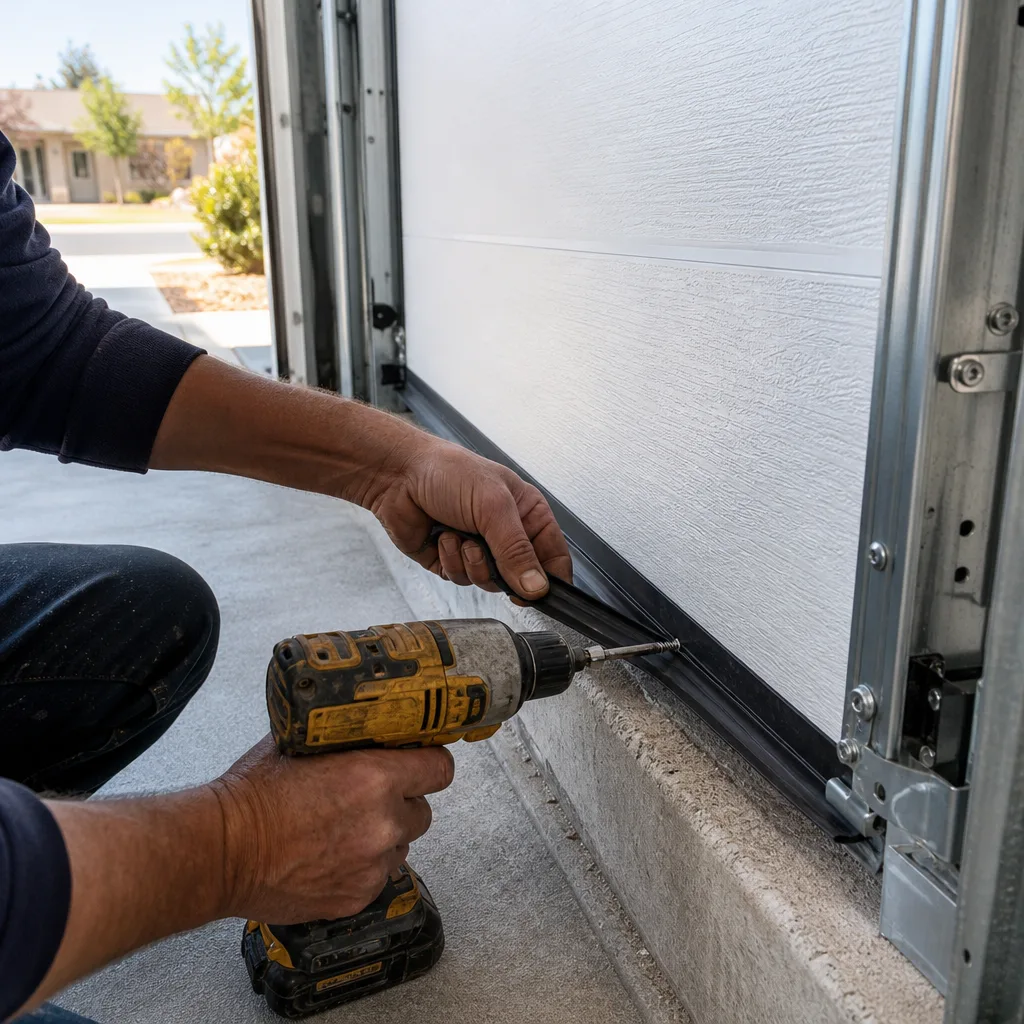
Call a technician when the door binds at the top, reverses without an obvious obstruction, sits visibly low on one side, or drops a remote after wiring checks. Call immediately if a spring looks broken, if the door won’t stay closed, or if the opener runs but the door doesn’t move. These are the cases where a five-minute check saves you hours of guesswork. If the door is new and under 72 hours old, call the installer first. If you’d like an independent read on what failed, our Garage Door Installation in Whitney page walks through how a proper install is measured and checked. Servo Garage Doors Whitney offers free estimates in Whitney, and we bring a documented photo record of what we found to every visit. Call (888) 402-1096. A written price and written scope come before any work starts.
Frequently Asked Questions
A new door that rubs one side is almost always an installation issue: the opening wasn’t square, or the cable tension wasn’t equalized. Measure the opening width at the top and bottom and the height on both sides. If the numbers don’t match, the opening is out of square and the installer should correct it. Take photos and request a written callback. Call (888) 402-1096 for a free second opinion if you’d like another set of measurements.
The limit switch is a programming setting the installer sets, so it falls under the installation warranty, not the manufacturer. A door that stops short, reverses at the floor, or slams the header within the first weeks should go back to the installer first. Bring the written request and a photo of the symptom. Call (888) 402-1096 if you need an independent look before you call them.
The product warranty covers what the manufacturer built, including panels, springs, and opener logic boards. The installation warranty covers how it was fitted, including track alignment, cable tension, photo-eye placement, and limit settings. Both can last for years, but the windows differ and the evidence decides which one applies. Call (888) 402-1096 for a free written second opinion on any estimate.
Give it 72 hours and run the punch list, because thermal cycling and settled use reveal problems that a same-day walkthrough can’t. If symptoms appear on day three and persist, they’re real and worth escalating. In Whitney, the temperature swing between install day and day three is often enough to move a track slightly. Call (888) 402-1096 if you’re not sure whether the symptom is normal.
The most common cause is loose or reversed wiring at the wall console or the safety eyes, not a bad remote. Check the terminal strip at the motor head, look for a nicked or loose wire, and re-pair. Most post-install pairing errors resolve once the wiring is solid. Call (888) 402-1096 if the remote still drops after the wiring check.
Ask for three things: the callback date, a description of what will be corrected, and a statement of whether the fix falls under the product warranty or the installation warranty. Keep the email thread and your photos together. A written record is the difference between a resolved callback and a repeating conversation. Call (888) 402-1096 for a free second opinion and a documented photo record of what we find.
The Bottom Line
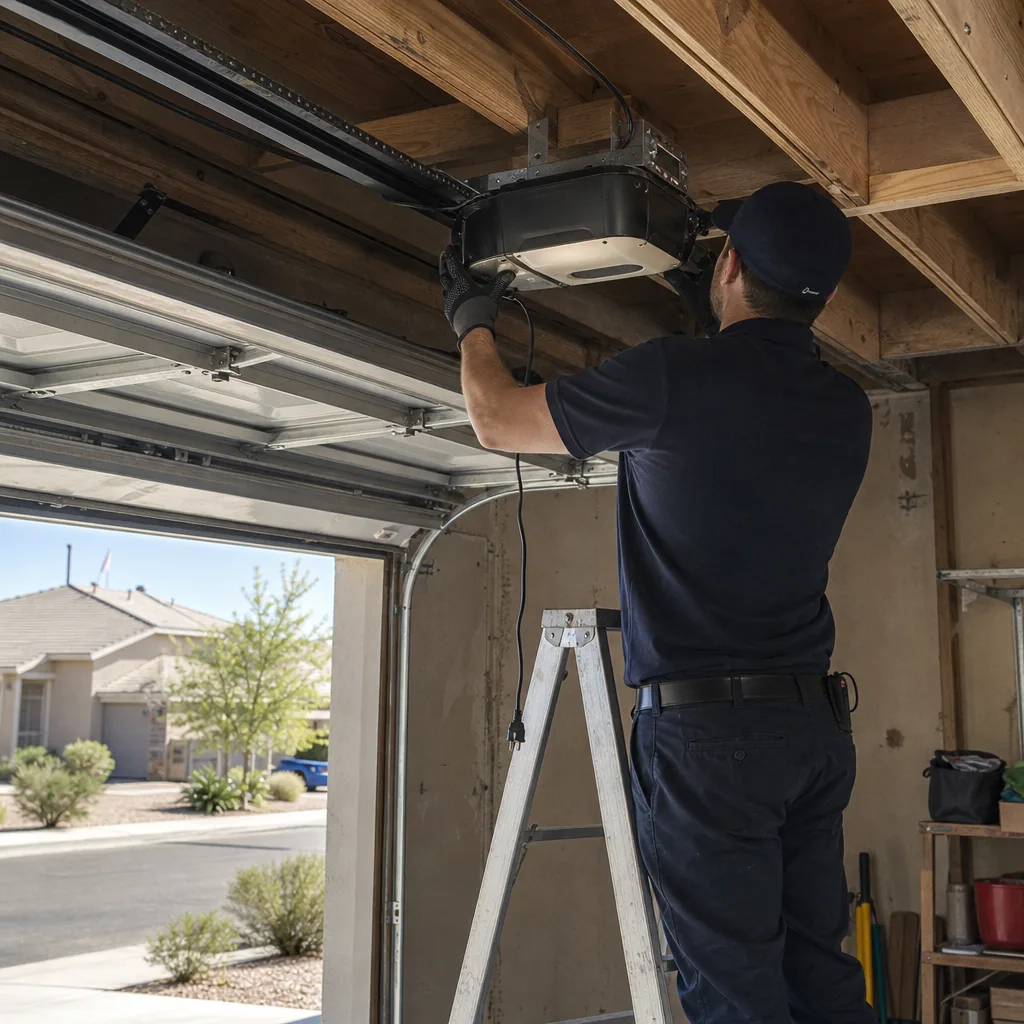
Most post-installation problems aren’t manufacturing defects. They’re one of four installation errors: uneven cable tension, a limit switch set wrong, misaligned photo-eye brackets, or insufficient header room causing the top section to bind. You can tell which one you’re dealing with using a level and a tape measure, and the evidence that comes out of that check is what moves a warranty conversation from “it rubs” to a written callback. Run the 72-hour punch list, put the request in writing, and know that a product defect and an installation deficiency are two different conversations. If you’d like an independent read on any estimate, Servo Garage Doors Whitney offers a free second opinion and a documented photo record of what we found. Call (888) 402-1096 for a free estimate. We service all eight major brands including LiftMaster, Chamberlain, Genie, Clopay, Amarr, Wayne Dalton, Craftsman, and Raynor.
When You Need a Written Record, Not a Handshake
New doors fail in predictable ways, and the differences between “the factory built it wrong” and “the installer fitted it wrong” are answered with measurements, photos, and a written scope. That’s the same rule Servo Garage Doors Whitney works to on every install and every repair: a flat, written price and written scope before any work starts, and a documented photo record when the technician leaves. Our technicians have up to 11 years of experience, and we answer the phone 24 hours a day, including emergency garage door calls. For installation and replacement work, we schedule a free measure and deliver a written price, because that work is ordered and planned, not dispatched same-day. Our repair and opener work is where same-day service applies. Visit our Servo Garage Doors Whitney home for the full range of services. Call (888) 402-1096 for a free estimate, and bring any written estimate from another company for a free second opinion. No coupon or code required.
Written by the team at Servo Garage Doors Whitney.