
Last updated November 18, 2026
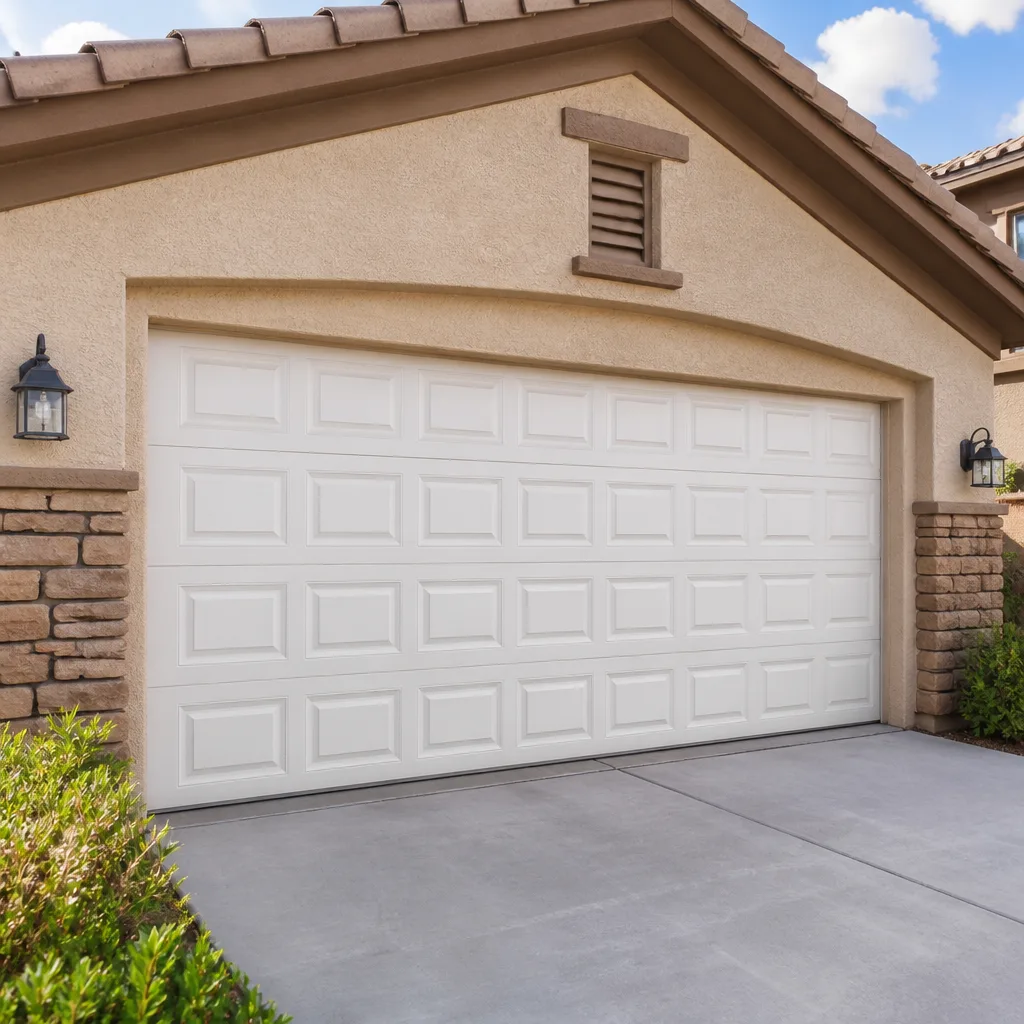 Raised-panel steel
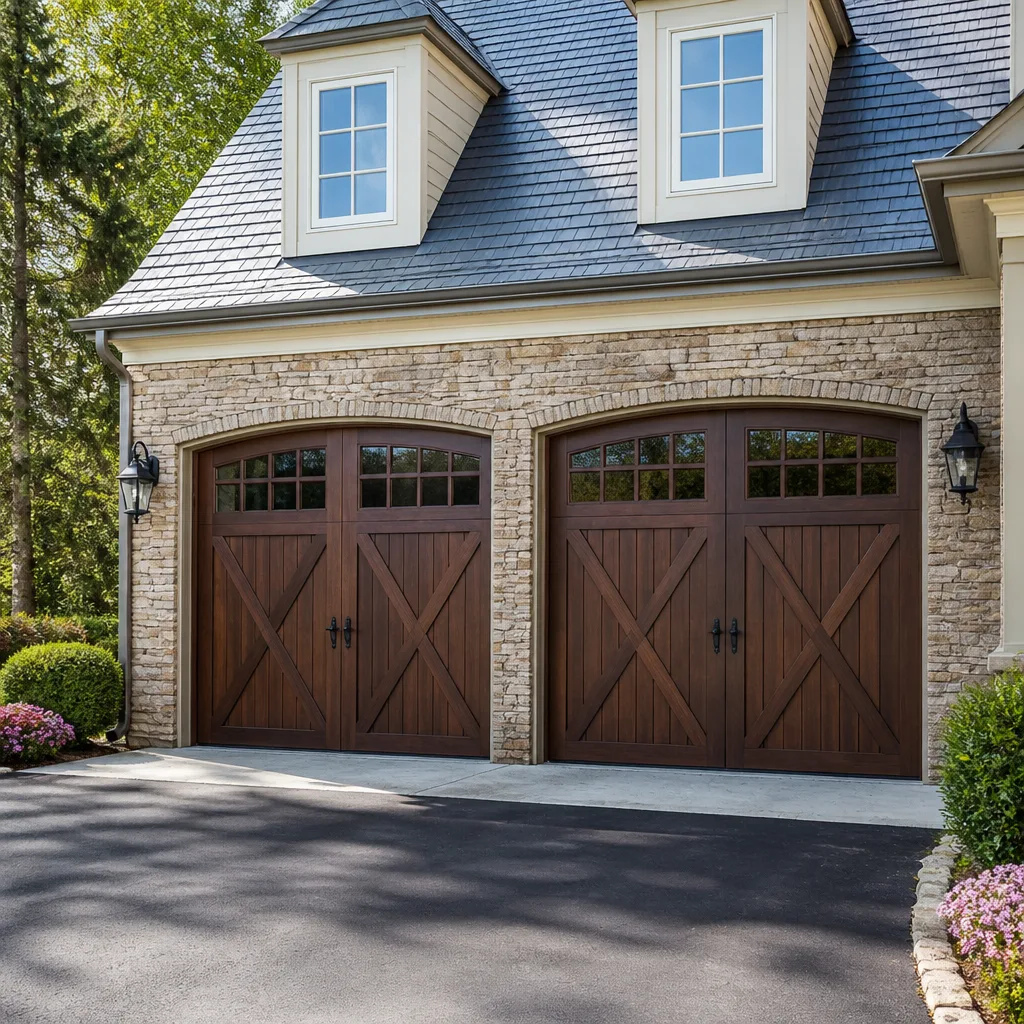 Carriage house
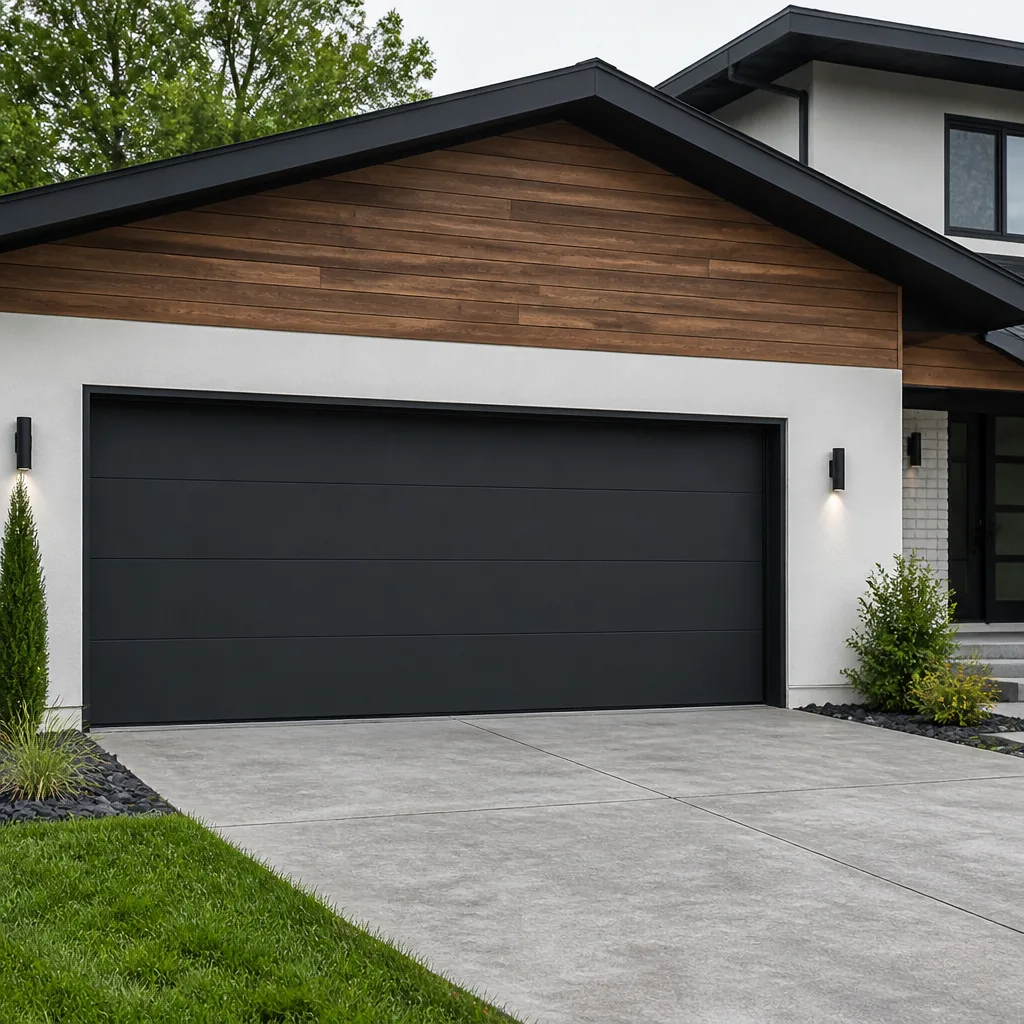 Modern flush
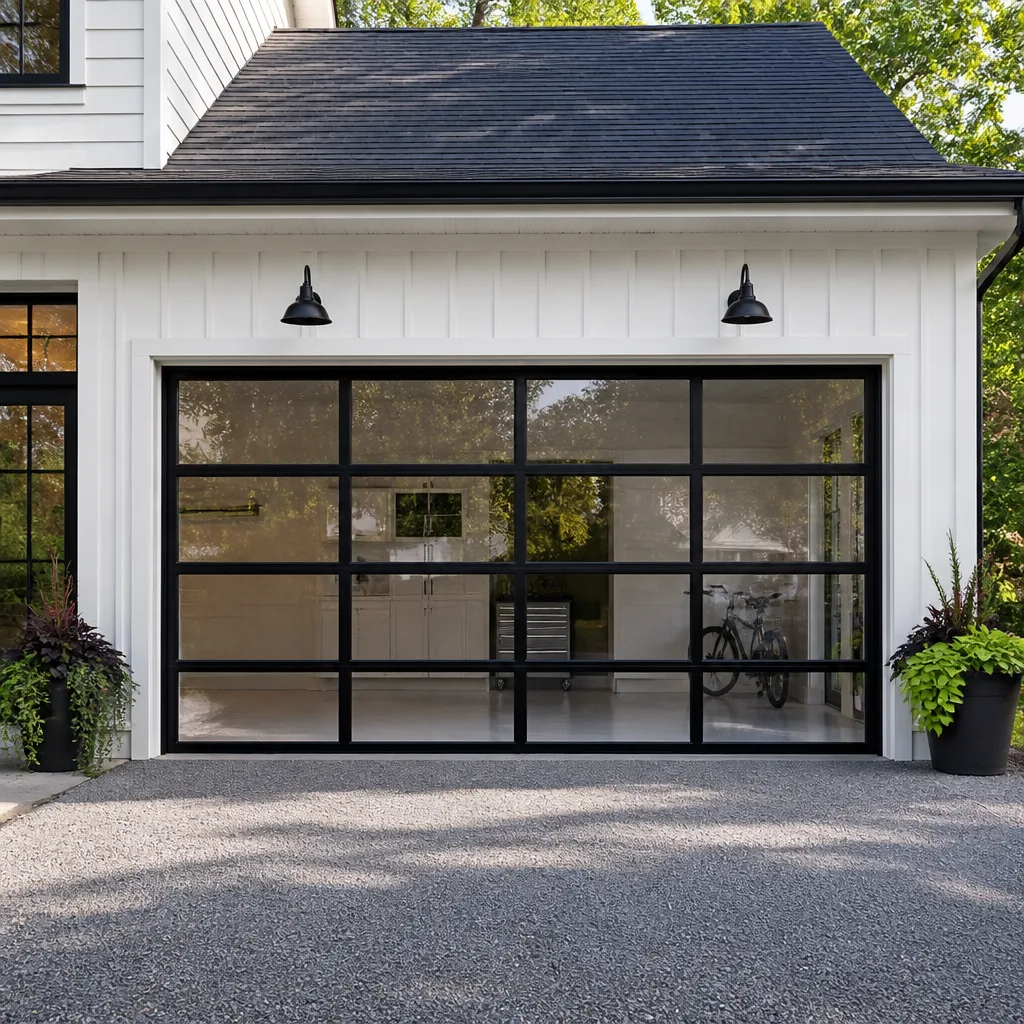 Full-view glass
 LiftMaster openers
 Chamberlain openers
Full 25-point door and opener safety check with every visit - springs, cables, rollers, tracks, and your LiftMaster or Chamberlain opener included
You get a price before we start. It does not change when the pro arrives.
Get your free estimateGarage Door Installation Warning Signs Every Homeowner Should Know
The problems that show up six months after a garage door installation are almost never mysterious. They were visible on install day, in the way the technician worked: a rough opening eyeballed instead of measured, a spring wound without a tension test, a written price that never existed. Homeowners in Whitney who research before they hire tend to catch the wrong job in progress, but only if they know what normal looks like. This guide covers the warning signs at each stage – before the first bolt comes out of the box, during the install, and in the paperwork left behind. Read it before you book, and you’ll spot a shortcut while there’s still time to stop it.
Quick Answer
The most reliable warning signs of a bad garage door installation are procedural, not cosmetic: no written quote or scope before drilling, no measurement of the rough opening before the door is unloaded, no spring tension test, hardware lag-bolted into drywall instead of framing, and no itemized receipt or documentation at the end. A door that looks level on day one can still drift, bind, or fail its balance test. The process tells you what the finished product will do.
Styles & brands we work with
- Raised-panel steel
- Carriage house
- Modern flush
- Full-view glass
- LiftMaster openers
- Chamberlain openers
Table of Contents
- Before the Install: The Pre-Installation Red Flags
- Reading the Springs: What Correct Tensioning Looks Like
- Hardware Warning Signs: Rollers, Brackets, and Lag Bolts
- The Balance Test Every Homeowner Should Perform
- Opener Installation Red Flags
- The Paper Trail: Documentation Failures That Become Warranty Problems
- Why Whitney Installations Fail Differently
- Common Mistakes to Avoid
 Before
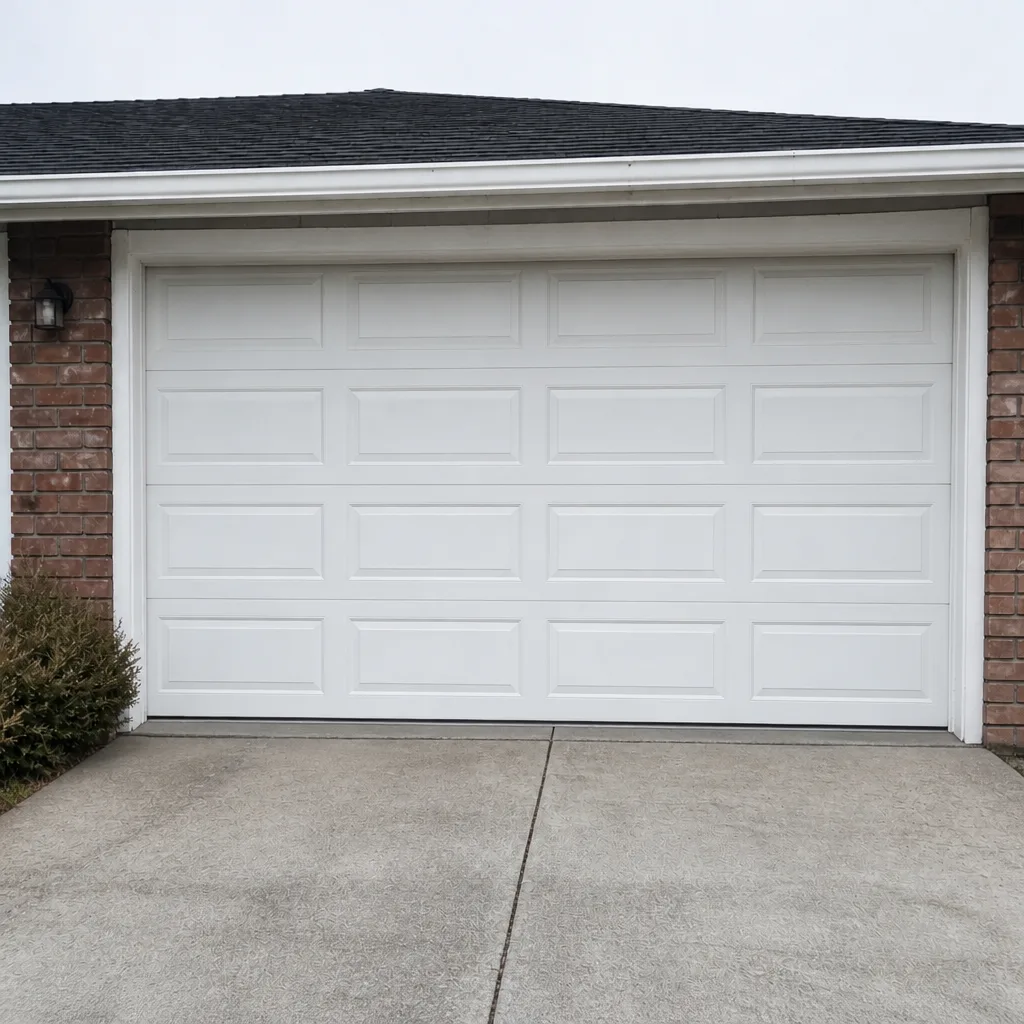 After
Before the Install: The Pre-Installation Red Flags
The job is already going sideways before the technician picks up a drill. Three pre-installation failures predict most of the callbacks we see in Whitney.
No written quote before work begins. A flat, written price and a written scope should be in your hands before anyone touches the door. A verbal ballpark or “we’ll figure it out after we open it up” is not a quote – it’s an open invoice. Clause 1 of The Haven Standard exists because of this exact problem: the customer should know the total before the first bolt moves.
No photo documentation of the existing hardware. A professional photographs what’s there before removal: the old tracks, the spring, the opener rail, the condition of the framing where the brackets attach. If your existing door has been patched, bent, or retrofitted, that history matters. The technician who skips the “before” photos is also skipping the record of what he found – and you have nothing to compare against if something goes wrong.
No measurement of the rough opening before the door is unloaded. Rough opening width and height, headroom above the door, and side clearance all need to be confirmed against the door spec before the crate is opened. A door that comes off the truck and doesn’t fit is a door that either gets forced (bad) or gets returned while you wait (slow). We measure first, then unload – every time.
If you’re comparing installers in Whitney, ask each one for the written price and the scope before the estimate visit is over. The ones who can produce it are showing you how the rest of the job will run.
Reading the Springs: What Correct Tensioning Looks Like
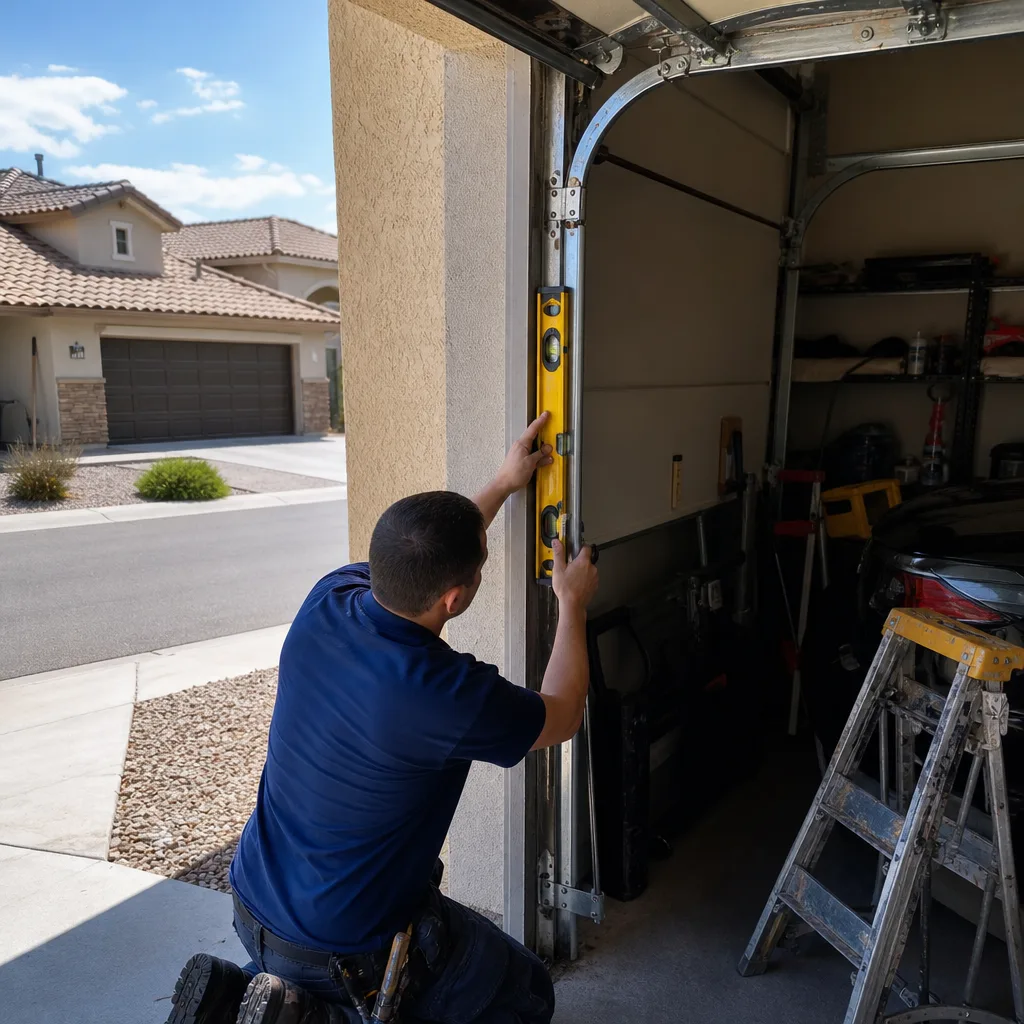
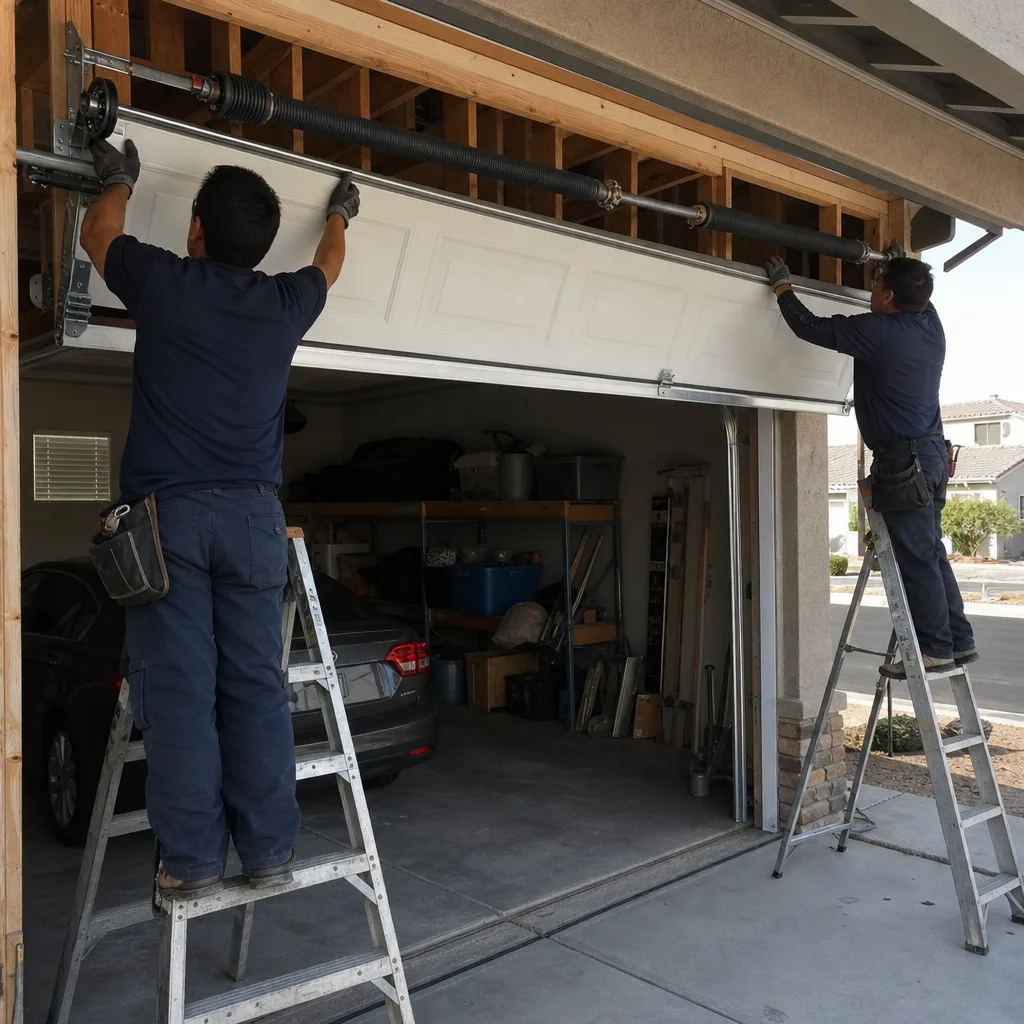
The torsion spring is the part that actually lifts your door – the opener just gives it a nudge. Installation day is when spring tensioning is set, and it’s where shortcuts hide.
Correct tensioning looks like this: the technician winds the spring in measured quarter-turns, counting them out loud or on a written worksheet against the door’s weight. He checks the number of turns against the manufacturer’s chart for the door and spring combination. Then he runs the door by hand – up and down – several times before the opener is even wired.
A door that looks perfectly level but drifts downward when you lift it by hand to waist height and let go is not adjusted correctly. That drift is a tension problem, not a cosmetic one. It means the spring is either under-wound, mismatched to the door weight, or a mismatched pair if you have two springs. A drift of a few inches on the balance test becomes uneven wear on the rollers, strain on the opener, and eventually a snapped spring.
Safety note: torsion springs are stored energy. A wound spring can cause serious injury if you try to adjust it yourself. Do not touch the springs, the cables, or the drums. If your door drifts on the balance test, call a trained professional – this is a job for the technician, not a homeowner with a winding bar.
Ask your installer to show you the tension worksheet or note the number of turns on the receipt. If the answer is “it’s fine,” that’s your answer about the spring.
Hardware Warning Signs: Rollers, Brackets, and Lag Bolts
Walk out to the door during installation and look at the small parts. They tell you almost everything about the quality of the job.
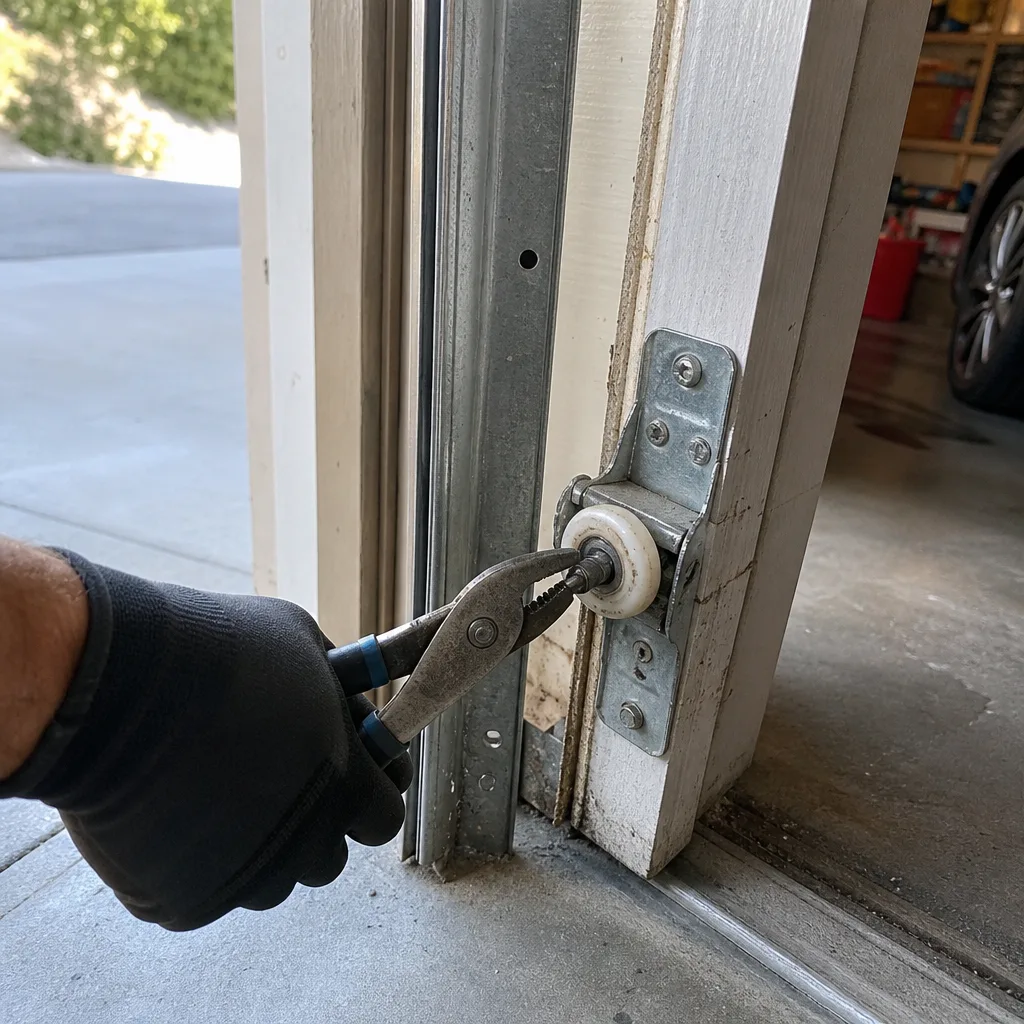
- Roller stems not fully seated. Each roller has a stem that seats into a hinge or bracket. If the stem isn’t fully seated, the roller binds in the track and the door shudders as it moves. Look for stems that look cocked or rollers that don’t spin freely when the door is down.
- Misaligned track brackets. Track brackets hold the vertical and horizontal tracks in position. Misalignment shows up as a visible gap between the track and the door edge, or tracks that aren’t plumb when you hold a level against them.
- Lag bolts into drywall instead of framing. The brackets that carry the door’s weight must be lag-bolted into solid wood framing or into the header above the opening – never into drywall alone. Drywall anchors holding a garage door bracket will pull out within a season or two.
- Missing lag bolts. Count them. Every bracket has a spec for how many fasteners. If half are missing, the job isn’t finished – it just looks finished.
- Hinges without grease or dry silicone. New hinges should come treated. If yours squeak on day one, they weren’t.
We’ve seen doors in Whitney where the top bracket was lag-bolted into the drywall patched over old framing – the bracket held for a few months and then pulled, dropping the panel and bending the track. That’s a $60 fix on install day or a $400 repair by fall. If you’re seeing hardware shortcuts, get a Garage Door Repair in Whitney inspection to confirm what’s actually holding.
The Balance Test Every Homeowner Should Perform
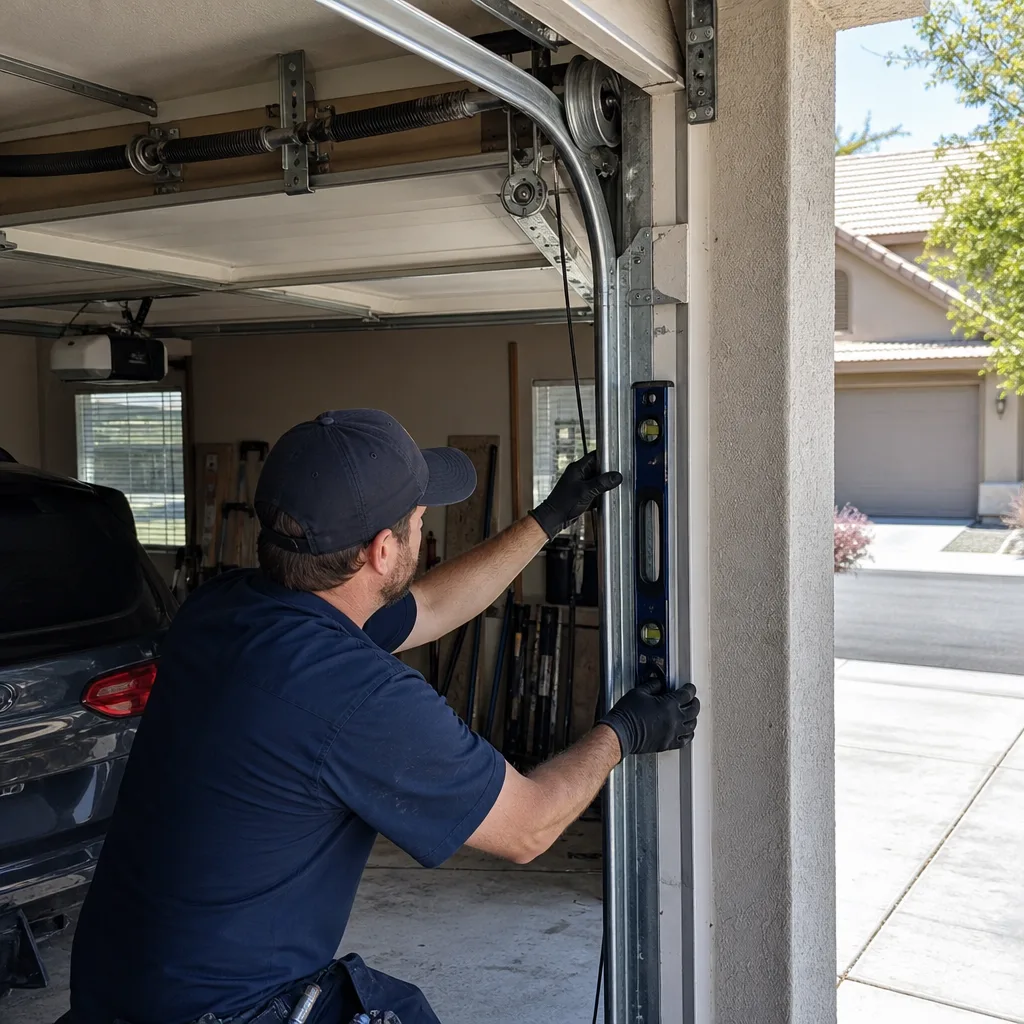
The balance test is the single most useful thing you can do the day of installation, and most homeowners have never heard of it. Here’s how to run it safely:
- Disconnect the opener. Pull the red emergency release cord (it’s usually hanging from the trolley carriage). This puts the door into manual mode. Never run the balance test with the opener engaged.
- Lift the door by hand to waist height. About 36 inches off the floor. Use a firm grip on the bottom section.
- Release the door and step back. A correctly balanced door stays where you put it, or moves less than an inch.
- Repeat at shoulder height and near the top. The door should hold at each position, not drift down.
- Reconnect the opener. Pull the release cord to re-engage the trolley carriage once you’re done.
If the door drifts down or slams, the springs are under-tensioned, mismatched, or wrong for the door weight. If the door creeps upward on its own, the springs are over-wound – equally wrong. Neither is a job to adjust yourself; call the technician back. Any installer who claims a drifting door is “just settling in” is telling you the spring tension wasn’t set correctly on install day.
For a door that’s already drifting after a recent install, an opener that’s straining is often the first symptom you notice – our Garage Door Opener Repair & Installation in Whitney team checks the balance first before touching the motor.
Opener Installation Red Flags
Opener installation is where aesthetics trump function. Watch for these:
- The rail isn’t level with the door. The opener rail should be plumb and level with the door’s travel. A rail that angles up or down puts uneven pressure on the trolley carriage and limits.
- The bracket isn’t lag-bolted into a ceiling joist. Same rule as the door brackets. Drywall anchors won’t hold the opener’s weight plus the pull of the door.
- No safety-reversal test. The opener must reverse when it hits an obstruction. Some of the major brands – LiftMaster, Chamberlain – have specific test procedures. The technician should perform the test and show you the result.
- No wiring diagram left behind. Wall control, safety sensors, and any smart-home module should be wired and documented. If there’s no diagram or photo of the wiring, the next tech has to guess.
- The safety sensors aren’t aligned. The two sensors at the door floor should be aligned and their indicator lights steady – not blinking. If they’re blinking, the wiring or alignment is off.
If you’re upgrading an older Craftsman or Raynor door with a new opener, the install is the right time to verify the door’s balance and spring tension too, not just the motor.
The Paper Trail: Documentation Failures That Become Warranty Problems
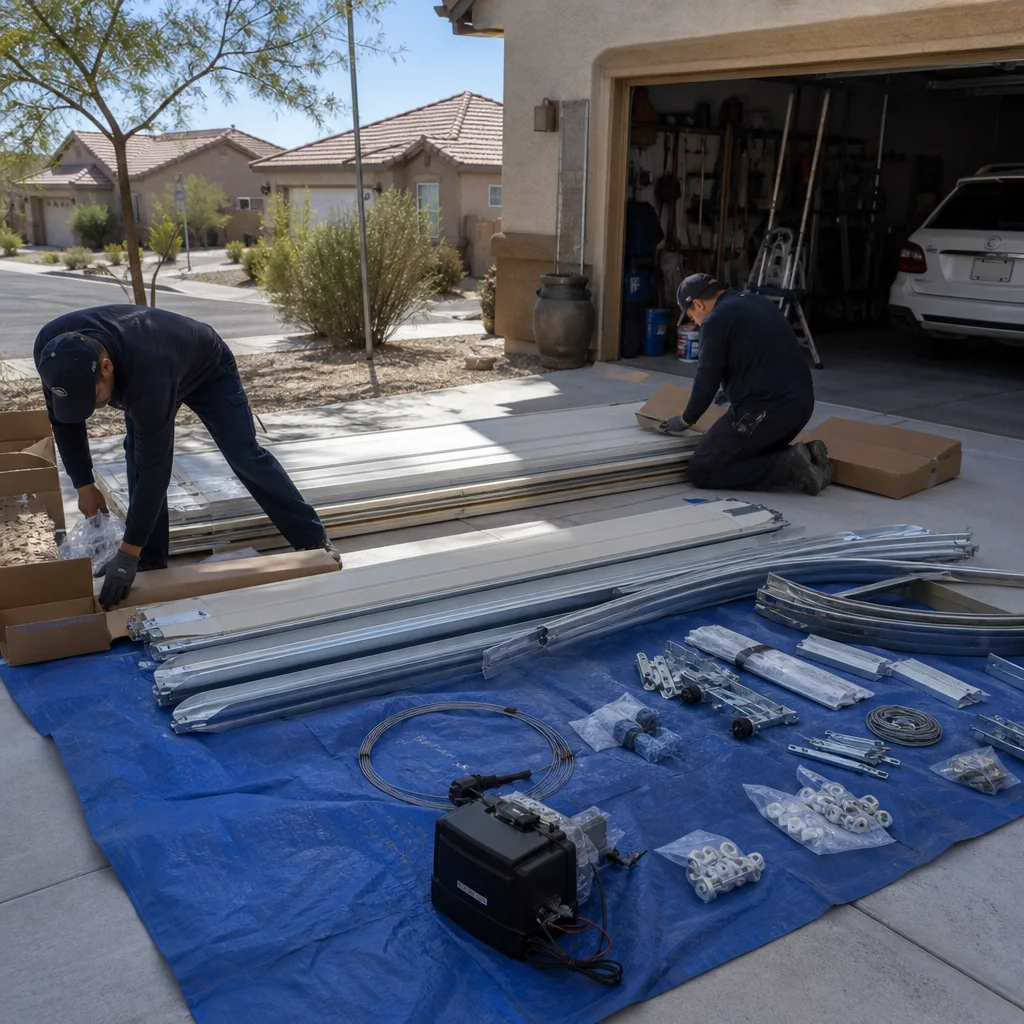
Documentation is the least sexy part of installation and the most expensive to skip. When a spring fails at month 14, the difference between warranty coverage and a repair bill is the paper in your hand.
A complete post-installation package includes:
- An itemized receipt listing the door, springs (with load rating), tracks, hinges, rollers, and opener – each with model and part number.
- Load rating documentation for the springs – the spring cycle rating is the single most important spec. A standard 10,000-cycle spring is not the same as a 25,000-cycle spring, and the documentation tells you which you paid for.
- The opener wiring diagram, plus any smart-home setup notes.
- Photo documentation of the findings and the completed work – the “before” hardware, the frame condition, the finished install.
- A written warranty statement in plain language, not a brochure with asterisks.
If the technician leaves without any of those, you have a verbal promise and nothing else. We built the documented photo record into every visit for this reason – Clause 4 of The Haven Standard is that the customer sees the failed part before anyone quotes a replacement, and that carries through to a full written record at handoff. On installations, the same rule applies in reverse: you see the parts that went in, documented.
Why Whitney Installations Fail Differently
Whitney’s climate and housing stock put particular pressure on garage door installs, and the signs show up differently here than in coastal markets.
Our summer heat (routinely over 105°F) expands door and frame materials, and the garage interior can hold 130°F. Doors installed in July without proper measurement of the expansion gaps will bind in September when the temperature drops. Springs matched to a door at 75°F may test out of spec at 115°F. We measure the rough opening and confirm spring rating against local conditions, not just the manufacturer’s chart for averaged locations.
The Whitney housing stock is also dominated by homes built in the 1990s and 2000s, when standard garage door sizes and framing spacing were different than today’s. A door spec built for a 16-foot-by-7 door opening needs to be verified against the actual rough opening in your garage, not assumed from the model age. We’ve measured more than a few Whitney garages where the nominal size was off by an inch or more due to settling.
If your garage door faces west or south – common in Whitney neighborhoods with west-facing driveways – the door takes direct afternoon heat and UV. Insulated door grades, weather stripping, and spring ratings all need to account for that sun exposure. A budget door installed the same way as a neighbor’s east-facing door will fail faster, and the warning signs are visible on install day when no one thought to ask the door’s orientation.
New to the area and unsure who to call? Start with the Servo Garage Doors Whitney home page to see how the process works, or go straight to a written quote with Garage Door Installation in Whitney.
Common Mistakes to Avoid
- Accepting a verbal price. A ballpark over the phone is not a quote – it’s an anchor. Get a flat, written price and written scope before the door is unloaded.
- Skipping the balance test because the door “looks level.” Level on day one says nothing about the spring tension. Lift it to waist height and let go.
- Not asking to see the old hardware. Whether it’s a spring, an opener, or a track bracket, the technician should show you the failed part before quoting a replacement. If the answer is “we took it with us,” that’s a documentation problem.
- Ignoring the opener wiring. A door without a wiring diagram is a door that makes the next technician’s job guesswork. In Whitney, that often means a service call for a wiring fault you paid for once already.
- Assuming the framing is sound because the old door worked. Settling and drywall repairs are common in Whitney’s older builds. The new bracket needs fresh lag bolts into framing, not just into the old holes.
- Not asking which major brand the door or opener is. A LiftMaster opener with a Chamberlain remote, mixed springs, or a mismatched track set is a symptom of an install done in a hurry. The brand spec matters when you call for service.
- Tossing the paperwork. The itemized receipt, the load rating for the springs, and the written warranty statement are the only evidence you have at month 14. Put them in a file.
See the difference
BeforeAfter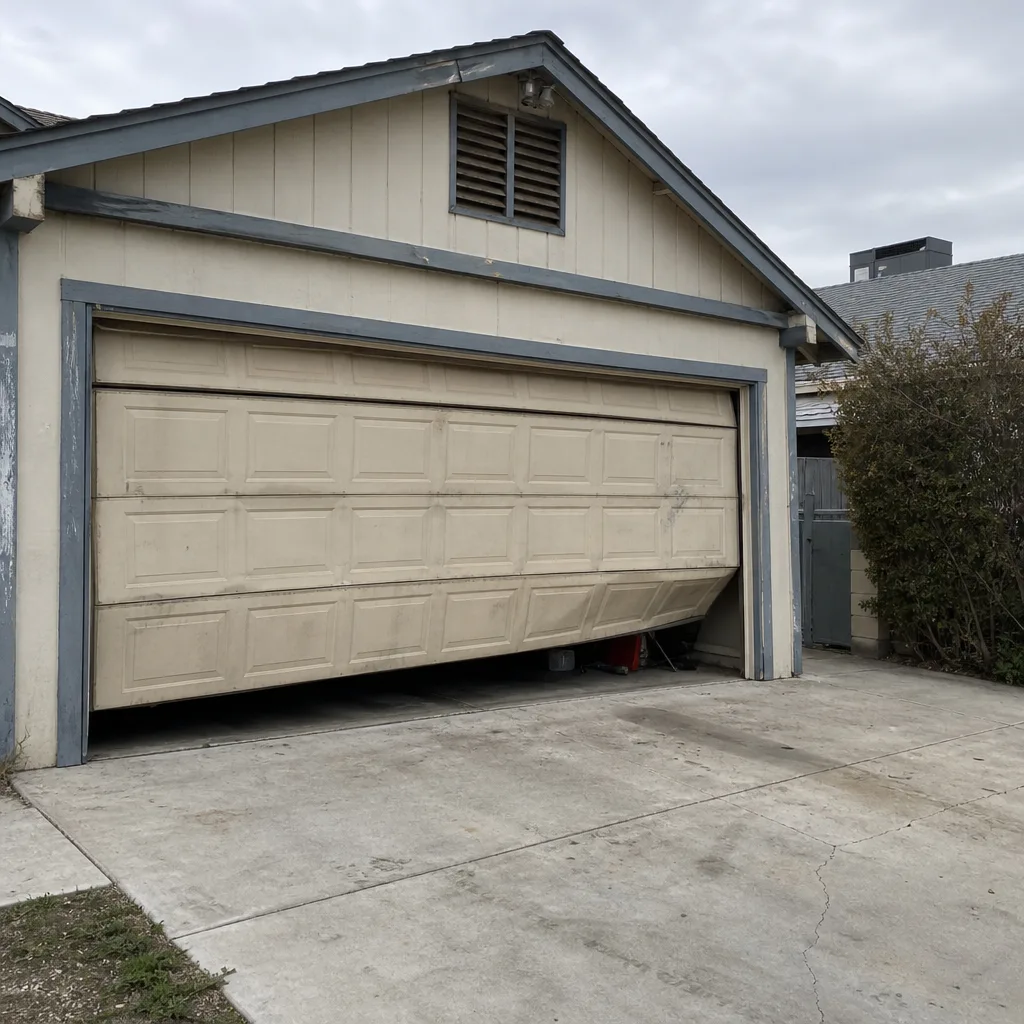 Before
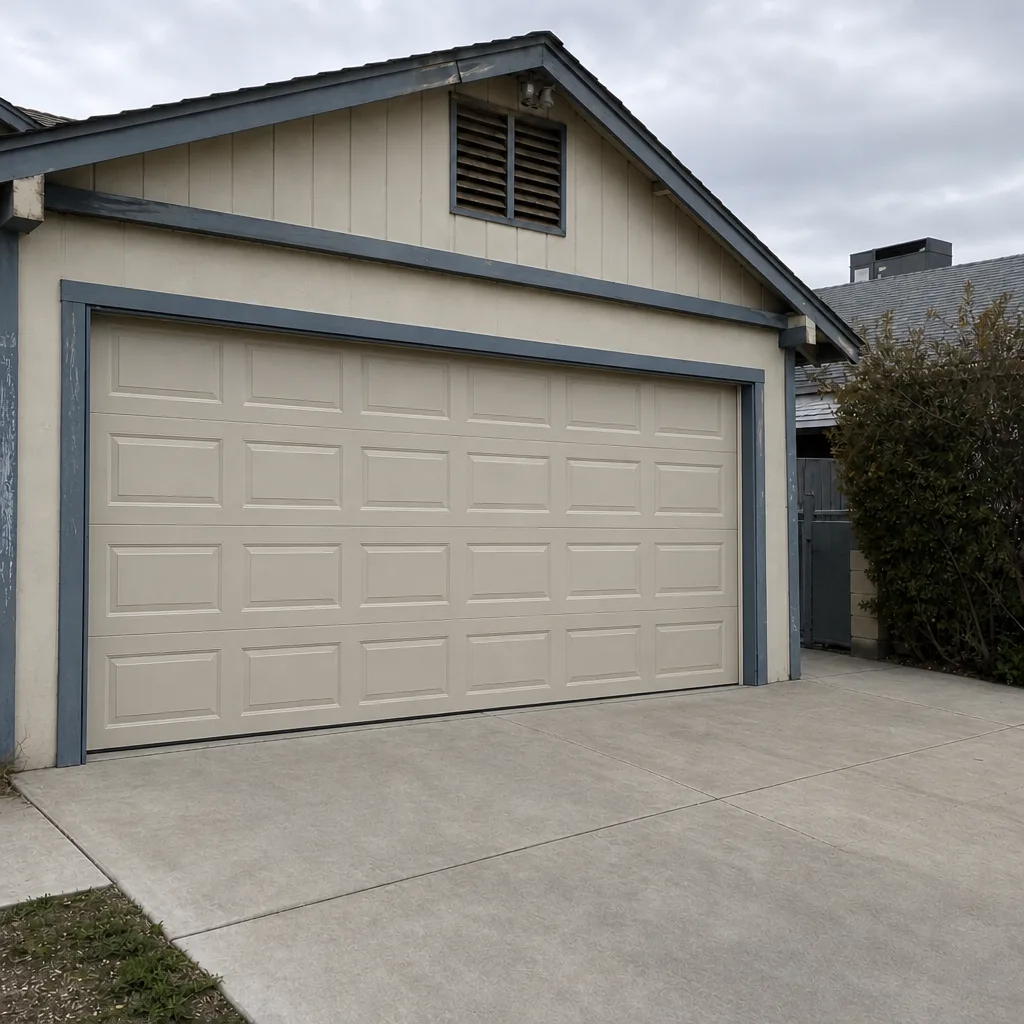 After
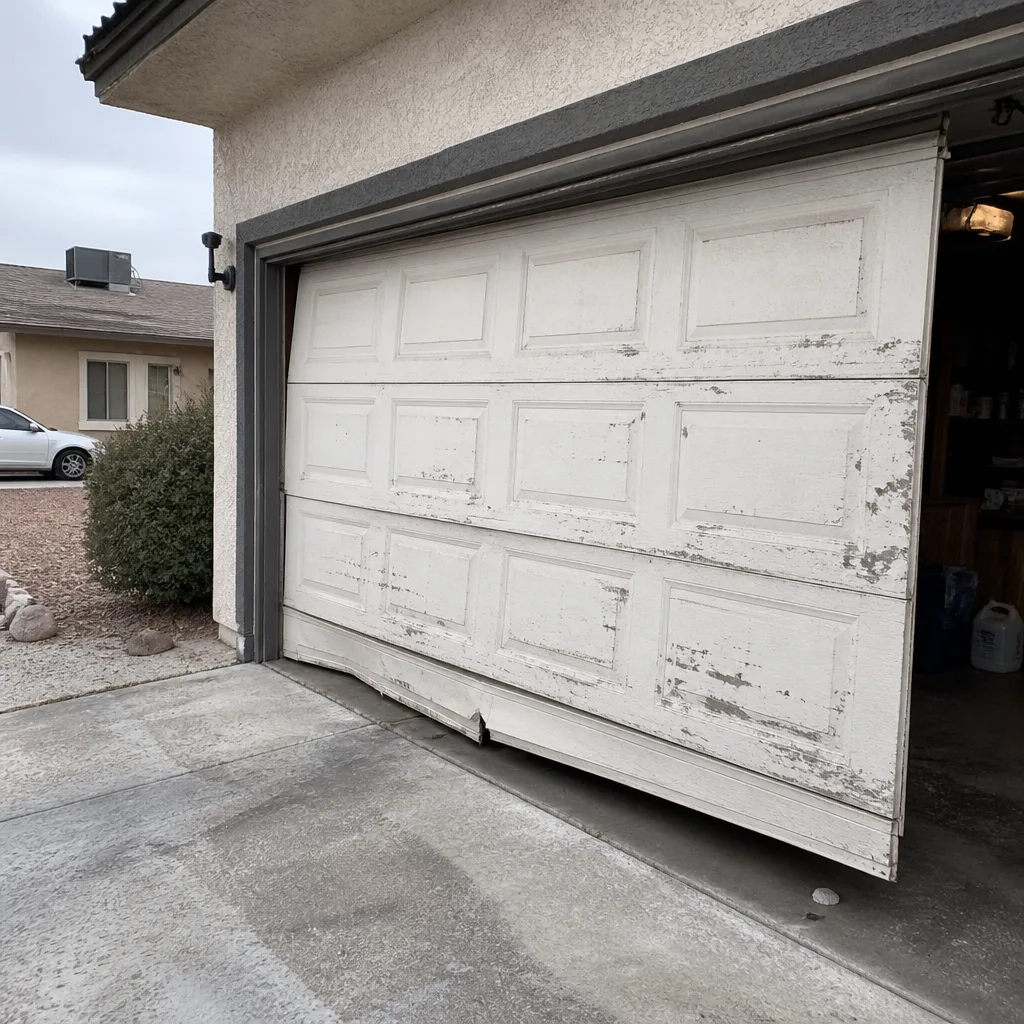 Before
 After
When to Call a Professional
If you’re in the middle of an installation and any of these are true, stop the job and call a professional: the technician can’t produce a written price or scope, the door hasn’t been measured against the rough opening, or the spring tension is being set without a test. After the install, call for a professional balance test and hardware inspection if the door drifts on the hand-release test, if the rollers look cocked, or if the opener reverses without an obstruction. Do not adjust torsion springs or cables yourself – the stored energy in a wound spring is the most dangerous component in the garage. A trained professional can measure the door’s condition and put the findings in writing. Servo Garage Doors Whitney offers free estimates in Whitney – call (888) 402-1096 to have an experienced technician measure and document what’s actually happening.
Frequently Asked Questions
The procedural ones are the biggest. No written quote before work begins, no measurement of the rough opening before the door is unloaded, no spring tension test, and lag bolts into drywall instead of framing are the four signs that predict most callbacks. Cosmetic issues – a sagging panel or a gap at the floor – are the consequences of those procedural misses, not the cause. Call (888) 402-1096 for a second opinion on any installation in Whitney, and we’ll walk through what should have been done.
Garage door installation in Whitney typically runs $1,100 to $2,600 for a standard single door and $2,200 to $4,800 for a double door, installed. Insulated and carriage-house grades run higher, and opener installation adds $350 to $650. The exact price depends on the door size, grade, and the condition of your rough opening. We quote a flat, written price before any work begins, per Clause 1 of The Haven Standard – call (888) 402-1096 for a free written estimate.
Run the balance test. Disconnect the opener with the release cord, lift the door to waist height, and let go. A correctly tensioned door stays put; a drifting door has a tension problem. Do not adjust the spring yourself – torsion springs store enough energy to cause serious injury. Call a trained professional to re-check the tension. Call (888) 402-1096 and we’ll measure it and put the findings in writing.
An itemized receipt with model and part numbers, the springs’ load rating and cycle rating, the opener wiring diagram, and photo documentation of both the existing hardware and the completed work. A written warranty statement should also be in hand before the technician leaves. If any of those are missing, ask for them in writing. Call (888) 402-1096 to have a technician document an existing install you’re questioning.
Yes. We see improper spring tensioning, drywall-anchored brackets, misaligned tracks, and undocumented openers regularly in Whitney. We start with a full inspection, then quote a flat written price for the correct work, and we don’t touch anything until you’ve agreed to the total. If you have a written estimate from another company, we’ll give you a free second opinion – bring the paperwork. Call (888) 402-1096 to schedule.
No, not once the written price is agreed. If we find something during the installation that genuinely changes the scope – damaged framing, a mismatched rough opening – we stop, explain what we found with photos, and give you a new written price before doing any additional work. Nothing happens without your approval. Call (888) 402-1096 for a free written estimate.
The Bottom Line
Garage door installation is a sequence of small procedural decisions that compound into either a door that lasts or a callback. Watch the process, not just the finished product. The written price before work starts, the measured rough opening before the door comes off the truck, the spring tension test, the balance test you run yourself at waist height, and the itemized receipt with load rating and photo record – those five things tell you how the next five years of that door will go. In Whitney heat especially, they matter more than the brand on the door.
If you’re in the middle of an install in Whitney and something feels off, or you’re about to book and want a written quote in hand first, call (888) 402-1096 for a free estimate. We answer live, we photograph what we find, and we put the price in writing before any work begins.
Written by the team at Servo Garage Doors Whitney.