
Last updated November 18, 2026
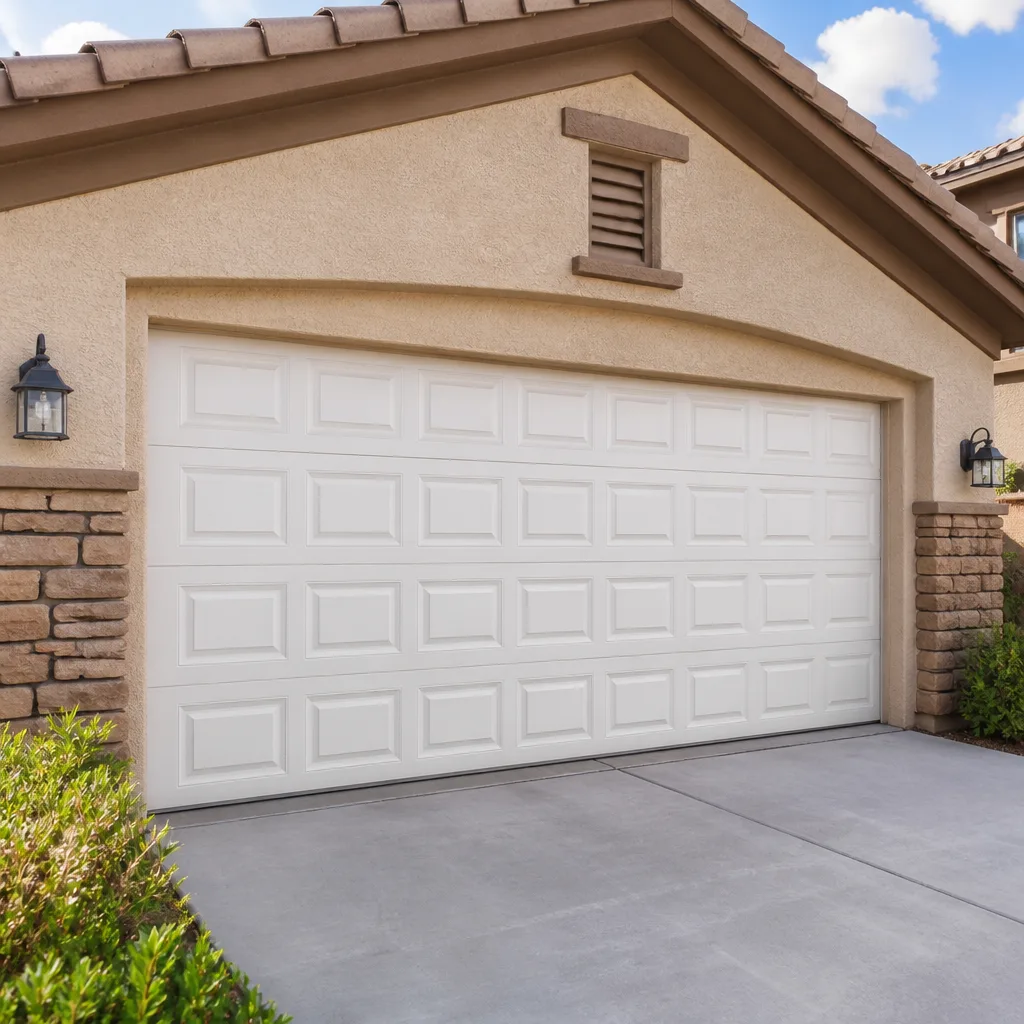 Raised-panel steel
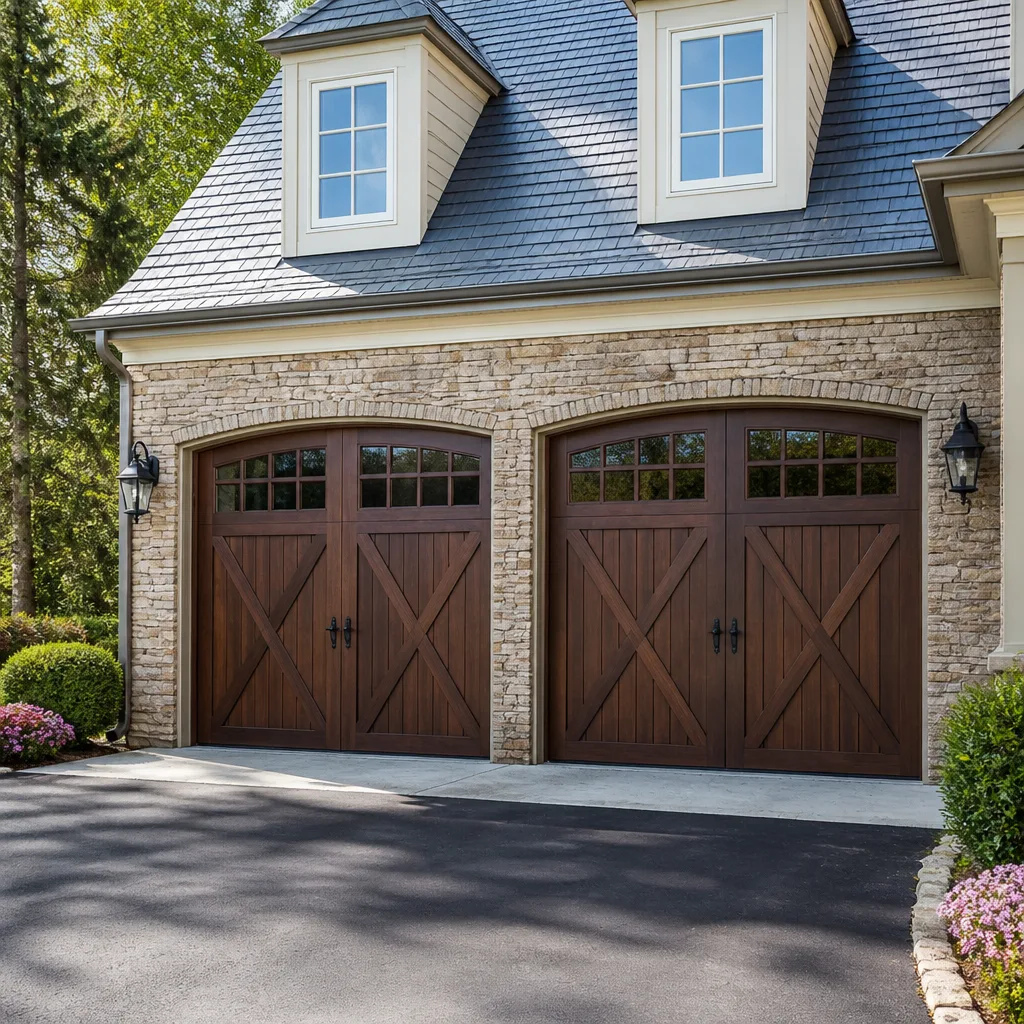 Carriage house
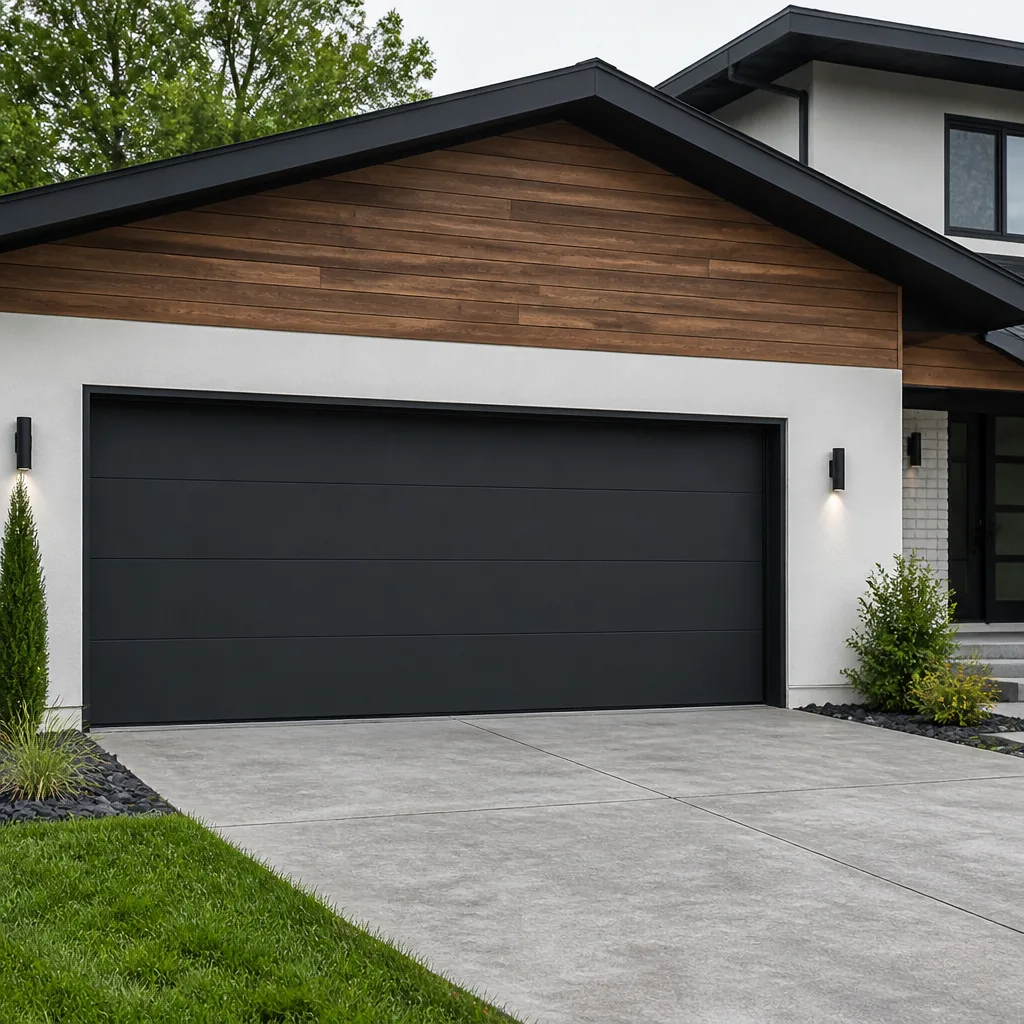 Modern flush
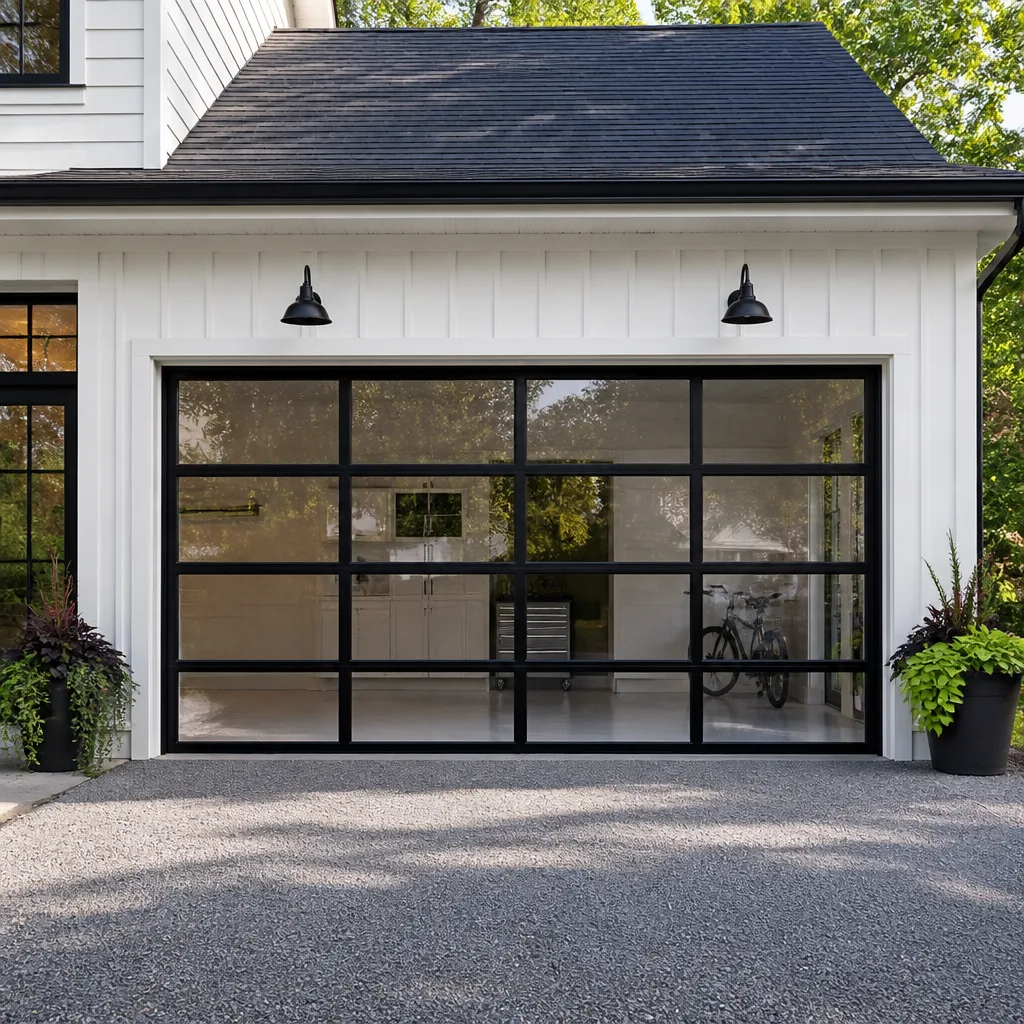 Full-view glass
 LiftMaster openers
 Chamberlain openers
Full 25-point door and opener safety check with every visit - springs, cables, rollers, tracks, and your LiftMaster or Chamberlain opener included
You get a price before we start. It does not change when the pro arrives.
Get your free estimateDIY vs Professional Garage Door Installation: What’s Safe to Do Yourself
A spring wound two quarter-turns short of specification produces a door that works fine for a year. It also produces a cable carrying roughly 15% more load than it was designed for, and cables don’t announce when they’re about to let go. That gap between “works fine” and “installed correctly” is where most DIY garage door projects quietly fail, and it’s the reason this guide exists. We’ll walk through what a professional installation actually includes, which tasks you can genuinely handle yourself, and where the line sits. If you’re weighing a new door in Whitney, this is the honest breakdown.
Quick Answer
Painting panels, installing frame weatherstripping, and mounting a keypad are safe DIY tasks. Everything involving stored mechanical energy, spring tension, or the high-voltage opener connection should be handled by a trained installer. A full garage door installation is not a reasonable DIY project for most homeowners, and the failure mode isn’t a visibly bad result. It’s an installation that passes the eye test and fails 18 months later under load.
Styles & brands we work with
- Raised-panel steel
- Carriage house
- Modern flush
- Full-view glass
- LiftMaster openers
- Chamberlain openers
Table of Contents
- What a professional installation includes that you can’t see
- The installation tasks that are genuinely safe to DIY
- Why torsion spring winding separates installation from assembly
- Clark County permits and inspection: what’s actually required
- The paperwork a professional installer leaves behind
- DIY cost vs professional cost: the real math
- Common mistakes to avoid
- When to call a professional
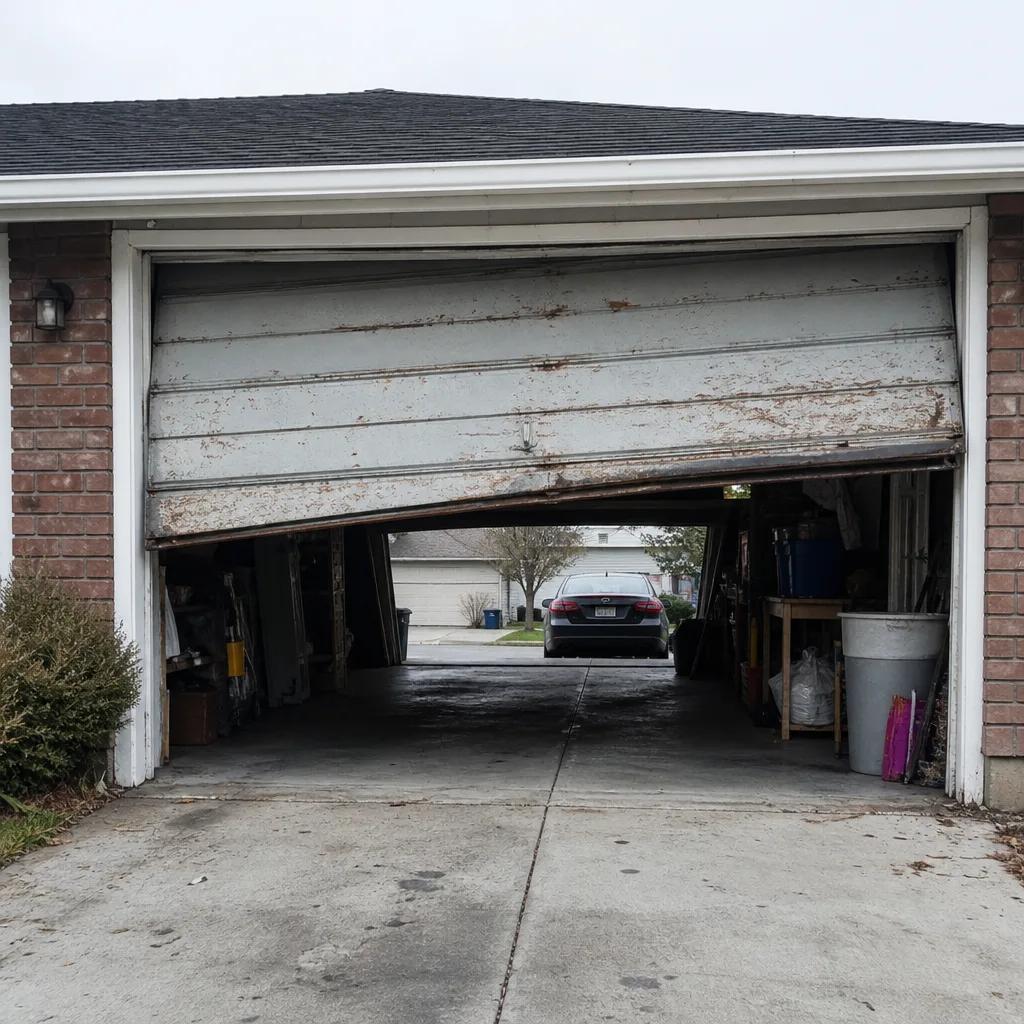 Before
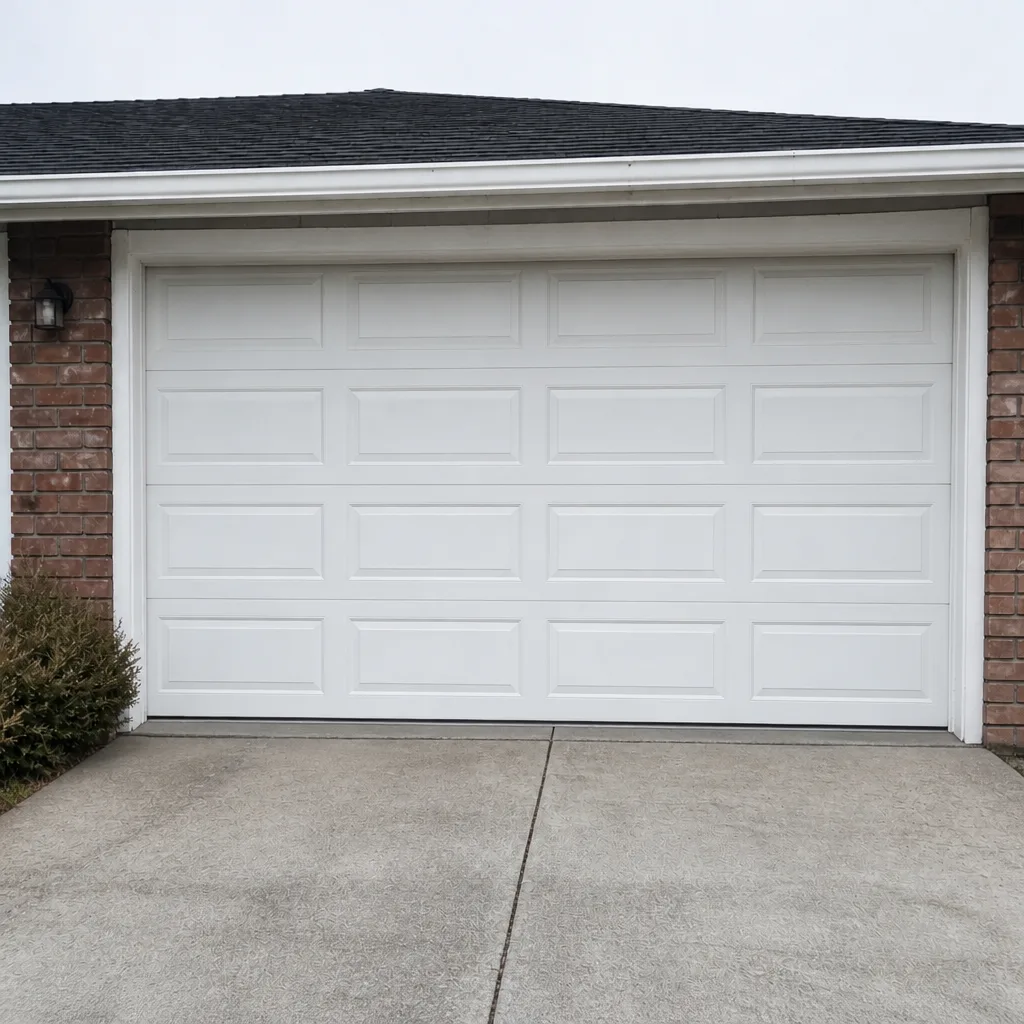 After
What a Professional Installation Includes That You Can’t See
The finished product looks the same either way. A door hung correctly and a door hung almost-correctly both open and close on the first try. The difference lives in three measurements a professional takes that a DIY installer typically skips.
Spring wind calculation. Torsion springs are specified by wire diameter, inside diameter, and length, then wound a defined number of turns based on the door’s actual weight. A pro weighs the door on a scale or uses the manufacturer’s rated weight for that exact model. They don’t estimate by lifting it. A door that weighs 145 pounds instead of the 130 pounds the installer assumed needs a different spring or a different wind count. Get this wrong and you get the scenario from the opening paragraph.
Cable drum groove inspection. Cable drums have helical grooves that guide the lift cable as the door travels. New drums are inspected for burrs and correct sizing; reused drums are inspected for wear. A drum with a worn groove will let the cable slip out under tension. That’s a drop, not a stall.
Opener force calibration to UL 325. The opener’s force settings control how hard the motor pushes before it reverses. UL 325 is the safety standard requiring the door to reverse on contact with a 2-inch object. A pro sets the open and close force, then tests reversal with a test block. Most DIY installations run the opener at default and never touch the force settings, which means the door may not reverse when it should. If you already have an opener in place and want it checked or replaced, our Garage Door Opener Repair & Installation in Whitney page covers what that looks like.
None of this appears in a photo of the finished door. It appears in how the door behaves two winters from now, when the springs have cycled 10,000 times and the cable is doing exactly the load it was given.
The Installation Tasks That Are Genuinely Safe to DIY
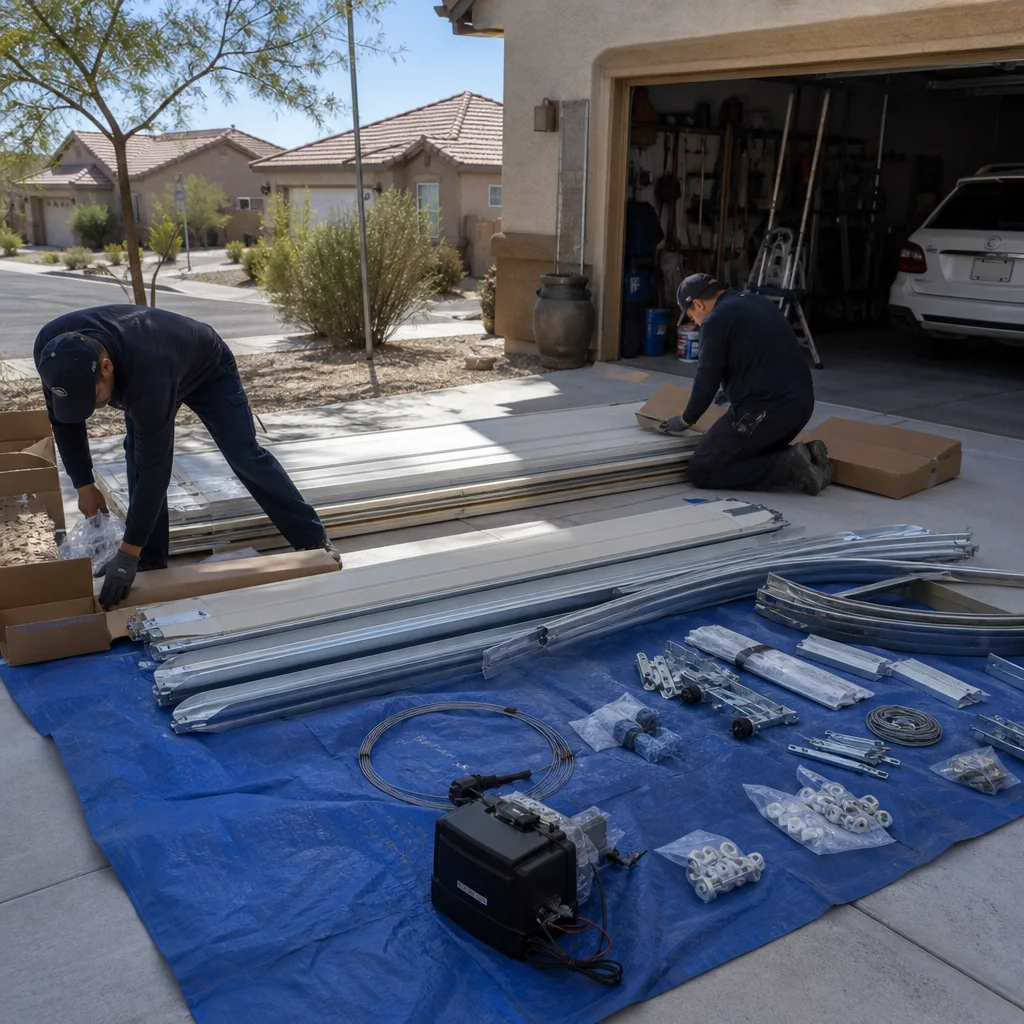
A handful of installation steps involve no stored energy and no electrical risk. These are worth doing yourself if you want to spend the time, and doing them right makes the finished job look and perform better.
1. Painting or prefinishing panels before installation
Once the door is up, painting around hinges, seams, and the bottom seal is awkward and shows every lap mark. Panels laid flat on sawhorses paint evenly and dry without runs. If you’re installing a steel Clopay or Amarr door with a factory primer, this is the best moment for a topcoat. Check the door’s finish requirement first: some steel doors ship with a baked-on finish that shouldn’t be top-coated for a set period.
2. Installing weatherstripping on the frame jambs
The vinyl or rubber strip that seals the gap between the door face and the frame is a low-skill task. Measure the jamb height, cut the strip square, and nail the retainer in a straight line. The one thing to check is that the strip compresses against the door without the door pinching it; a strip that’s too thick will drag and look like a door problem later.
3. Mounting the wall keypad
A keypad installs with two screws and a battery. If the door is already up and the opener is programmed, mounting a LiftMaster or Chamberlain keypad is a ten-minute job. The only coordination step is programming the PIN to the opener, which is covered in the opener’s manual and does not involve opening the unit.
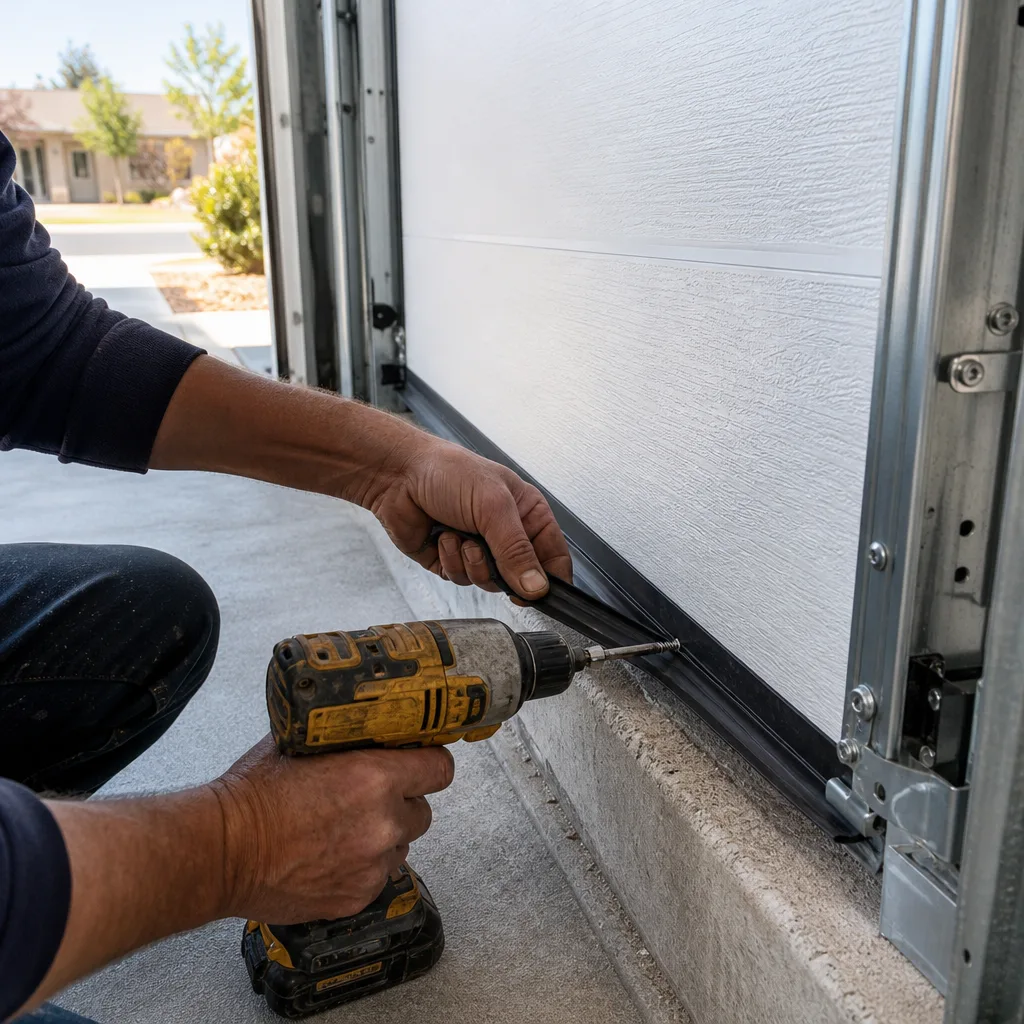
4. Installing the bottom seal
The bottom seal slides or pushes into the retainer on the door’s lowest panel. It’s a friction fit. Do it while the door is down and the retainer is easy to access. A seal that’s correctly installed lets you read a clean line of light under the door when it’s closed. If you see light leaking in spots, the floor or the seal needs attention, and that’s a diagnostic issue rather than an install issue.
What these tasks have in common: no springs, no cables, no opener wiring, no lifting load. That’s the line. If a step involves changing the energy state of anything under tension, step away from it and read the next section.
Why Torsion Spring Winding Separates Installation From Assembly
Torsion springs sit above the door on a metal shaft and store the energy that lifts the door. A standard residential door carries one or two of them, typically 0.218-inch to 0.250-inch wire diameter on doors in the size range most Whitney homes have. Winding a spring means taking that straight coil and twisting it 7 to 12 quarter-turns, depending on the door, which loads it with roughly 100 to 150 foot-pounds of energy in a single spring.
Releasing that energy incorrectly is the injury mechanism behind most garage door emergency room visits each year. The specific danger points:
- The winding bar slips. The correct tool is a pair of steel winding bars sized to fit the spring’s cone holes. Screwdrivers, punches, and hex keys do not fit the cone and will slip out under load. The bar becomes a projectile, and the human holding it is usually closest to the arc.
- The set screws weren’t tightened. The winding cone is held on the shaft by two set screws. If they aren’t seated in the shaft properly, the cone will spin with the spring when it’s released. Easy to miss if you’re learning from a video.
- The wind count is wrong. This is the case in our opening hook. A wind short by two quarter-turns looks fine because the door’s weight almost balances. The opener runs it up and down and nothing feels wrong. The cable carries the extra load and fails later.
- The springs aren’t matched. Doors with two springs require matched pairs by wire diameter and length. Mismatched springs give a door that tracks unevenly and unloads one spring faster than the other.
There’s a reason professionals use two winding bars and never one. The second bar stays in a cone hole while the first is repositioned, keeping the spring under control at every moment. If you’re managing a spring that’s already broken, our Garage Door Repair in Whitney page covers the repair side; a broken spring is a call, not a Saturday afternoon project.
We name this explicitly in our own work: Clause 4 of The Haven Standard is why a technician photographs the spring before quoting a replacement. You see the wire diameter, the coil break, and the specification before you see a number. That’s not a marketing gesture. It’s the difference between being told what’s wrong and being shown.
Clark County Permits and Inspection: What’s Actually Required
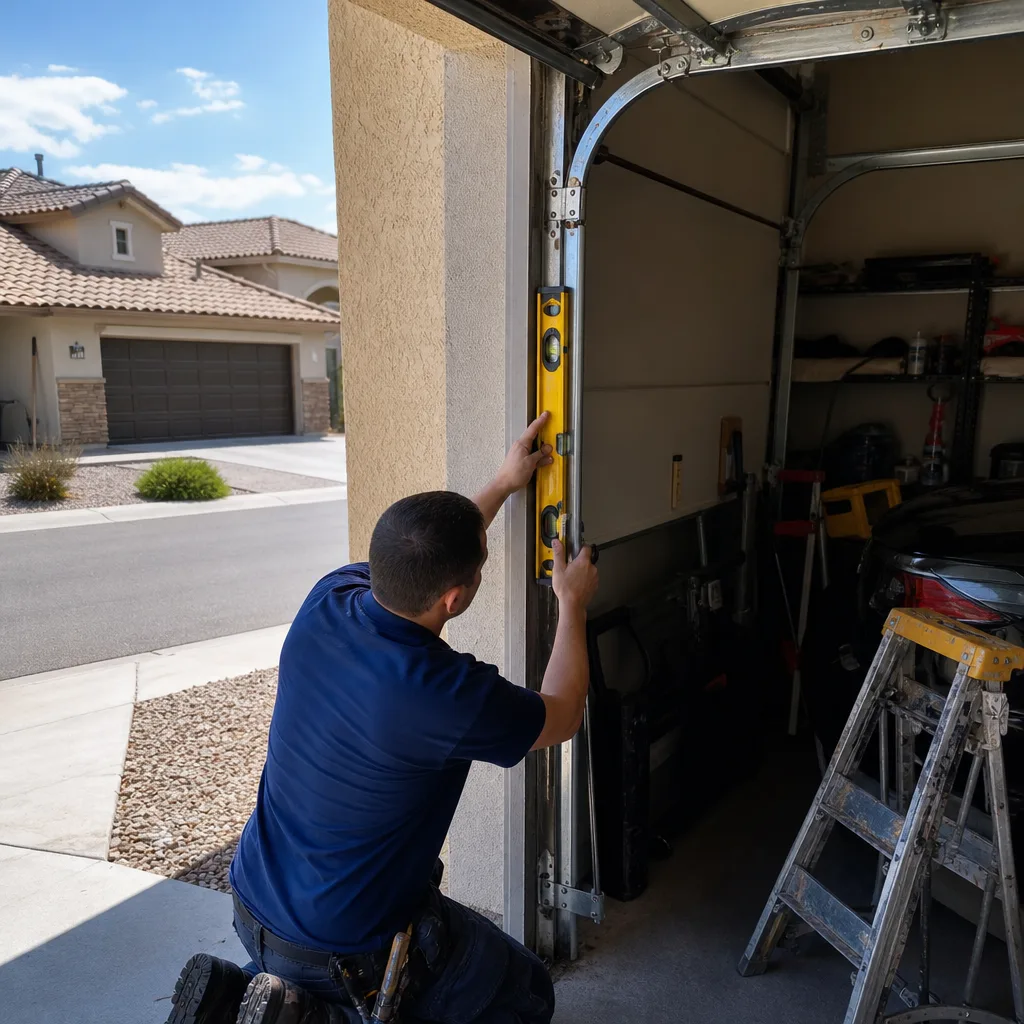
Garage door replacement in Clark County sits in a gray area of permit rules, and the answer depends on scope. Replacing a door on an existing opening with the same dimensions and same operating mechanism typically doesn’t require a permit. Change the opening size, change from a single-car to a double-car door, or alter the header above the door, and you’re in structural territory that requires one.
When a permit is pulled, the inspection covers three things:
- The door’s labeling confirms it meets the applicable safety standard (the door carries a label from the manufacturer identifying it as meeting UL 325 or the current equivalent).
- The opener’s reversal mechanism works as designed: the door reverses on contact with a 2-inch test block, and the photo-eye safety sensors trip when blocked.
- The door’s hardware and track are securely mounted, and the opening was framed to the door’s specifications.
Why this matters beyond code compliance: at resale, a door that was replaced without a permit where one was required can create a disclosure problem. Clark County home inspectors routinely flag door replacements that lack documentation, and the buyer’s lender may want the permit closed before closing. The cost of a permit is small compared to a stalled sale.
If your door replacement is part of a larger remodel in a Whitney neighborhood like Summerlin or Southern Highlands, where HOA architectural review usually runs alongside the county permit, ask the installer which approvals they’re coordinating. Whitney’s building department doesn’t inspect onto HOA requirements, and the HOA doesn’t inspect onto the county’s. Somebody has to line both up.
The Paperwork a Professional Installer Leaves Behind
What you get at the end of a professional installation tells you whether the job was actually done to spec. A three-page packet should mark the difference.
The spring specification sheet. This is a one-pager naming the door’s rated weight, the spring model installed, the wire diameter, the inside diameter, the length, and the wind count applied. If the springs ever break, the next technician can match them exactly without guessing. Without this sheet, a future spring replacement involves measuring the broken spring and hoping nothing was off the first time.
The opener programming sheet. The model number, the travel-limit settings, and the force-setting values recorded at install. If a limit drifts six months later, the next visit starts from a known baseline instead of from scratch.
Auto-reverse test results. The date, the test performed, and a note that the door passed. This is the single document a home inspector or buyer will want to see at resale.
We hand over a documented photo record on every job: photos of the door before, the opening prepped, the springs installed with their specification visible, and the door operating at completion. That photo record exists because of the rule the company was built on in 2015: the customer sees what’s actually there. Between the written price and the final photos, there shouldn’t be a gap where you have to take anyone’s word for anything.
If you’ve received a written installation estimate from another company and want a second read on it, our Garage Door Installation in Whitney page walks through what the estimate should contain. We offer a free second opinion on any written estimate – bring the paperwork.
DIY Cost vs Professional Cost: The Real Math
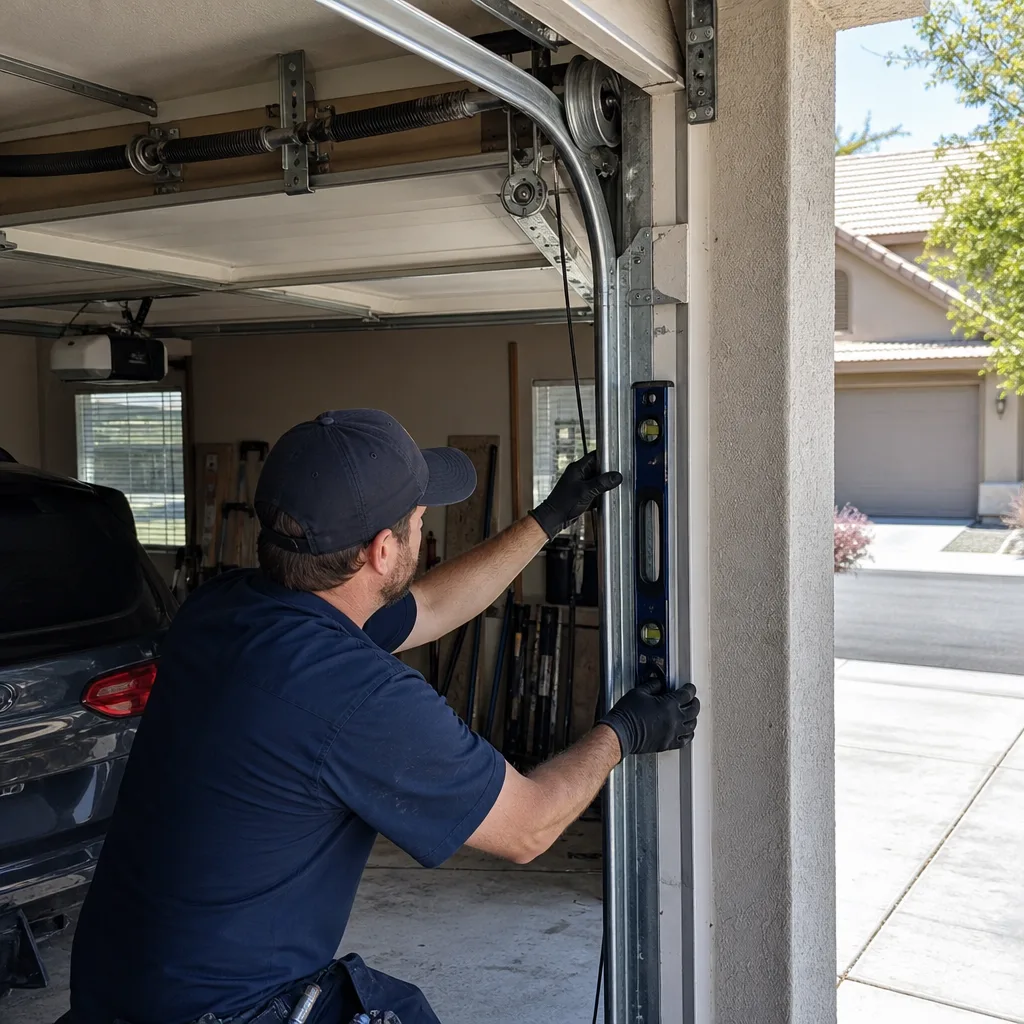
DIY installation math usually starts with the door and the springs. It rarely includes the tools, the permit, or the second attempt. Here’s the honest comparison using typical Whitney-area ranges.
| Item | Typical DIY cost | Professional installation (all-in) |
|---|---|---|
| Door and panels (single-car, steel) | $600 – $1,200 | Included |
| Track, hinges, rollers, and springs | $200 – $400 | Included |
| Window pane assembly | $60 – $200 | Included where specified |
| Winding bars and installation tools | $40 – $80 | Included |
| Opener and rail (if not reusing old) | $200 – $500 | Included where quoted |
| Clark County permit (if required) | $50 – $150 | Handled by installer |
| Warranty coverage on labor | None | 365-Day Done Right Promise on repairs |
| Rough total | $1,150 – $2,530 | $1,400 – $3,000 typical range for a single-car installed |
The gap is smaller than most people expect. Now consider the true cost of a DIY failure: a spring wound short takes roughly 18 months to damage a cable, and the cable fails on a random weekday morning when the door is up. The subsequent spring, cable, and drum replacement typically runs $400 to $800 on a door that should have been fine. Add the possibility of door panel damage from a dropped cable and the DIY savings vanish.
When professionals quote the job, the price is flat and written before any work starts. If the written price and the final invoice differ, that’s on the installer, not on you.
Common Mistakes to Avoid
- Using the wrong spring for the new door weight. A spring that fits physically may not match the door’s weight. Some Whitney homes in neighborhoods like Rhodes Ranch have doors with aftermarket window inserts that add several pounds the installer never accounted for; the spring is chosen by measurement, not by what the old door used.
- Skipping the force-setting test on the opener. The default force from the factory is rarely correct for the door. A door that wouldn’t reverse on a child’s toy will reverse on a 2-inch test block when it’s set right, and that test is one minute of work.
- Saving the old drum hardware when you replace the door. Reusing cable drums from the prior installation is how door drops happen. New doors should get new drums unless the existing ones are inspected and pass.
- Mounting the opener without back-hang support. The opener rail is only as strong as its angle-iron support against the ceiling. In Whitney’s summer heat, a rail hung from drywall anchors will sag; it needs solid mounting to framing.
- Ignoring the door’s finish requirement on new steel panels. Some steel doors ship with a factory finish that requires the panels to be at final installation position before final topcoat so the finish lays on the lap seams equally. Painting panels flat and then assembling is fine, but painting after installation without masking the hinges and rollers creates finishing problems that look like scratches later.
- Skipping the permit and thinking it doesn’t matter at resale. A missed permit is the kind of problem the buyer’s inspector will find and the closing agent will ask about. Even if you believe the door didn’t need one, get written confirmation from the installer that confirms the exemption so the file is clean.
- Assuming the door comes balanced. A new door requires balancing after installation: running it up and down, checking that it sits roughly evenly when released at the midpoint, then adjusting spring wind slightly if needed. Skipping the balance step is how the first week of using the door puts unnecessary strain on the opener.
When to Call a Professional
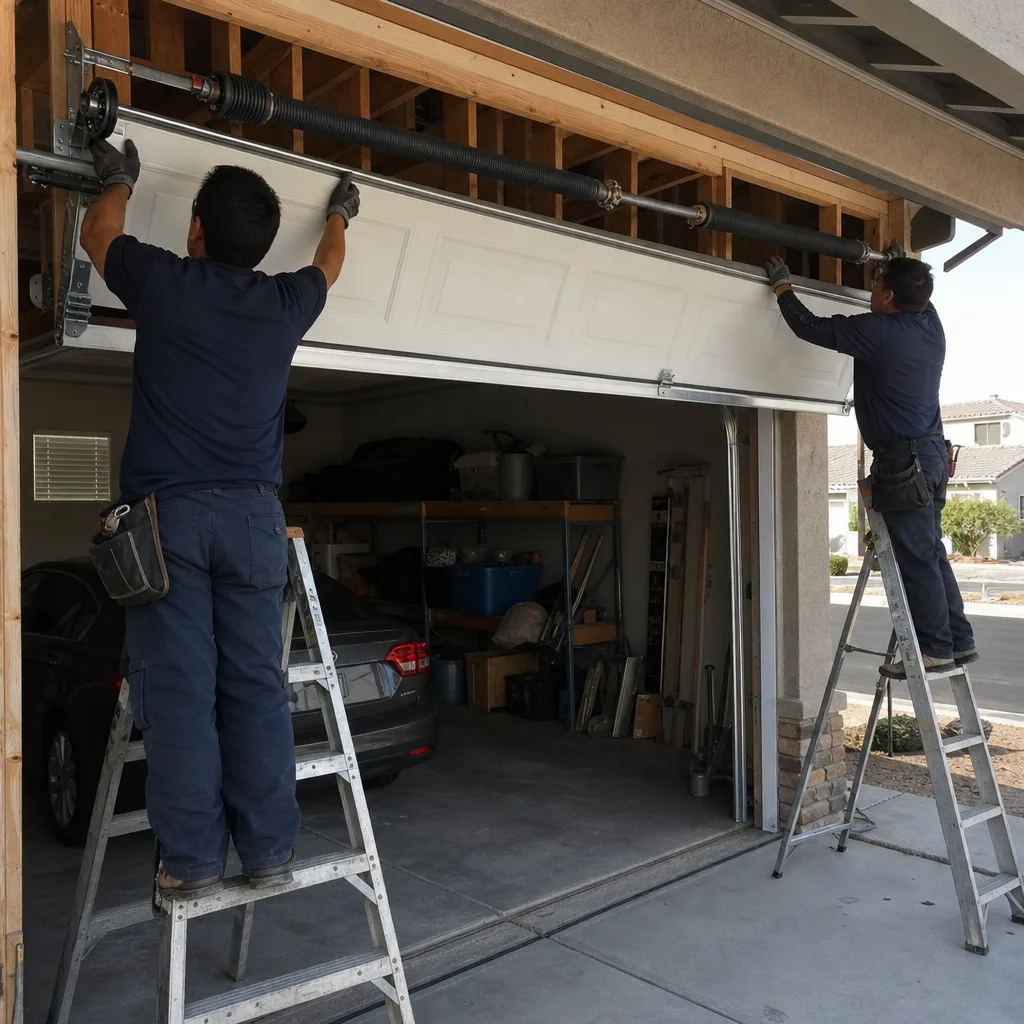
Call a professional if any of these apply: the door has torsion springs (almost all modern doors do), the door weighs more than about 100 pounds with hardware and glass, you’re replacing the opener or changing its wiring, the door opening is being modified in any dimension, or the previous door failure involved a snapped cable or a dropped door. Those aren’t DIY margins, they’re the job itself.
The other situation that calls for a professional is when you want the paper record for resale. A documented installation with spring specifications, opener programming, and auto-reverse test on file makes a home inspection of the door a non-event. Servo Garage Doors Whitney offers free estimates in Whitney – call (888) 402-1096. Our technicians have up to 11 years of experience, and the local pro working the job is licensed and insured per Nevada requirements. Every quote is a flat, written price before any work begins, and every visit closes with a documented photo record of what was found and what was done.
See the difference
BeforeAfter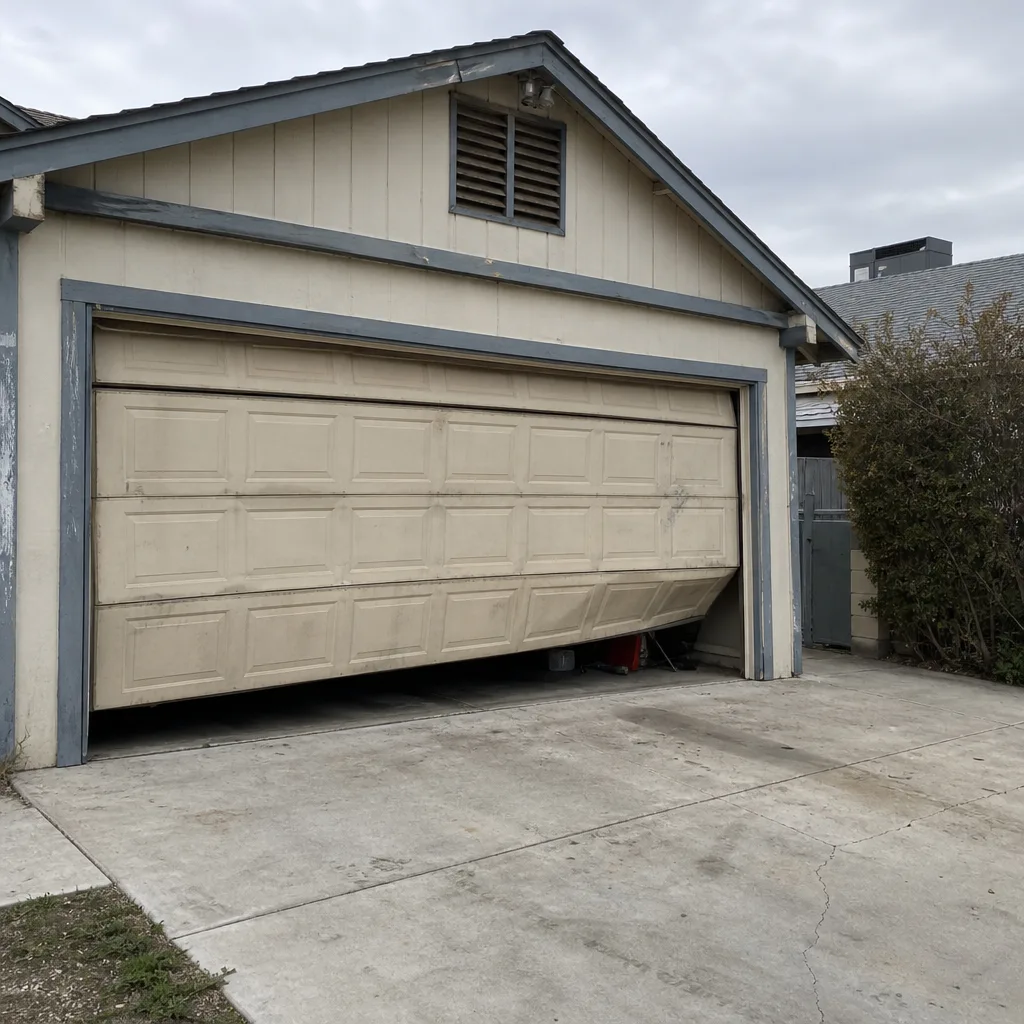 Before
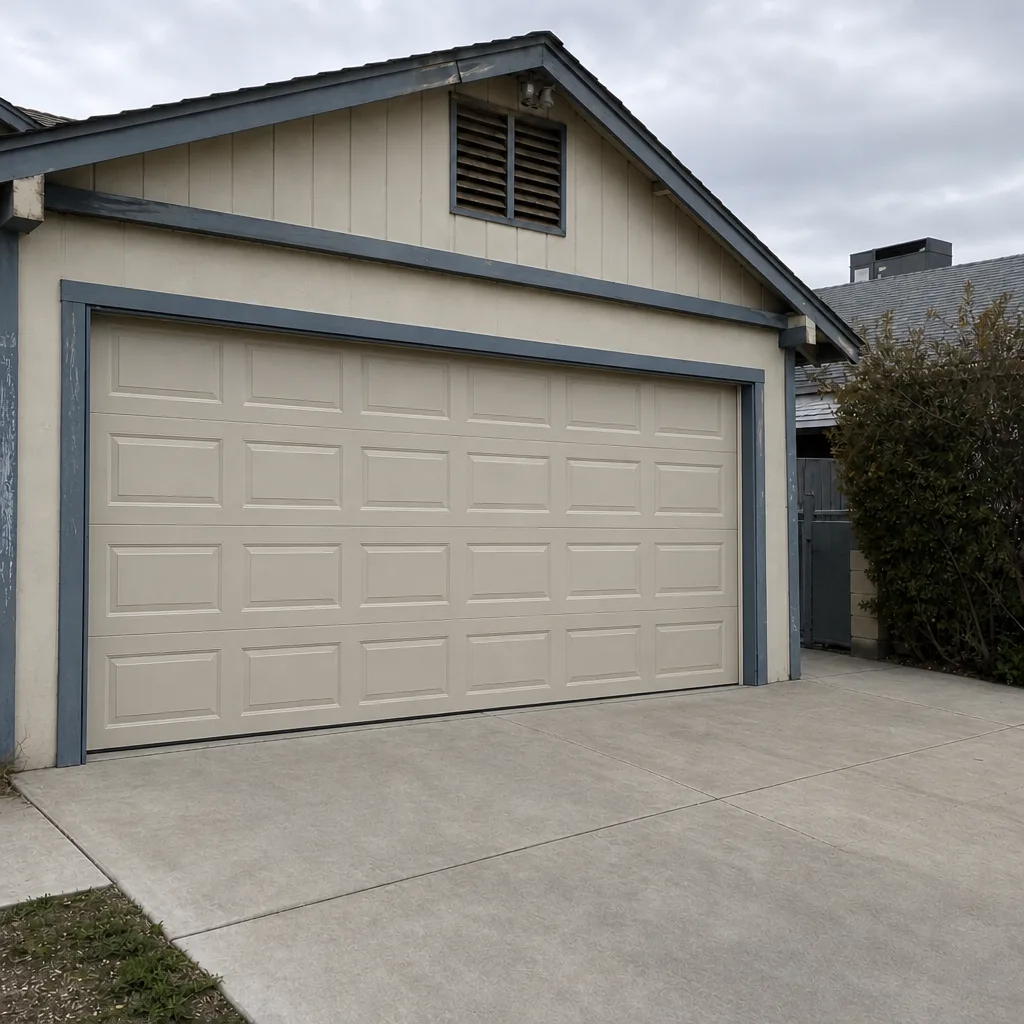 After
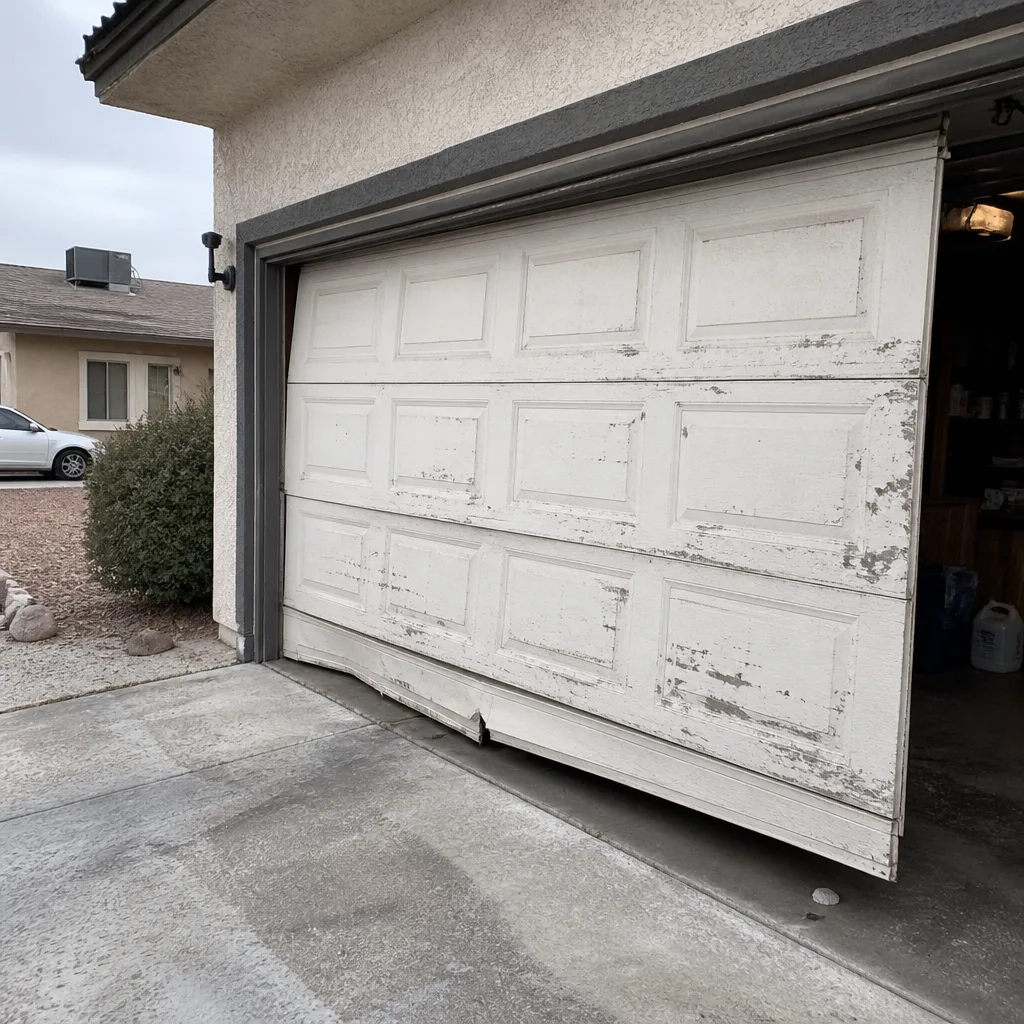 Before
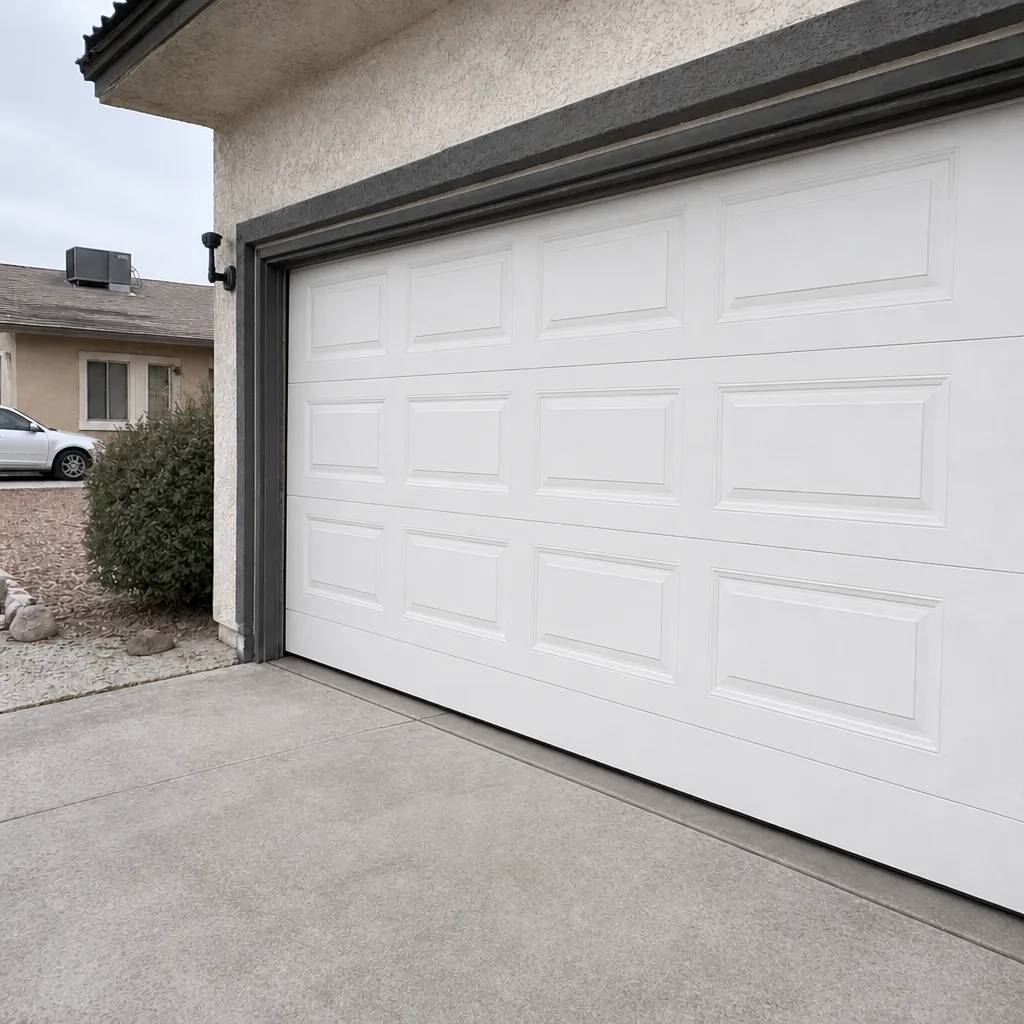 After
Frequently Asked Questions
Extension springs reduce some of the winding complexity, but they carry the same total stored energy and they fail more violently than torsion springs do. Extension springs stretch along the horizontal tracks and require safety cables through the center. If those cables aren’t present or aren’t rated correctly, a spring failure sends the spring across the garage. It’s not a safer DIY project than torsion, it’s a different failure mechanism. Call (888) 402-1096 for a written quote before you start.
Only if the opening is being modified, the door size is changing, or the header above the door is being altered. A like-for-like replacement on an existing opening with no structural change generally doesn’t require a Clark County permit. Confirm with the installer in writing either way so the file is clean at resale. Call (888) 402-1096 to confirm your specific Whitney address.
Underestimating the door’s weight and overestimating the wind count. A door that weighs 30 pounds more than the installer expected needs a different spring or more wind, and a spring wound two quarter-turns short looks fine for months. The failure shows up as a snapped or stretched cable, which is a $400 to $800 problem that starts as a free one. Call (888) 402-1096 for a written quote that includes the correct spring specification for your door weight.
Often, yes. Clopay and Amarr both specify that installation must be by a qualified installer for the door’s warranty to remain in effect. The manufacturer’s warranty covers the door, not the installation labor, so if you install it yourself and the spring fails due to a short wind, the door panel warranty may survive but the spring and labor won’t be covered. Ask the manufacturer before you buy. Call (888) 402-1096 for a written quote if you want the installer to be responsible for the whole thing.
For a single-car steel door, installed, expect roughly $1,400 to $3,000 depending on door model, opener replacement, and whether a permit is required. Double-car doors run higher. The exact written price comes before any work starts, per Clause 1 of The Haven Standard. If you’ve got a written estimate from another company, bring it in for a free second opinion. Call (888) 402-1096 for a quote.
Yes, and it’s more common than people expect. The door is rebalanced: springs checked against the door’s rated weight, wind count corrected, cables inspected for damage from the extra load, and the opener force recalibrated after. The cable inspection is the part most homeowners forget to ask about, and it’s the part that matters. Call (888) 402-1096 for a written quote on a rebalance.
The Bottom Line
A full garage door installation isn’t a DIY project in any honest sense of the term. The safe DIY tasks are painting panels, installing frame weatherstripping, and mounting a keypad: work that involves no stored energy, no lifting load, and no high-voltage wiring. Everything else involves springs wound to measured specification, cables carrying calculated load, and an opener calibrated to UL 325. That’s the difference between a door that works and a door that works safely for a decade. Call (888) 402-1096 for a free estimate in Whitney, get the written price before any work starts, and get the photo record when the job is done. If you want the broader picture of how Servo Garage Doors Whitney approaches this work, start at the Servo Garage Doors Whitney home page.
Written by the team at Servo Garage Doors Whitney.