
Last updated November 18, 2026
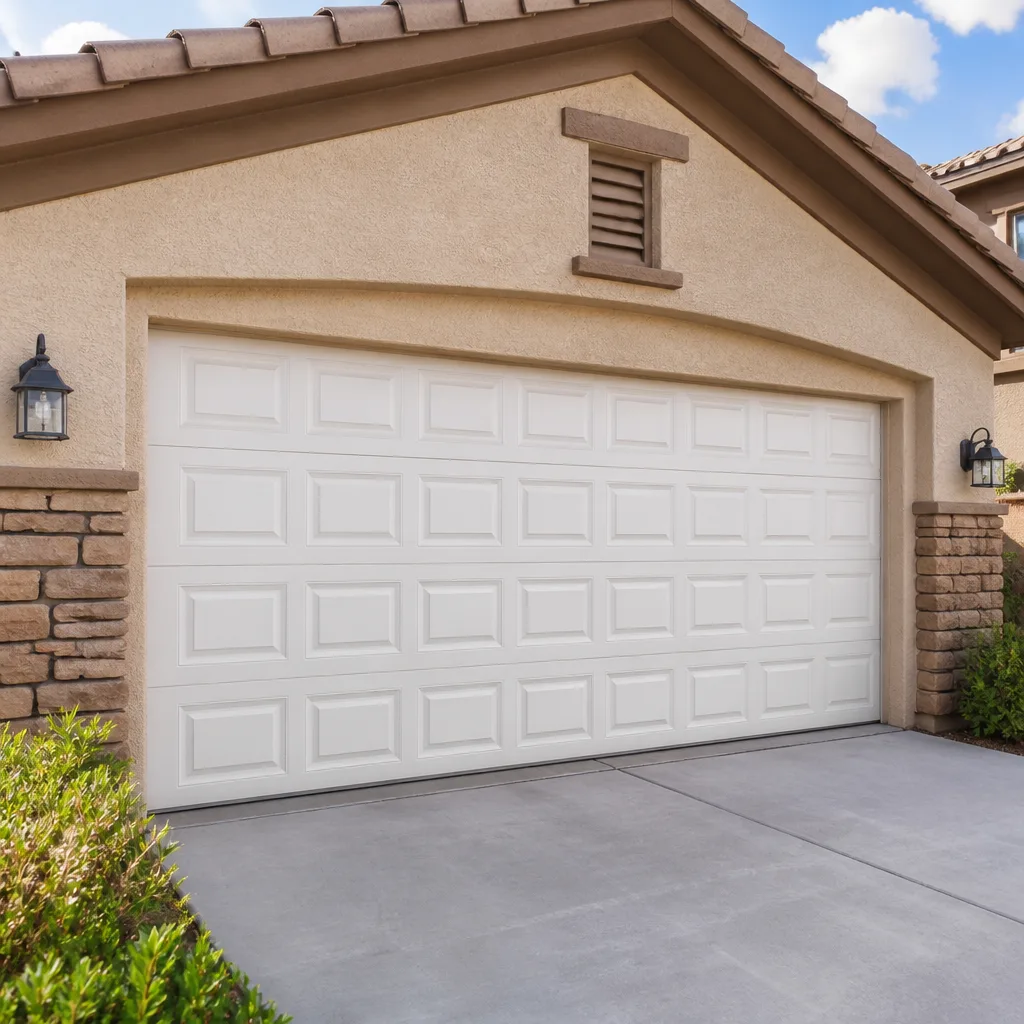 Raised-panel steel
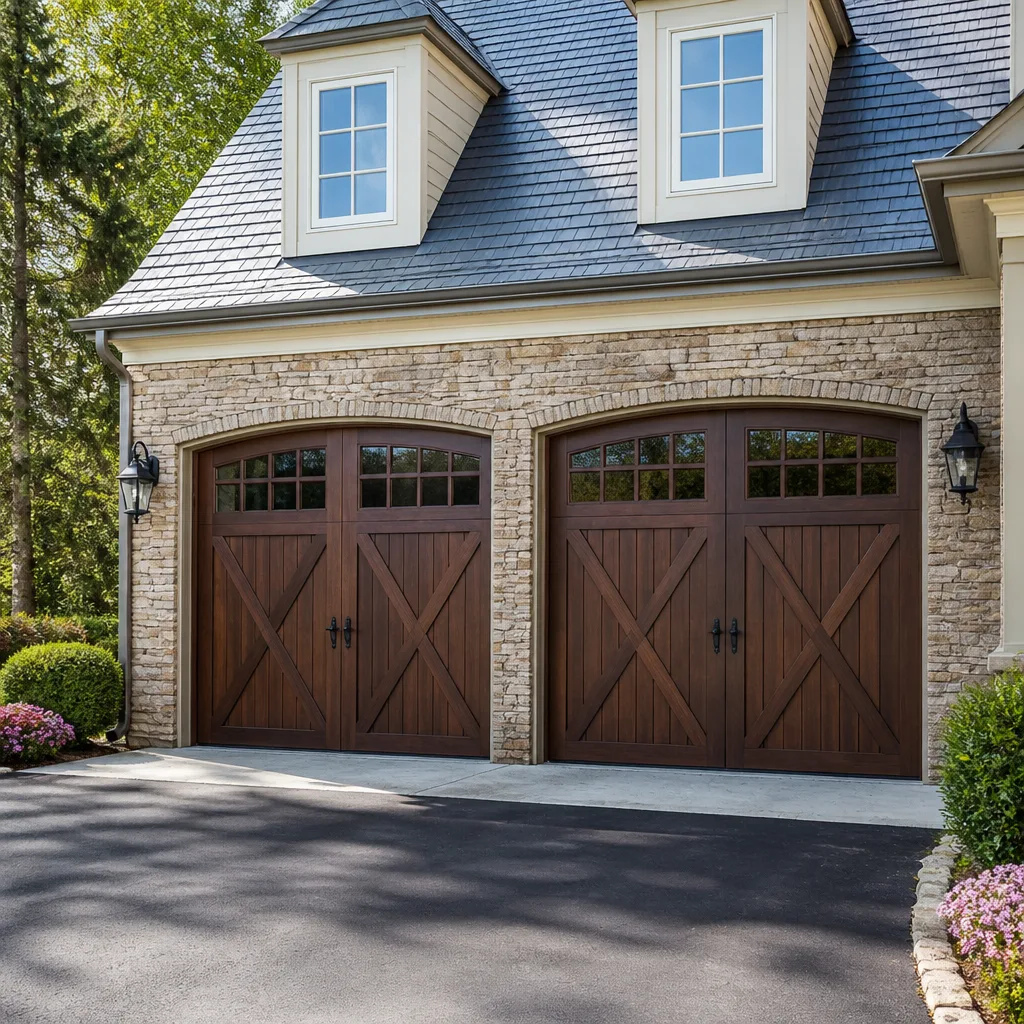 Carriage house
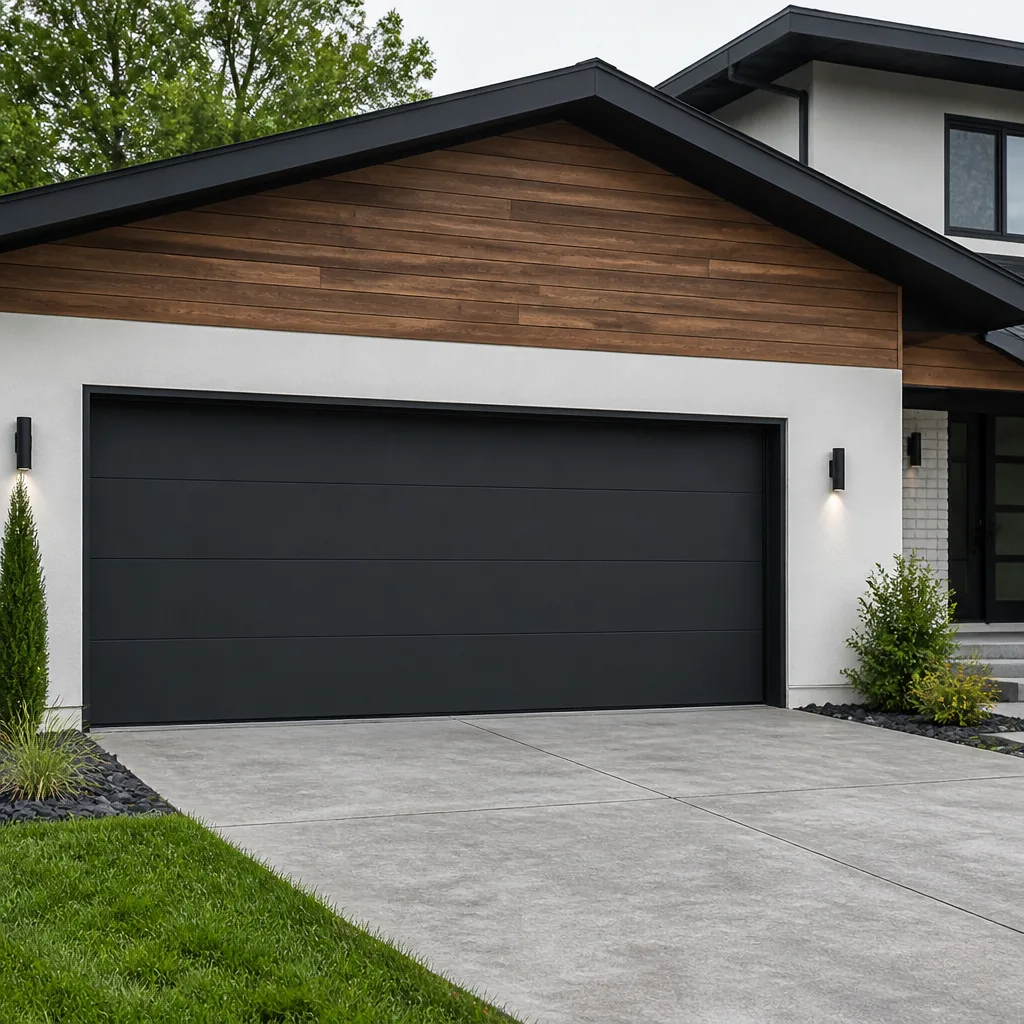 Modern flush
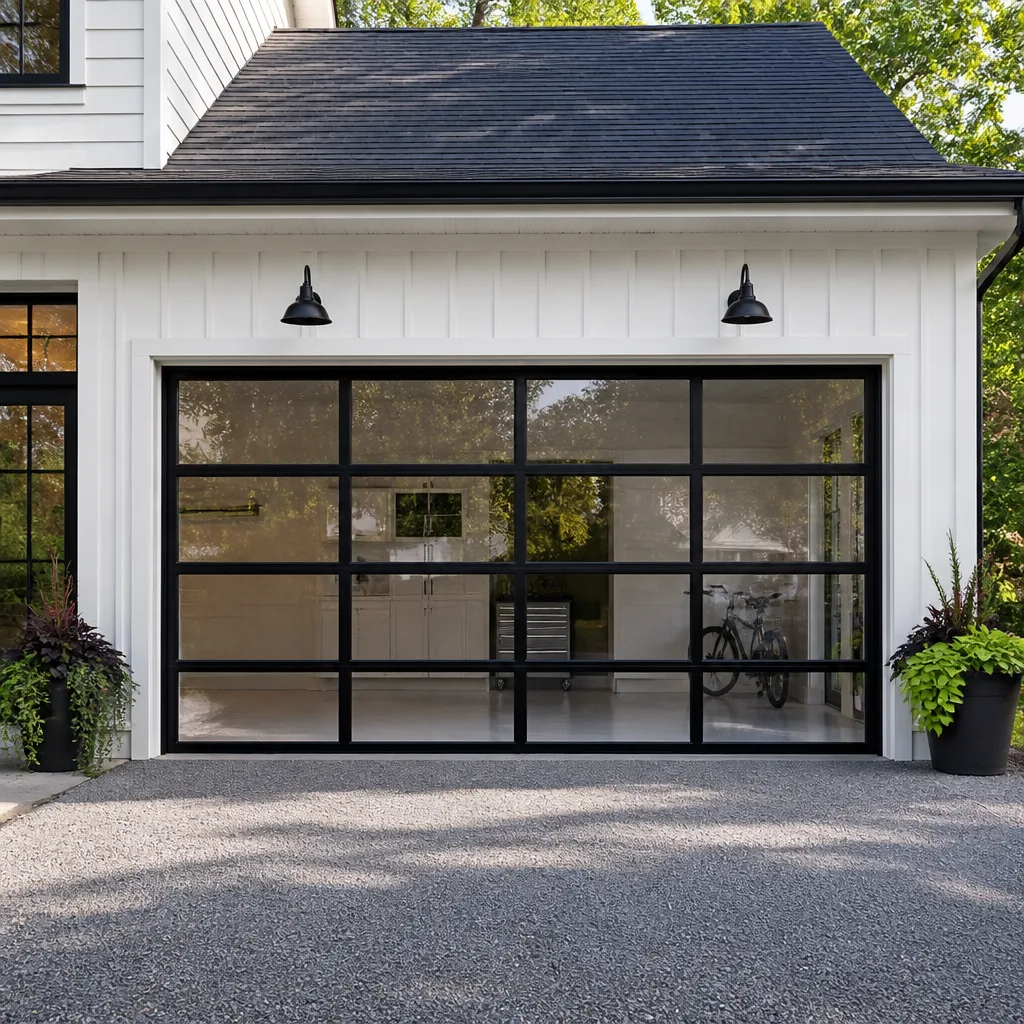 Full-view glass
 LiftMaster openers
 Chamberlain openers
Full 25-point door and opener safety check with every visit - springs, cables, rollers, tracks, and your LiftMaster or Chamberlain opener included
You get a price before we start. It does not change when the pro arrives.
Get your free estimateDIY vs Professional Garage Door Opener Repair & Installation: What’s Safe to Do Yourself
Replacing a logic board is a DIY task. Adjusting spring tension is not. The difference isn’t skill level – it’s stored energy. A torsion spring under load holds enough force to fracture bone, and the risk isn’t theoretical: CPSC data puts garage door-related injuries at roughly 20,000 a year, with spring work the leading cause. Most DIY guides draw the line by “confidence,” which helps nobody. This one draws it by component, so you know exactly where to stop. We’re writing this from Whitney, where we’ve watched homeowners save real money on the right tasks and get hurt on the wrong ones.
Quick Answer
Remote programming, photo-eye alignment, and logic board replacement are genuinely safe for a careful homeowner. Force and limit adjustment sits in the middle – doable with a manual and patience, but easy to get wrong. Anything involving torsion springs, cables, cable drums, or the header bracket under load is professional-only, not because it’s advanced, but because a sudden release can kill. In short: electronics are yours; structural energy is theirs.
Styles & brands we work with
- Raised-panel steel
- Carriage house
- Modern flush
- Full-view glass
- LiftMaster openers
- Chamberlain openers
Table of Contents
- How to Sort Any Opener Task in 30 Seconds
- The DIY-Safe Tasks Most Homeowners Underestimate
- The Middle Tier: Force, Limits, and Photo-Eyes
- Professional-Only: Springs, Cables, and the Header Bracket
- What “Professional-Only” Actually Means in Tools and Risk
- The Real Cost Math: When a $12 Bracket Costs $200
- Installation: Why a New Opener Isn’t a Weekend Job
- Common Mistakes, When to Call, and FAQs
 Before
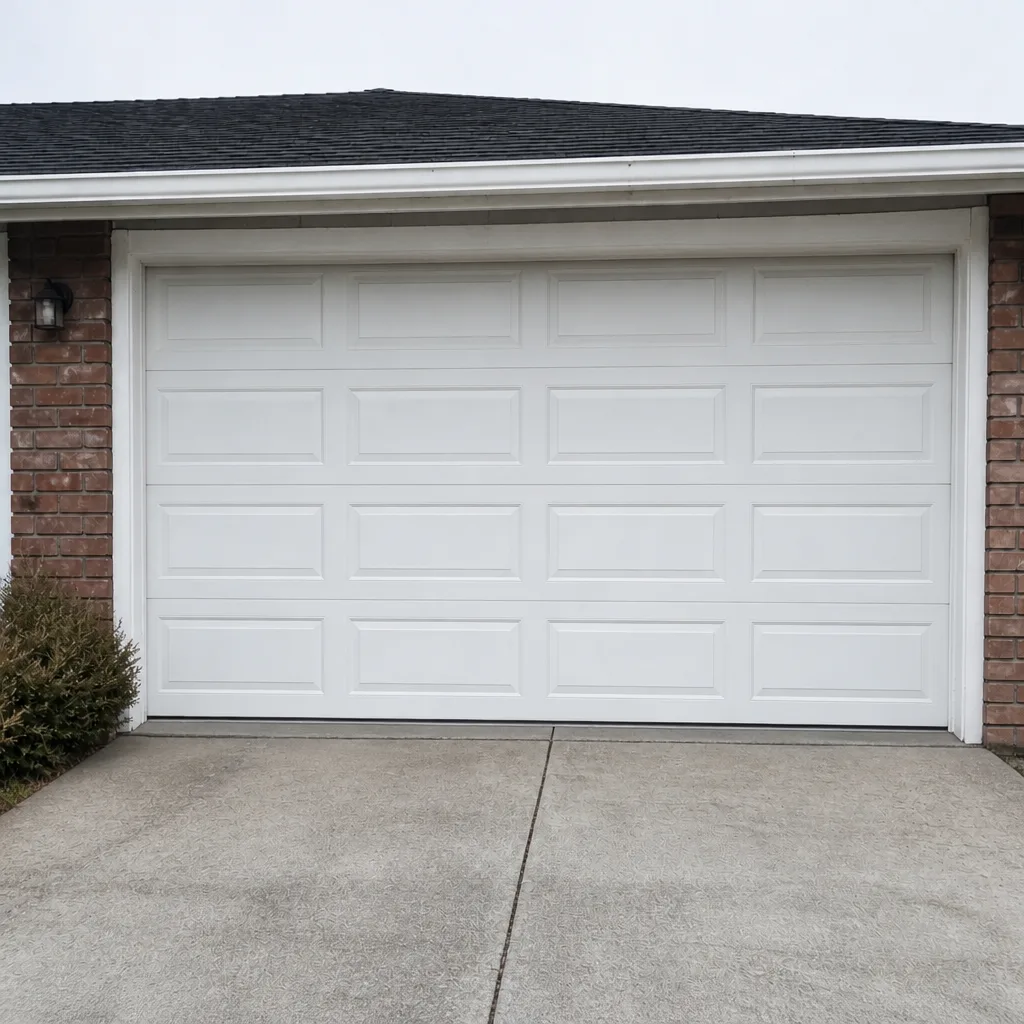 After
How to Sort Any Opener Task in 30 Seconds
Ask three questions in order. First: does the task put your hands near a part that stores energy – a spring, a cable, or the door itself under tension? If yes, it’s professional-only, full stop. Second: does it involve a circuit board, a battery, a remote, or the alignment of two sensors? If yes, it’s almost certainly DIY-safe. Third: does it involve a mechanical adjustment that changes how hard the door pushes or where it stops? That’s the middle tier – safe to attempt, important to test.
This sorting works because garage door openers are really two systems bolted together. There’s the electronics (the motor, logic board, remote receiver, safety sensors) and there’s the counterbalance (springs, cables, drums) that makes the door light enough for a small motor to lift. The electronics are forgiving. The counterbalance is not. Most of the confusion in DIY guides comes from treating them as one system.
One Whitney-specific note: our summer heat bakes garages to 110°F and higher, and that cooks opener electronics faster than most climates do. A logic board that fails in August often failed because the housing sat in that heat for years. That’s exactly the kind of repair a homeowner can take on. If the failed part is a spring, it’s not. If you’d rather hand it off entirely, our Garage Door Opener Repair & Installation in Whitney page lays out how we work.
The DIY-Safe Tasks Most Homeowners Underestimate
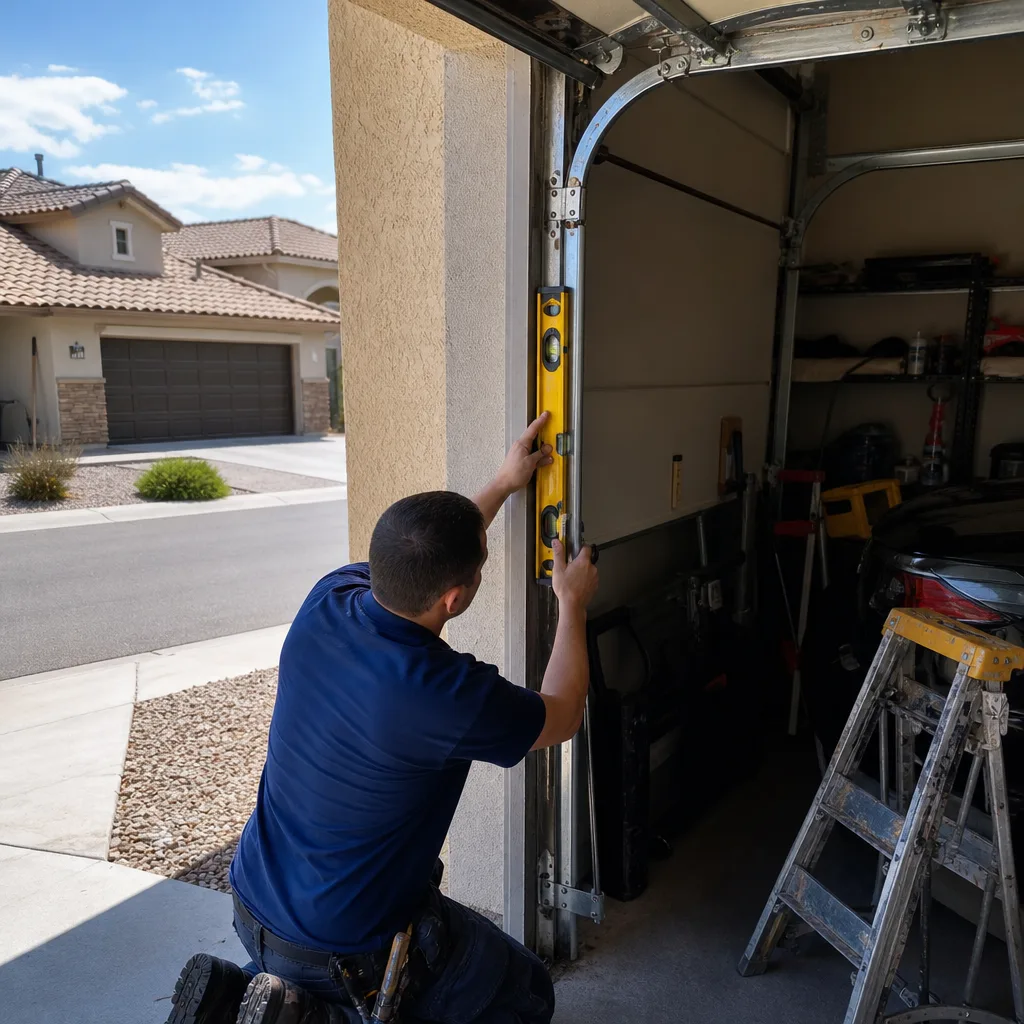
These are the jobs people call us for that they could have handled in twenty minutes. We’re happy to take the call, but we’d rather you knew which ones are yours.
- Programming a remote. Every major brand – Genie, LiftMaster, Chamberlain, Craftsman – has a “learn” button on the motor housing. Press it, then press your new remote twice within 30 seconds, and it’s paired. No tools, no risk.
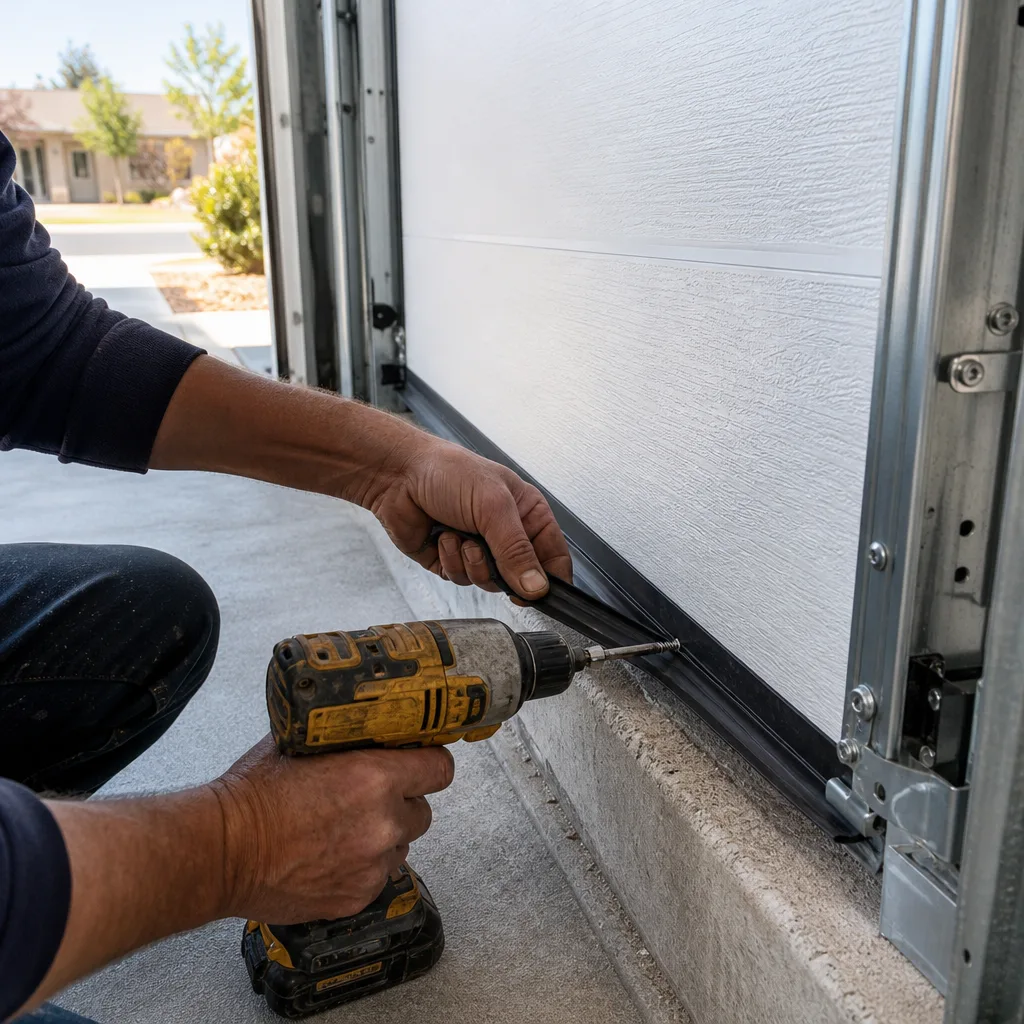
- Swapping a logic board. On most openers this is four screws, a couple of wire connectors, and a plug-in harness. Unplug the opener first, photograph the old board’s connections before removing it, and the new one drops in. A board typically runs $60 to $140 depending on the model.
- Replacing the battery in a keypad or wall console. Obvious, but frequently skipped when a homeowner assumes the opener has failed. A dead keypad battery looks exactly like a broken receiver from the outside.
- Clearing the travel path and re-engaging the trolley. If someone pulled the red release cord, the door is now manual. Run the opener to fully closed, then re-engage the carriage. It’s a two-minute fix that people pay a service call for.
- Realigning a bumped photo-eye. The safety sensors at the bottom of the track are two small lenses that face each other. If one got knocked askew by a bike or a trash can, straightening the bracket and cleaning the lens often restores the beam. The sensor has a small LED that stays solid when aligned.
These tasks share one property: if you get them wrong, the worst outcome is the door doesn’t work and you call someone. No stored energy, no fall risk, no injury potential. In a Whitney garage where the opener is a Genie or a Wayne Dalton unit from the last decade, these fixes cover a surprising share of “my door stopped working” calls.
The Middle Tier: Force, Limits, and Photo-Eyes
These tasks are safe to attempt but easy to get subtly wrong – and a wrong adjustment doesn’t always announce itself. It shows up as a door that crushes a roll of paper towels on the safety test, or reverses at the wrong height, or wears out a gear six months later.
- Read the manual first. Force and limit settings live on the motor housing, but the exact dial or button sequence differs by brand and model. A Genie and a Chamberlain don’t adjust the same way.
- Set the travel limits. The limits tell the opener where “fully open” and “fully closed” are. Run the door up and down and watch where it stops. It should close flat to the floor and open clear of the header.
- Set the force. Force is how hard the opener pushes before it gives up. Too low and the door stops halfway. Too high and the safety reverse won’t trigger. Most manuals give a starting point; adjust in small increments.
- Test the safety reverse every time. Place a 2×4 flat on the floor under the door and close it. The door must reverse on contact. If it doesn’t, force is too high – back it down.
- Test the photo-eye last. Wave an object through the beam while the door closes. It should reverse immediately. If not, realign the sensors.
Why does this matter more in Whitney than in a milder climate? Because a door that’s slightly out of adjustment will work fine in 70°F and start binding in 110°F, when the metal expands and the tracks shift. A force setting that’s “just enough” in spring becomes “not enough” in July. Get it right, then re-test in the hottest and coldest weeks of the year.
Professional-Only: Springs, Cables, and the Header Bracket
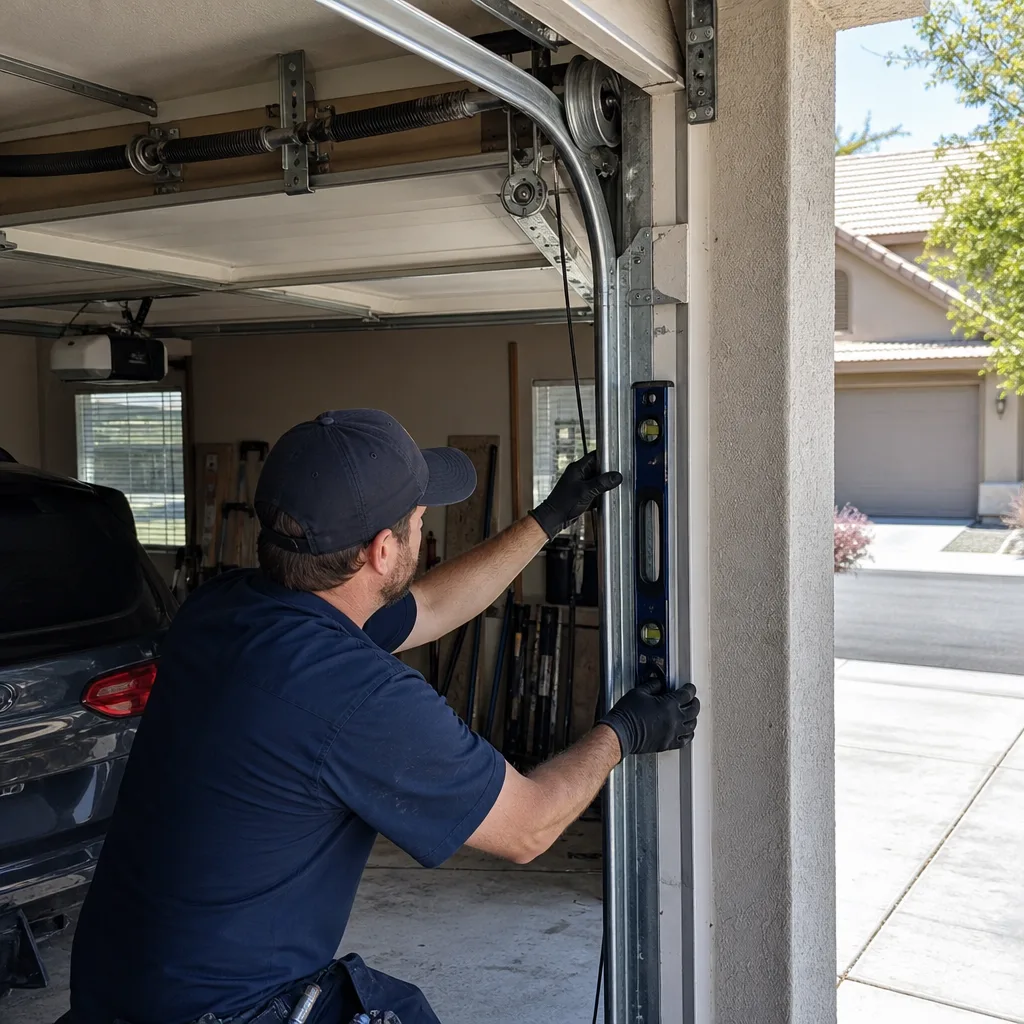
This is the line. Not because a pro has a special gift, but because of what these parts do when they fail.
Torsion springs. A torsion spring is the coiled spring mounted on the shaft above the door. Under load, it stores enough energy to lift a 200-pound door. When it breaks – and they all break eventually – it releases that energy instantly. A winding bar that slips, or a homeowner who tries to hold the spring with a screwdriver, is a hand injury or worse. There are no safe shortcuts here. The spring must be de-tensioned with two proper winding bars before anything else is touched.
Cables. The lift cables run from the bottom corners of the door up to the drums on the shaft. They’re under the same tension as the springs. A cable that snaps or is cut under load whips with enough force to break an arm. We’ve seen cable failures in Whitney garages where the door had been binding for months and nobody noticed.
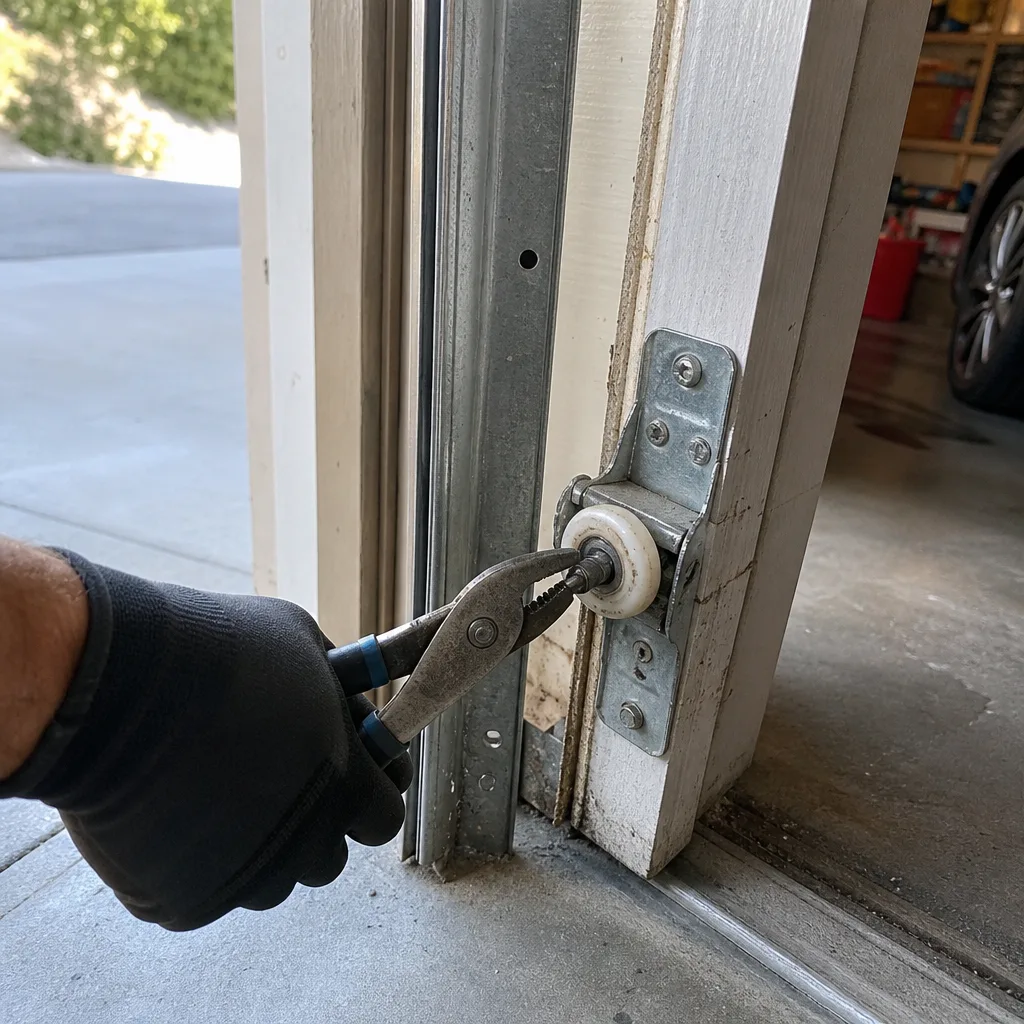
Cable drums. The drums are the spools on the shaft that the cables wind onto. Removing one without first de-tensioning the spring is the same as cutting a loaded cable. There’s no version of this that’s safe for one person without the right tools.
The header bracket under load. The header bracket is the steel plate bolted to the wall above the door that holds the opener rail and the torsion shaft. It carries the weight of the whole assembly. If it’s loose or the bolts are pulling out – which we see on older Whitney homes where the header was never lagged deeply enough – tightening it under load can shift the shaft and release spring tension.
For all of these, the fix isn’t DIY-with-caution. It’s professional-only, and this is the class of repair where our Garage Door Repair in Whitney service spends the most time, because these are the calls that shouldn’t wait.
What “Professional-Only” Actually Means in Tools and Risk
“Professional-only” isn’t code for “we want your money.” It means the task has specific tool requirements and specific failure modes that make a solo attempt dangerous. Here’s the concrete version.
- Winding bars. A proper spring job needs two solid steel winding bars sized to the spring’s winding cone holes. You can buy them, but owning them isn’t the point – using two of them at once, in the correct sequence, while keeping the spring under control, is a movement that requires practice.
- The de-tensioning sequence. Every spring job starts with de-tensioning and ends with re-tensioning in measured quarter-turns, counting them. A miscount either leaves the door too heavy for the opener or over-tensions the spring and shortens its life.
- Cable restraint. Cables are clamped and restrained before anything is loosened. Without restraint, a slip is a whip.
- Door blocking. The door itself is propped or clamped so it can’t drop when the spring tension is released. A 200-pound door falling in a Whitney garage is a serious injury waiting to happen.
- A second person. Most spring jobs are two-person jobs. One to hold the door, one to work the spring. A solo homeowner is already at a disadvantage.
None of this is mystification. You can buy winding bars for $30. The reason we still recommend a pro is that the cost of one mistake on a loaded torsion spring is measured in emergency-room visits, not dollars. That’s a different kind of math than a logic board.
The Real Cost Math: When a $12 Bracket Costs $200
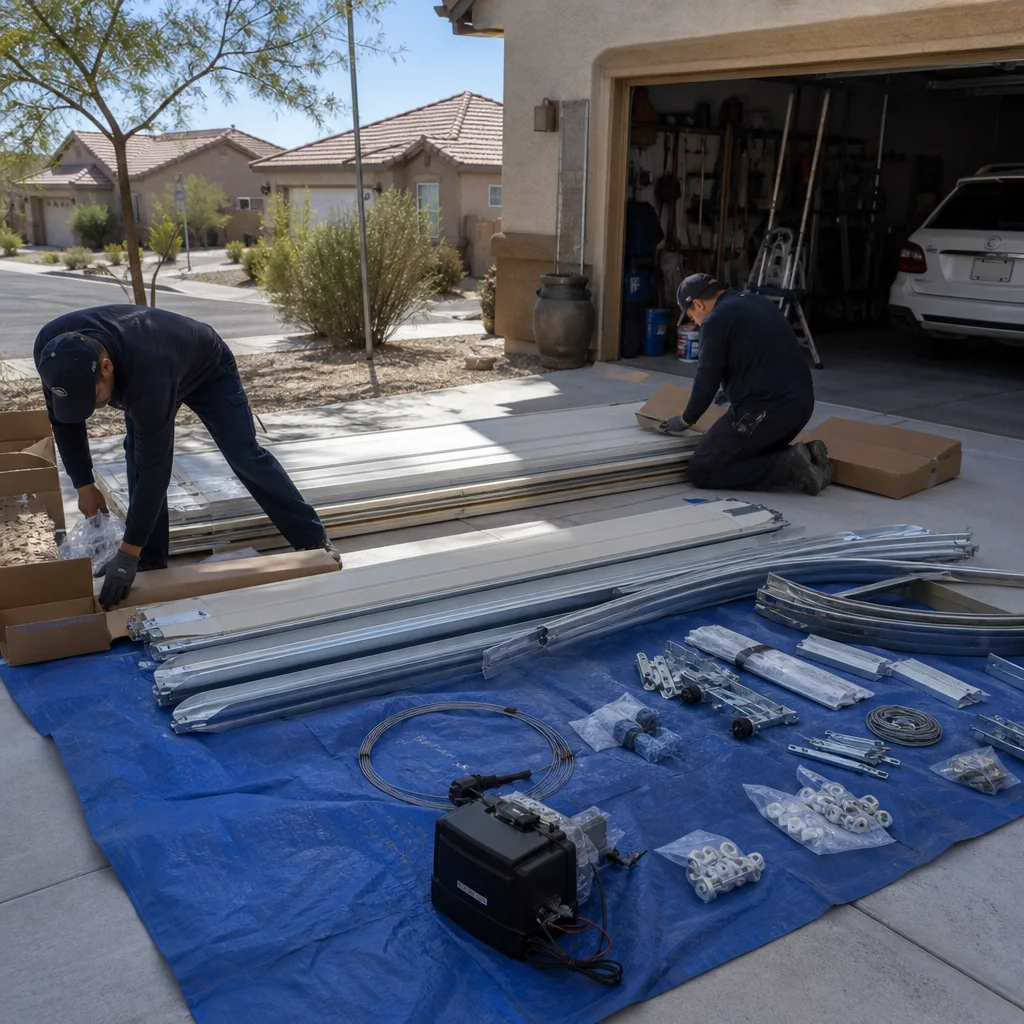
Most DIY guides default to “call a pro” without doing the arithmetic. We think the arithmetic is the honest answer. Here’s how it shakes out for the common tasks.
- Logic board replacement: Part runs $60 to $140, labor is 30 to 45 minutes. A DIY swap is a real saving. Worth doing yourself if you’re comfortable with a screwdriver and a photo of the old wiring.
- Remote programming: Free, takes five minutes. Never pay for this. If a pro quotes a service call just to program a remote, that’s a red flag.
- Photo-eye alignment: A $12 bracket that a homeowner could straighten, but if the sensor itself is failing or the wiring is damaged, the correct repair is a $150 to $250 service call. Installing a new sensor requires running low-voltage wire and testing the reverse cycle, which is where DIY attempts go wrong.
- Force and limit adjustment: DIY, free, but test the safety reverse afterward. If you’re not sure it’s right, the safety test tells you.
- Broken spring: Professional-only. Typically $180 to $340 in the Whitney market, including the part. There is no DIY version that’s worth the risk.
- Snapped cable: Professional-only. Usually $95 to $180, occasionally paired with a spring replacement.
- Full opener replacement: Usually $350 to $650 installed, depending on the model and whether the existing rail and wiring can be reused. Not a weekend job unless you’ve done one before.
The pattern is clear once you see it laid out. Electronics and remotes are yours. Mechanical adjustments are yours with care. Anything that stores or releases energy is a call. If you’re not sure which side a task falls on, that’s exactly what a written estimate is for. Clause 1 of The Haven Standard means you get a flat, written price and written scope before any work begins – so the decision is made on paper, not on a hunch. If you’ve already got an estimate from another company, we’ll give you a free second opinion on it – bring the paperwork.
Installation: Why a New Opener Isn’t a Weekend Job
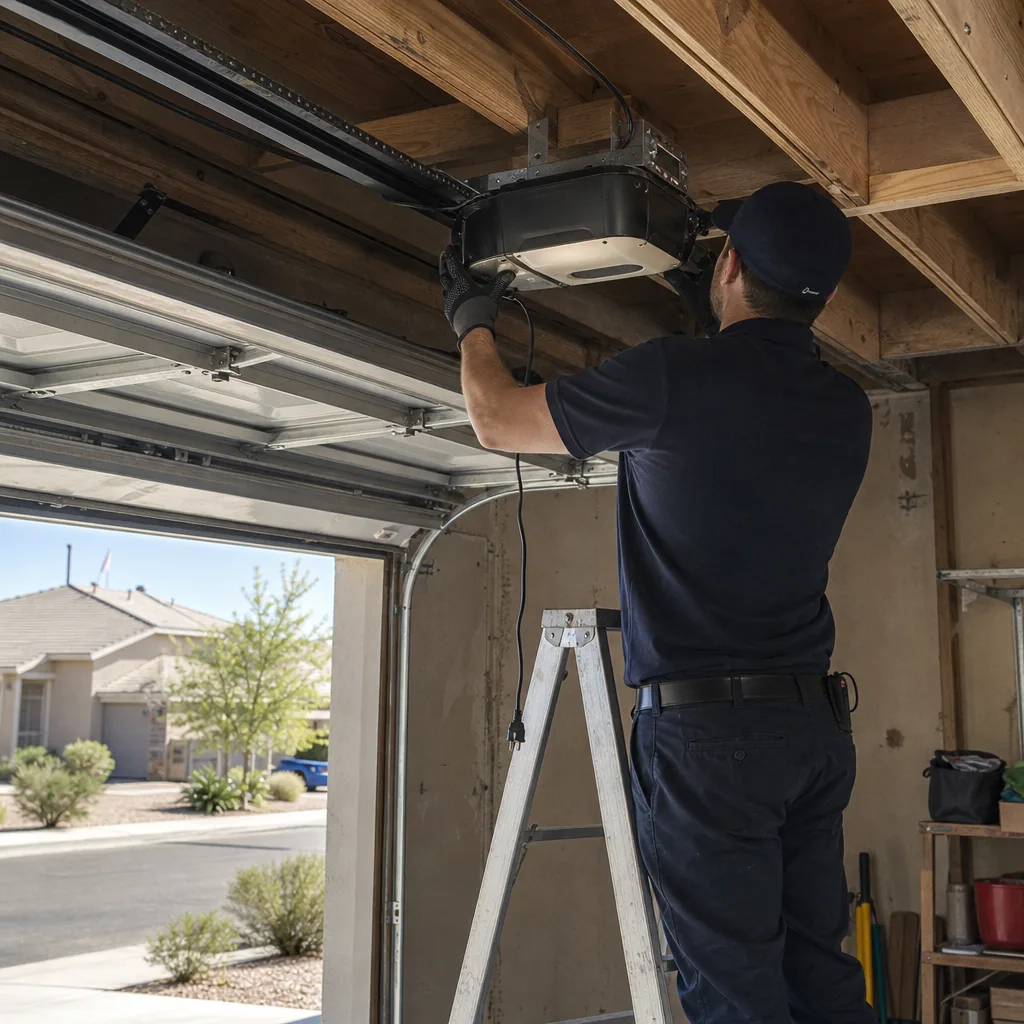
A full opener installation – new motor, new rail, new brackets, new safety sensors, new wall console – is doable in a day by a confident DIYer. But there are a few reasons we’d still suggest most homeowners at least price it out first.
The old opener has to come off, and on an older Whitney home that means dealing with a header that may not be lagged to modern depth, a rail that’s out of plumb, or wiring that isn’t up to current code. The new opener has to be hung from the ceiling joists with the rail level to the door’s header, the force and limits set, the safety reverse tested, and the photo-eyes aligned on the tracks. Miss one and the door either won’t close or won’t reverse – both of which are safety issues.
If the door itself is also being replaced, the opener job folds into the larger install. A Clopay or Amarr door that’s taller or heavier than the old one may need a different opener entirely, or a different spring setup. That’s the point where a written scope matters. Our Garage Door Installation in Whitney page walks through how that’s handled, and you can see the whole set of services at our Servo Garage Doors Whitney home.
Common Mistakes to Avoid
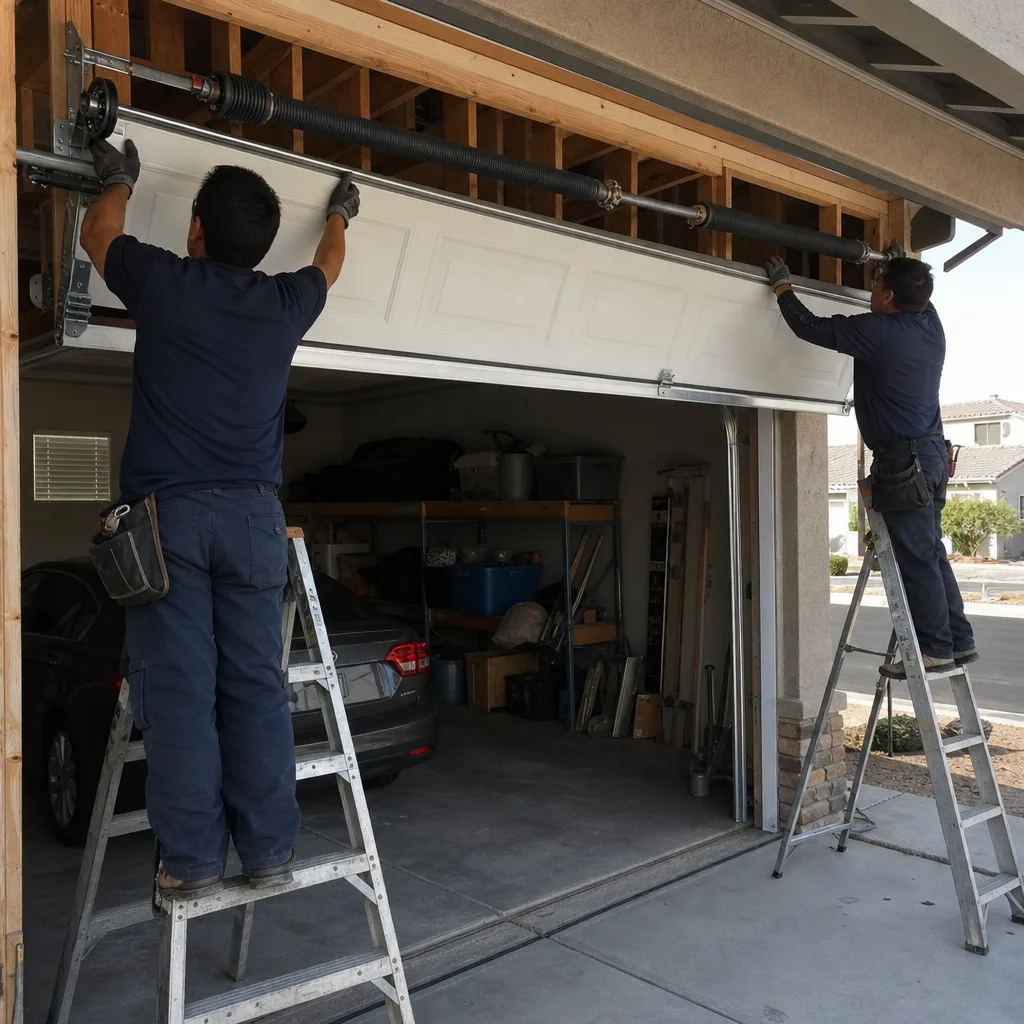
- Holding a torsion spring with a screwdriver instead of a winding bar. This is the single most common DIY injury we hear about. The screwdriver slips out of the winding cone under load, and the spring unwinds.
- Cutting a lift cable without restraining it first. The cable snaps back with enough force to break a wrist. Clamp it before you touch it.
- Setting force too high to get the door to close. If the door needs more force than the manual recommends, the door is out of adjustment or the spring is failing – not the opener. Raising force masks a real problem and disables the safety reverse.
- Assuming a dead keypad means a dead opener. Nine times out of ten it’s a battery or a re-pairing. Don’t replace the opener before checking.
- Skipping the 2×4 safety test after any adjustment. Every force or limit change ends with the 2×4 test. If the door doesn’t reverse, the setting isn’t done.
- Replacing a logic board without photographing the wiring first. Wire order matters more than it looks. Photograph before you pull connectors.
- Unbolting the header bracket under load. If the bracket looks loose, that’s a professional call, not a tightening job. The bracket carries the torsion shaft.
- Working on a door that’s binding in summer heat. A door that binds in a 110°F Whitney garage has a counterbalance problem, not an opener problem. Adding force makes it worse.
When to Call a Professional
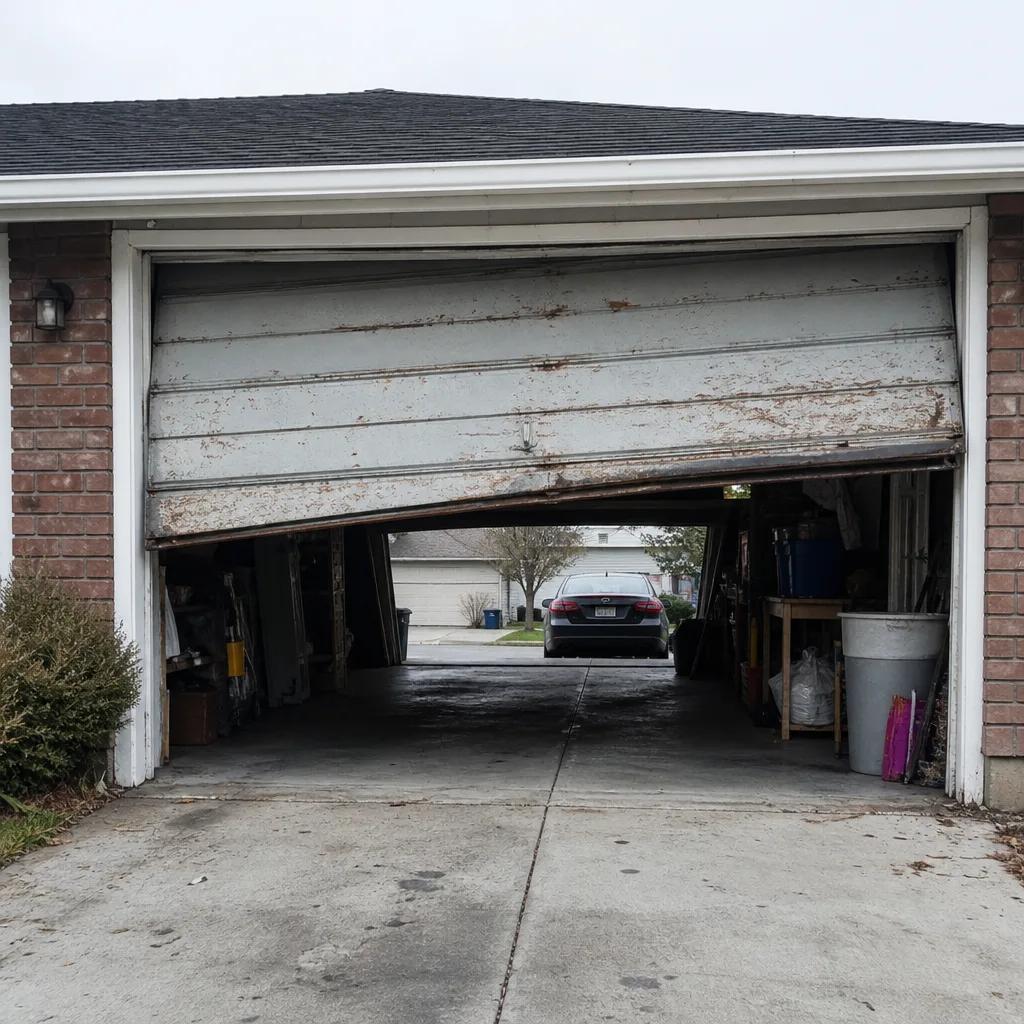
Call a pro for any of the following: a broken torsion spring, a snapped or slack lift cable, a cable drum that’s come loose, a header bracket that’s pulling out of the wall, an opener that keeps reversing at random heights after a force adjustment, a door that’s visibly out of square, or any task where the safety reverse test fails and you can’t make it pass. Also call if the door is over 15 years old and you’re considering a full replacement – the counterbalance and the opener usually need different decisions at that point, and it’s worth a written scope that covers both. Servo Garage Doors Whitney offers free estimates in Whitney – call (888) 402-1096, and a live person answers, 24/7.
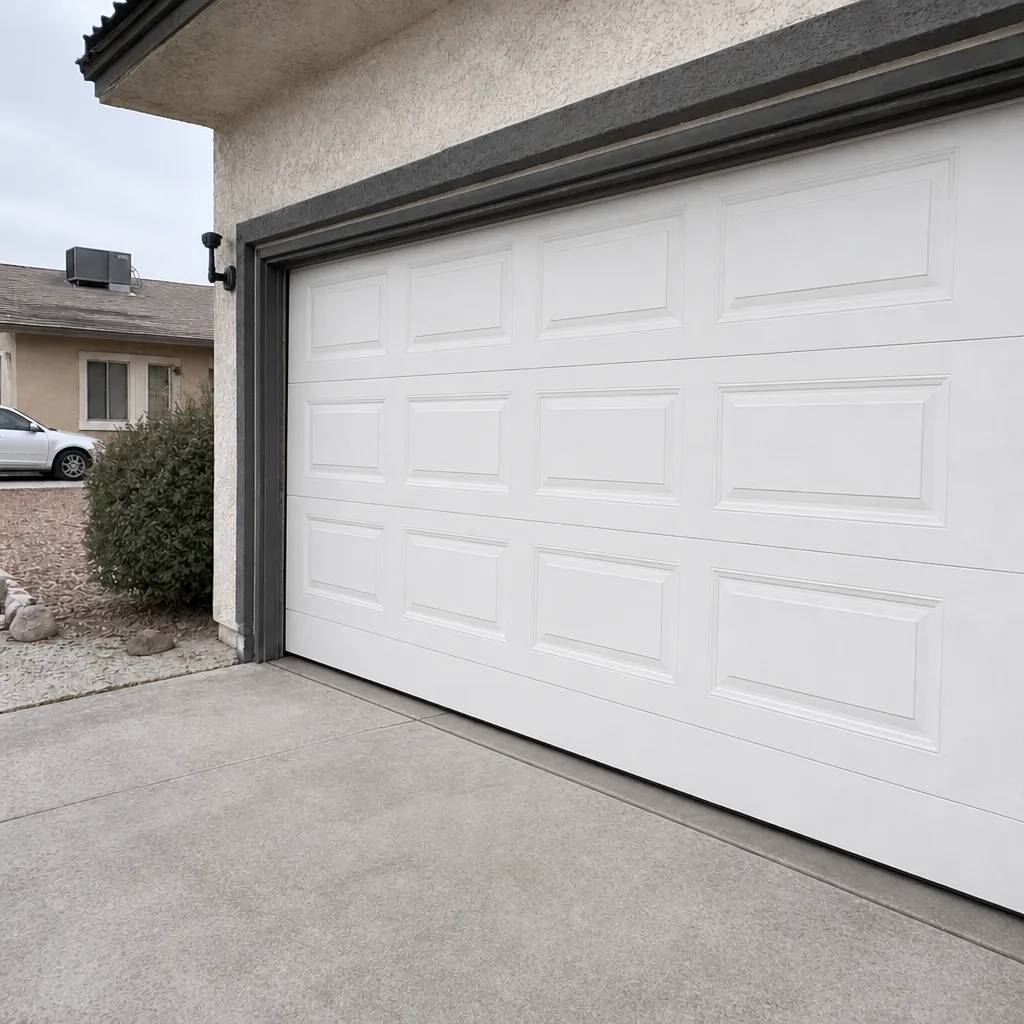
See the difference
BeforeAfter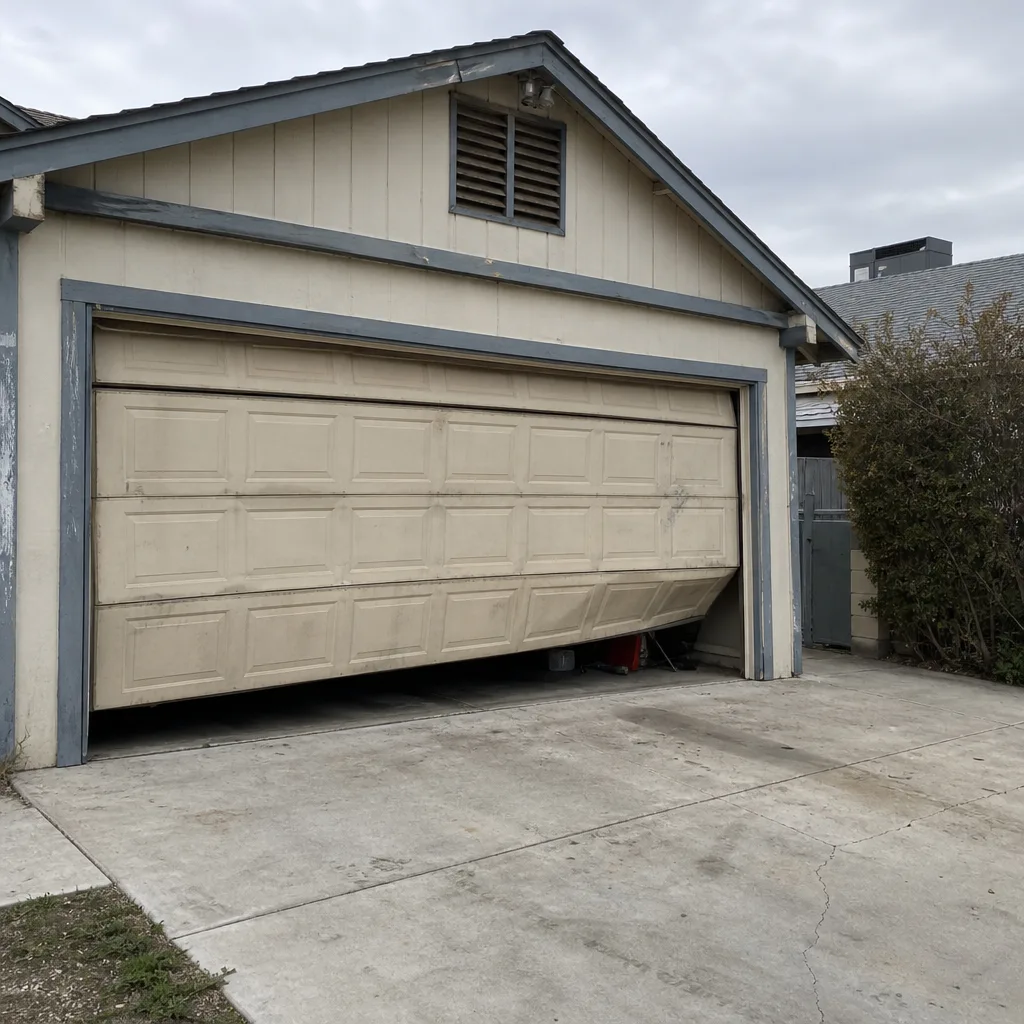 Before
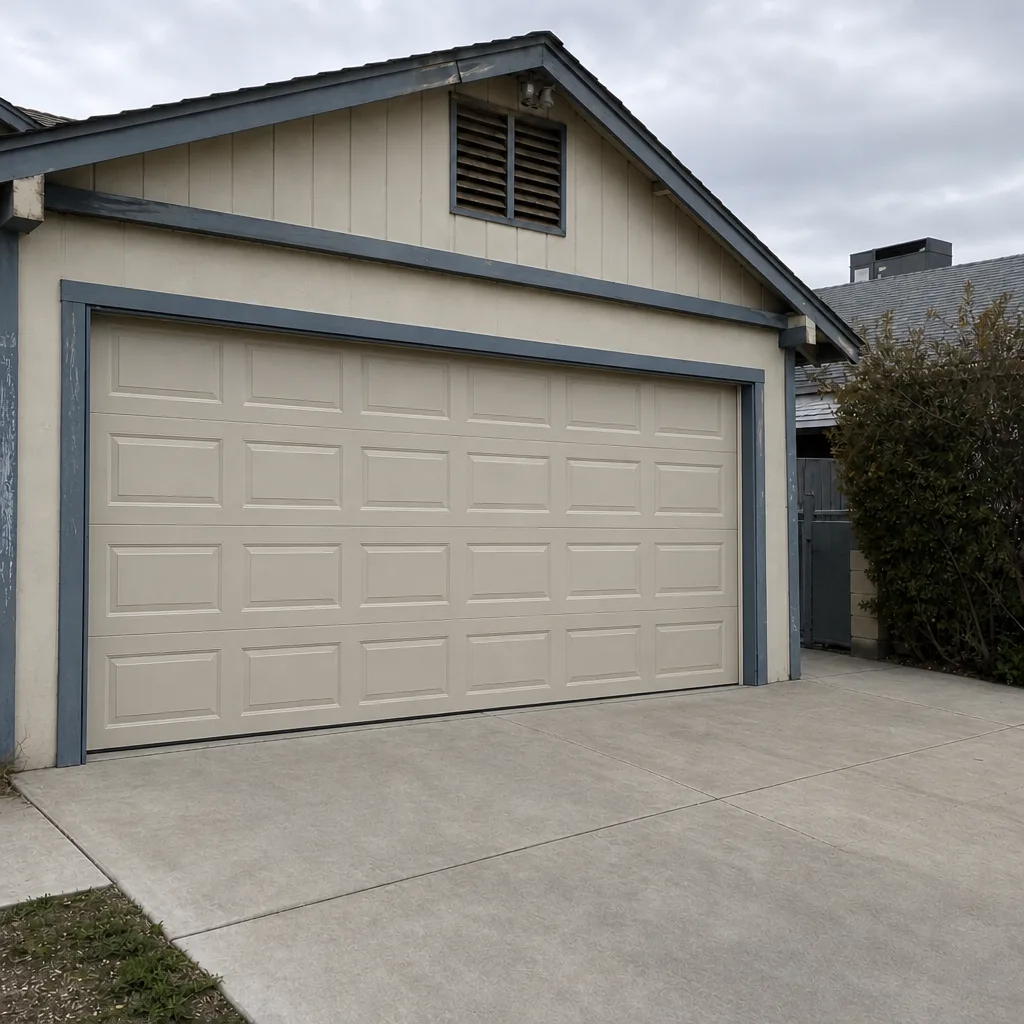 After
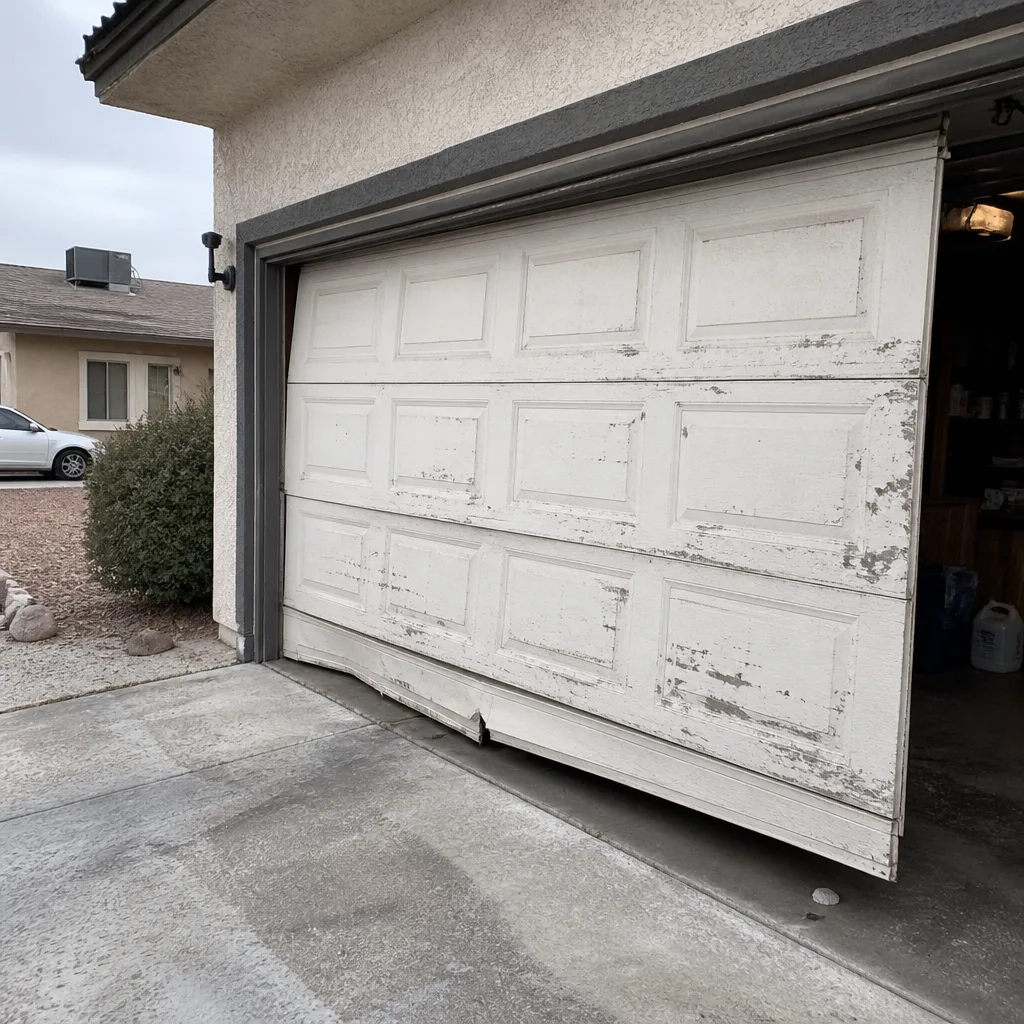 Before
 After
Frequently Asked Questions
Yes. Replacing a logic board is a safe DIY task on most openers – unplug the unit, photograph the wire connections, and swap the board. It’s four screws and a couple of connectors on most Genie and Chamberlain models, and the part runs $60 to $140. If the board is under warranty, check that first before you buy. If you’d rather have it handled, call (888) 402-1096 for a free estimate.
You can, and it’s a reasonable DIY task, but you must run the 2×4 safety reverse test after every change. If the door doesn’t reverse on contact with a 2×4 laid flat, force is too high. Set it lower and re-test. If you can’t get it to pass, stop – that’s a call for a pro, not a reason to turn force up.
Broken spring repair in Whitney typically runs $180 to $340, including the part, depending on the spring type and door weight. This is a professional-only repair – a loaded torsion spring stores enough energy to cause serious injury, and there’s no safe solo version. Call (888) 402-1096 for an exact quote on your door; estimates are free and we’ll tell you the price before any work starts.
Summer heat in Whitney expands the metal in the door, tracks, and springs, so a door that’s slightly out of adjustment binds in July and works fine in April. When that happens, the problem is usually the counterbalance, not the opener – raising force masks it and disables the safety reverse. A professional can measure the spring and check the door balance rather than guessing.
It depends on the repair and the manufacturer. Logic board swaps and remote programming typically don’t void a warranty, but tampering with springs or the opener’s internal travel mechanism often does. Keep the receipt for any part you install yourself. When a pro does the work, our written warranty covers the repair – Clause 4 of The Haven Standard is why you’ll have a photo record of what was found and what was done.
You get a written price range up front and a flat, written price before any work starts – Clause 1 of The Haven Standard, on every job. “Call for a quote” isn’t how we work. If you’ve got a written estimate from another company and want a second set of eyes on it, we’ll review it for free. Bring the paperwork and call (888) 402-1096.
The Bottom Line
The DIY vs. professional line for opener work is mostly about stored energy, not skill. If the task involves a spring, a cable, a cable drum, or the header bracket under load, it’s professional-only – and the reason is the injury risk, not the difficulty. If it involves a logic board, a remote, a battery, a keypad, or a photo-eye you can straighten by hand, it’s yours. The middle tier – force and limit adjustment – is safe to attempt as long as you run the safety reverse test after every change. Do the cost math honestly, and stop at the spring. That’s the whole guide.
Written by the team at Servo Garage Doors Whitney.
Contact
If you’ve hit the professional-only line – a broken spring, a snapped cable, a header bracket that’s pulling loose, or an opener you’d rather leave to someone else – call (888) 402-1096 for a free estimate. A live person answers, 24/7, and you get a flat, written price before any work begins.