
Last updated November 18, 2026
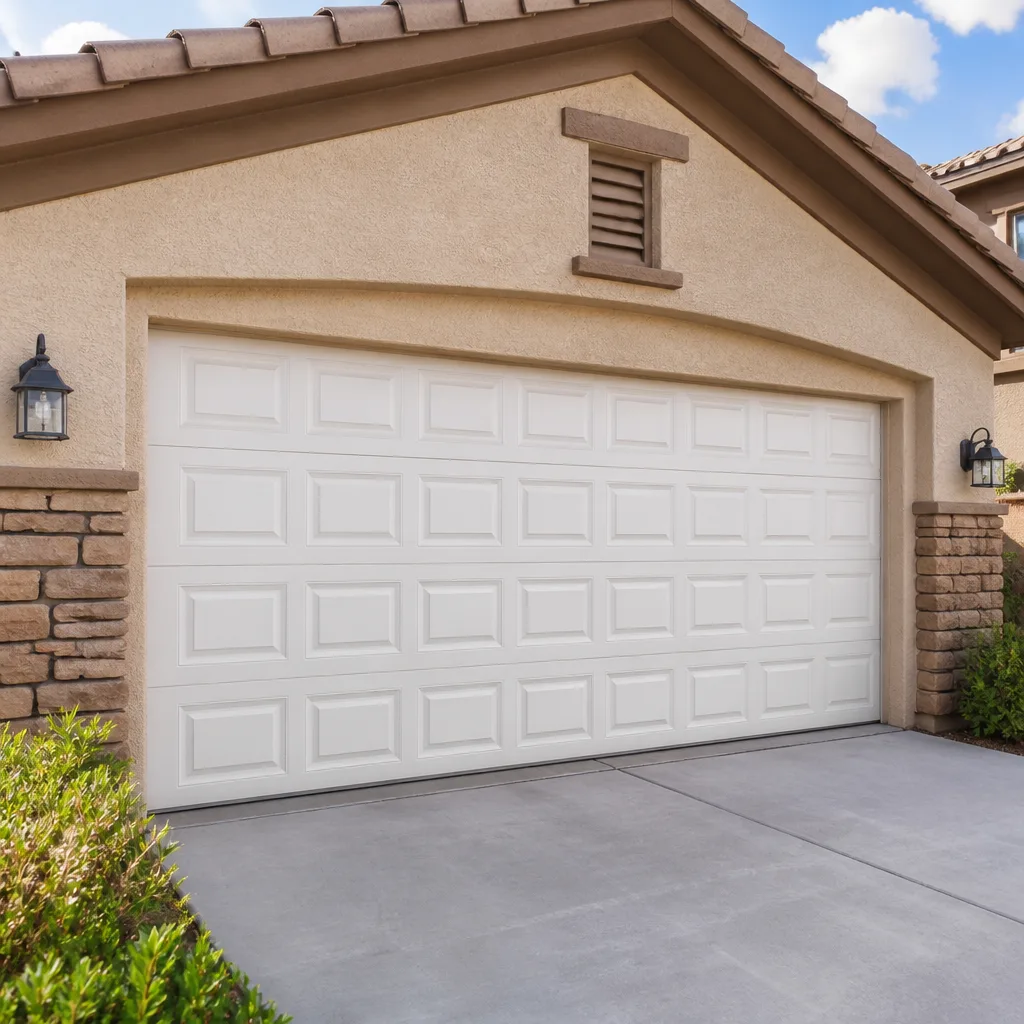 Raised-panel steel
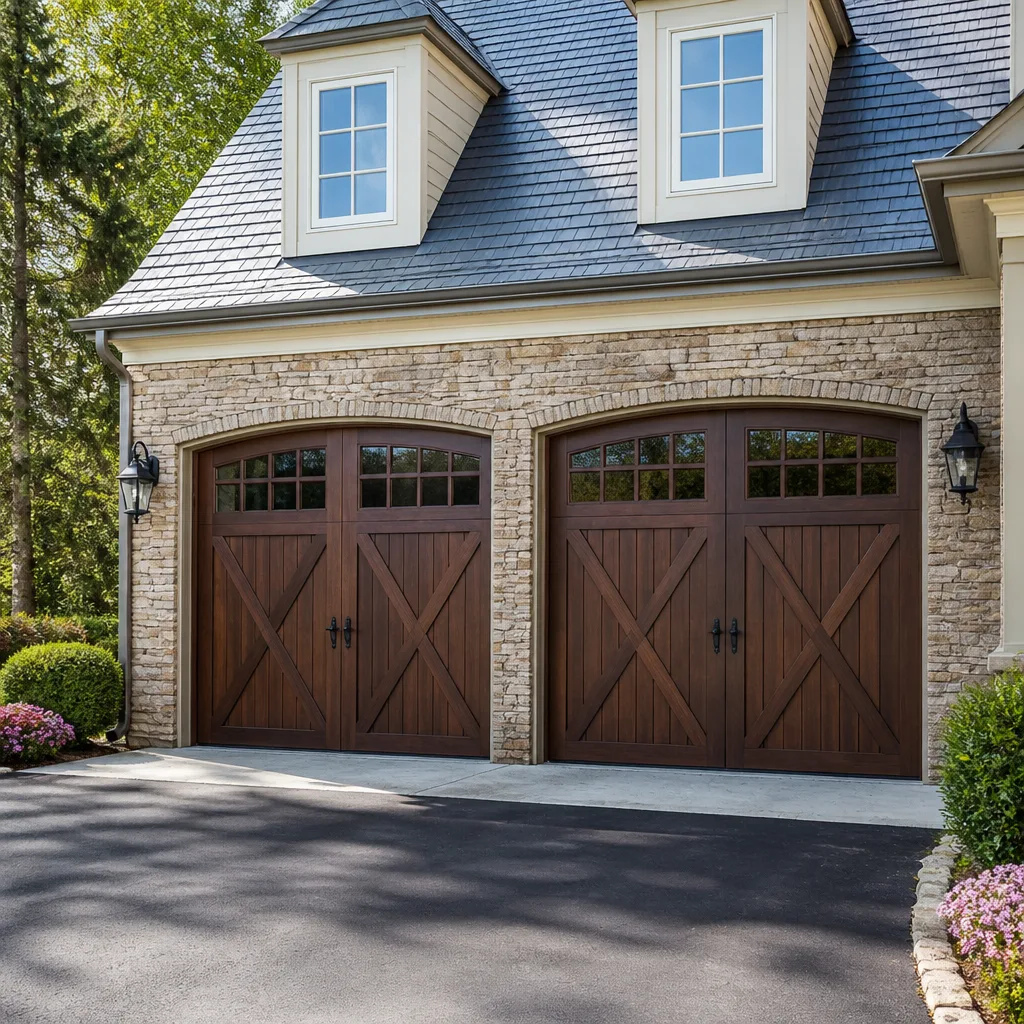 Carriage house
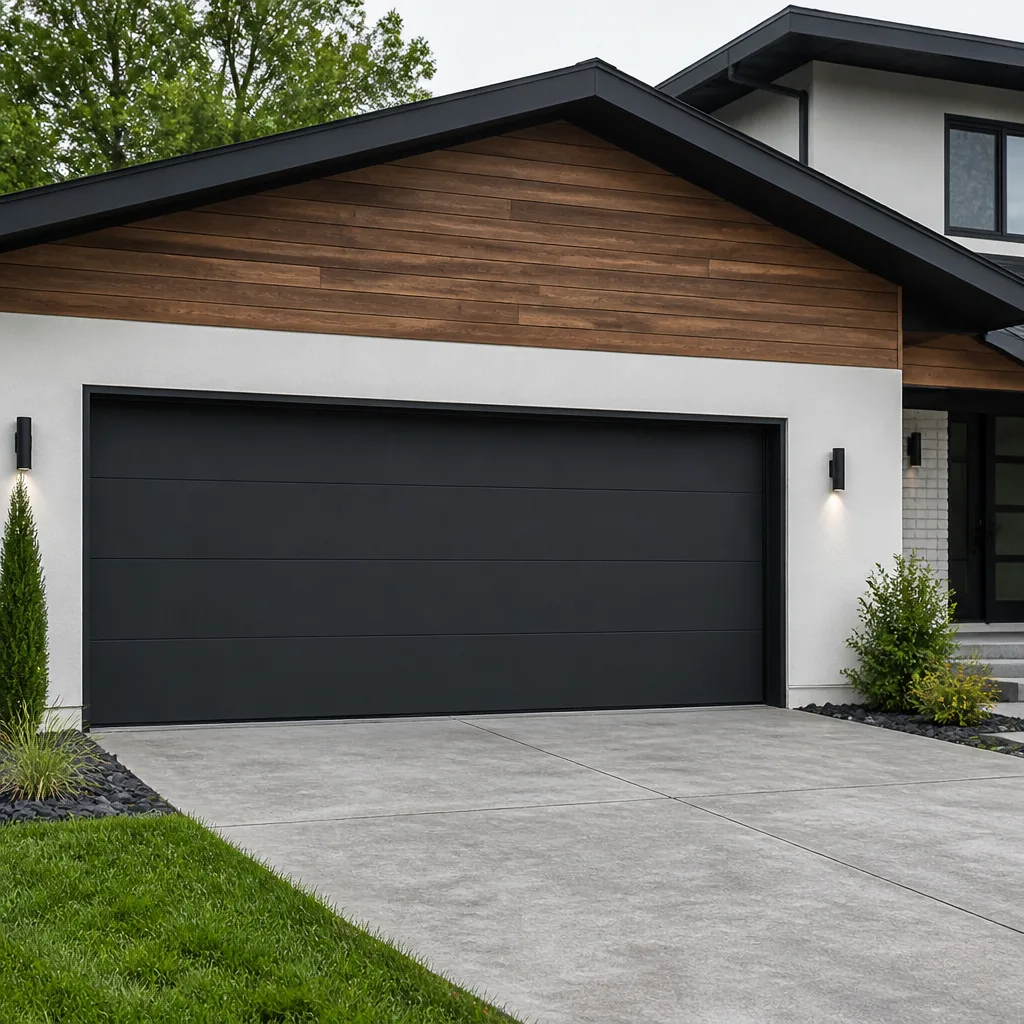 Modern flush
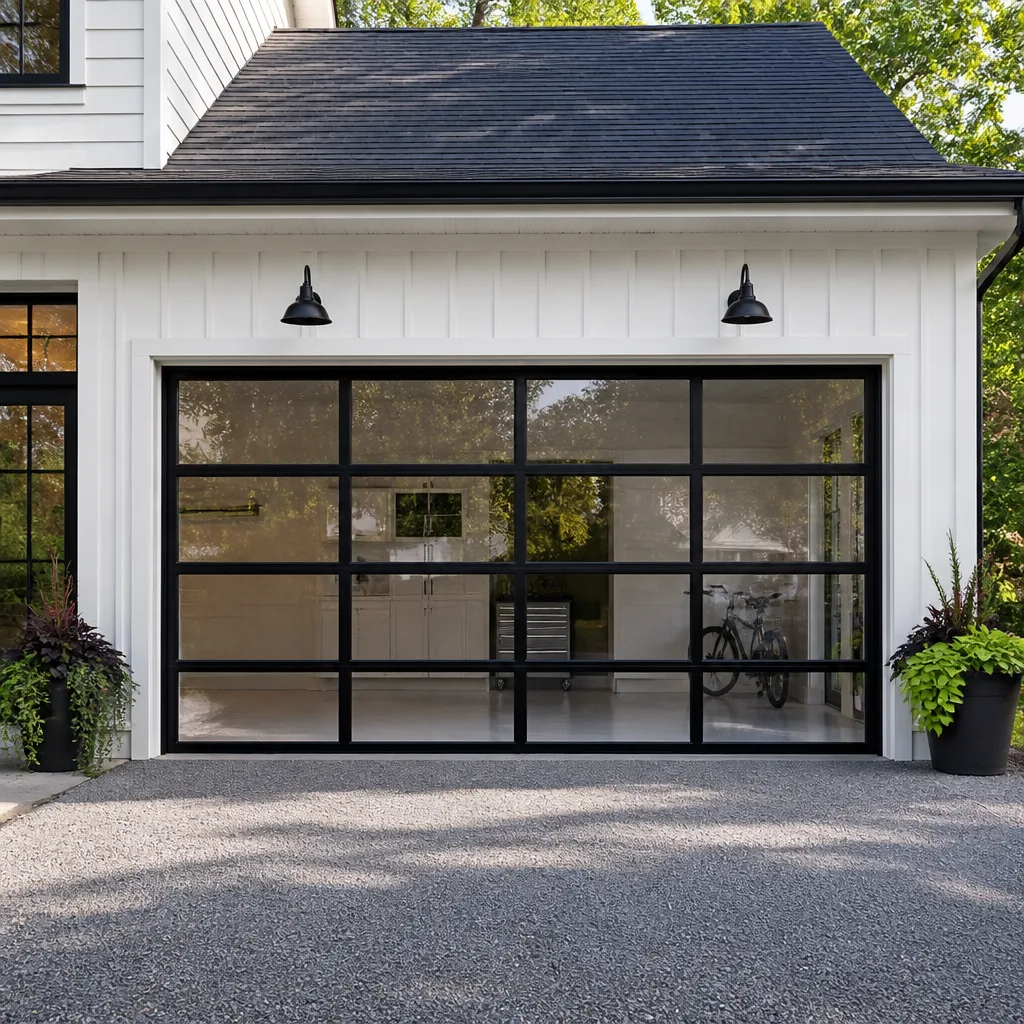 Full-view glass
 LiftMaster openers
 Chamberlain openers
Full 25-point door and opener safety check with every visit - springs, cables, rollers, tracks, and your LiftMaster or Chamberlain opener included
You get a price before we start. It does not change when the pro arrives.
Get your free estimateGarage Door Opener Repair & Installation Troubleshooting: Common Problems and How to Fix Them
An opener that reverses the moment the door touches the floor isn’t broken. It’s reading an obstruction that isn’t there, almost always because the close-force limit is set too sensitive or the down-travel limit stops two inches short of the ground. That’s a five-minute adjustment, not a service call, and knowing the difference is the whole point of this guide. We’re going to work the diagnostic logic the way a technician does, naming the specific component most likely responsible for each failure mode. By the end, you’ll arrive at any service call in Whitney knowing exactly what you’re asking about.
Quick Answer
Most garage door opener problems trace to one of five components: a worn drive gear, a misadjusted limit switch, a misaligned or dirty photo-eye, a failing capacitor, or a logic board that’s lost its remote programming. Start by matching your symptom to the component, complete the UL 325 safety reversal test on any opener built after 1993, and check door balance before assuming the opener is at fault. Roughly a third of “opener failures” we see in Whitney are actually door balance or spring problems wearing out the opener motor from the inside.
Styles & brands we work with
- Raised-panel steel
- Carriage house
- Modern flush
- Full-view glass
- LiftMaster openers
- Chamberlain openers
Table of Contents
- The Symptom-to-Component Map
- Why Your Door Reverses Mid-Travel
- Remote Works, Wall Button Doesn’t
- The Opener Hums But Won’t Move
- How to Test the Safety Reversal System (UL 325)
- Photo-Eye Alignment: The Most Misdiagnosed Problem
- What a Worn Drive Gear Looks Like
- Stop Here: When It’s Not the Opener
 Before
 After
The Symptom-to-Component Map
Before you touch anything, match your symptom to the component. This is the fastest way to know what you’re dealing with and whether it’s a homeowner fix or a technician call. In our experience across Whitney, the vast majority of service calls land in one of these four buckets, and the bucket tells you the repair scope before anyone arrives.
- Opener runs but door doesn’t move. Drive gear or trolley carriage. The motor spins, the chain or belt moves, but the door stays put. Check the trolley carriage first (the sliding piece that connects the chain to the door arm); then suspect the drive gear inside the housing.
- Door reverses mid-travel. Limit switch or force setting. The opener is reading resistance or hitting a travel limit it shouldn’t. This is usually adjustment, occasionally a failing logic board.
- Remote works but wall button doesn’t. Wiring or logic board. The wall button is a hardwired control, so a failure isolated to the wall button points to the wire run or the board terminal, not the radio receiver.
- Opener hums but won’t start. Capacitor or motor thermal overload. A capacitor (the cylinder that gives the motor its startup torque) weakens with age; a thermal overload trips when the motor has been asked to lift an unbalanced door one too many times.
LiftMaster and Chamberlain units share a lot of this architecture and fail in similar patterns, which helps because the diagnostic steps transfer between them. Genie openers use a slightly different carriage design, so the trolley check looks a little different. If you’re in Whitney and you’ve matched your symptom to a component, you already know more than most people who call.
Why Your Door Reverses Mid-Travel
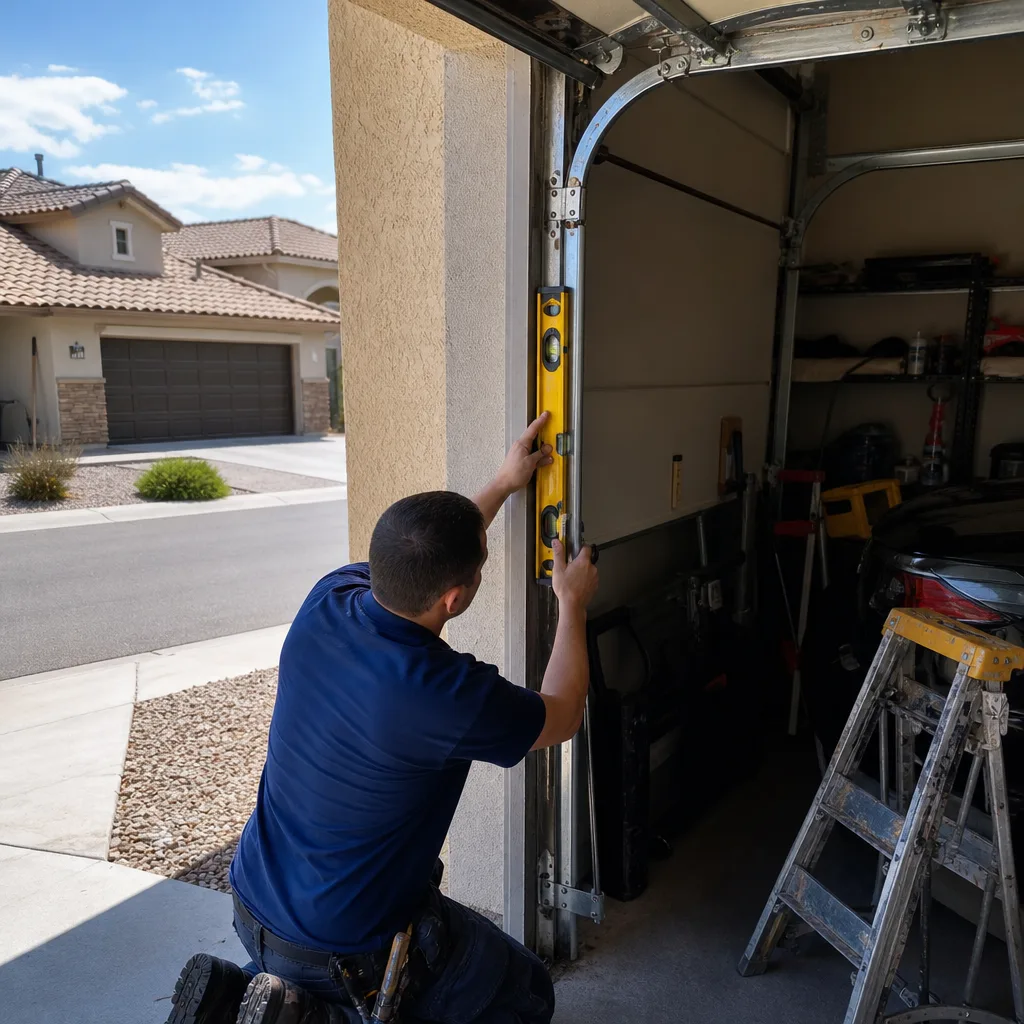
A door that reverses on the way down and heads back up is telling you something specific: the close-force limit is too sensitive or the down-travel limit stops short. The close-force limit is a setting on the opener’s logic board that determines how much resistance the door must meet before it reverses. Set it too sensitive, and it interprets normal resistance (a cold morning, a slightly stiff roller) as an obstruction.
- Test the door by hand with the opener disconnected. Pull the emergency release cord (the red handle), lift the door halfway, and let go. A balanced door holds position. A door that sags or drops is a spring or balance problem, and no amount of opener adjustment will fix it.
- Locate the force adjustment. On most liftmaster and chamberlain units it’s a small screw or digital setting on the back panel or logic board. Consult your manual for the exact location; don’t guess.
- Check the down-travel limit. The door should close fully and meet the floor without a gap. If it stops two inches short, the down limit is the problem, not the force.
- Adjust in small increments. A quarter-turn on the force screw, then retest. More than a half-turn in either direction and you’re masking a bigger issue.
If the door reverses only in cold weather, that’s a real pattern. Whitney’s desert nights drop hard, and a door that balanced fine in July can meet enough resistance in January to trip a force setting that was always set a little too tight. The adjustment is legitimate; the underlying stiffness usually isn’t.
Remote Works, Wall Button Doesn’t
When the remote opens the door but the wall button (the hardwired control inside the garage) doesn’t, the problem is almost always in the wiring or the logic board, not the radio. The remote and the wall button use different signal paths: the remote broadcasts to the receiver, while the wall button delivers a direct electrical signal through a low-voltage wire to a terminal on the logic board. A failure isolated to the wall button therefore points to one of three things.
- The wire run is damaged. Staples through the wire, a chewed section, a loose connection at either end. Inspect the full run from the button to the opener head.
- The wall button itself has failed. These are cheap and easy to replace on most LiftMaster and Chamberlain units; swap the button first.
- The logic board terminal has gone bad. Less common but real, especially after a power surge. If the wire and button test good, the board is the remaining suspect.
One more diagnostic worth knowing: if the wall button works but the remote doesn’t, it’s the opposite problem, and it’s usually a dead remote battery, lost programming, or a receiver issue. Genie and Chamberlain program remotes differently, so the re-pairing procedure depends on the brand. If you’ve lost the manual, the brand and model number are printed inside the opener’s light cover or on a label under the housing.
The Opener Hums But Won’t Move
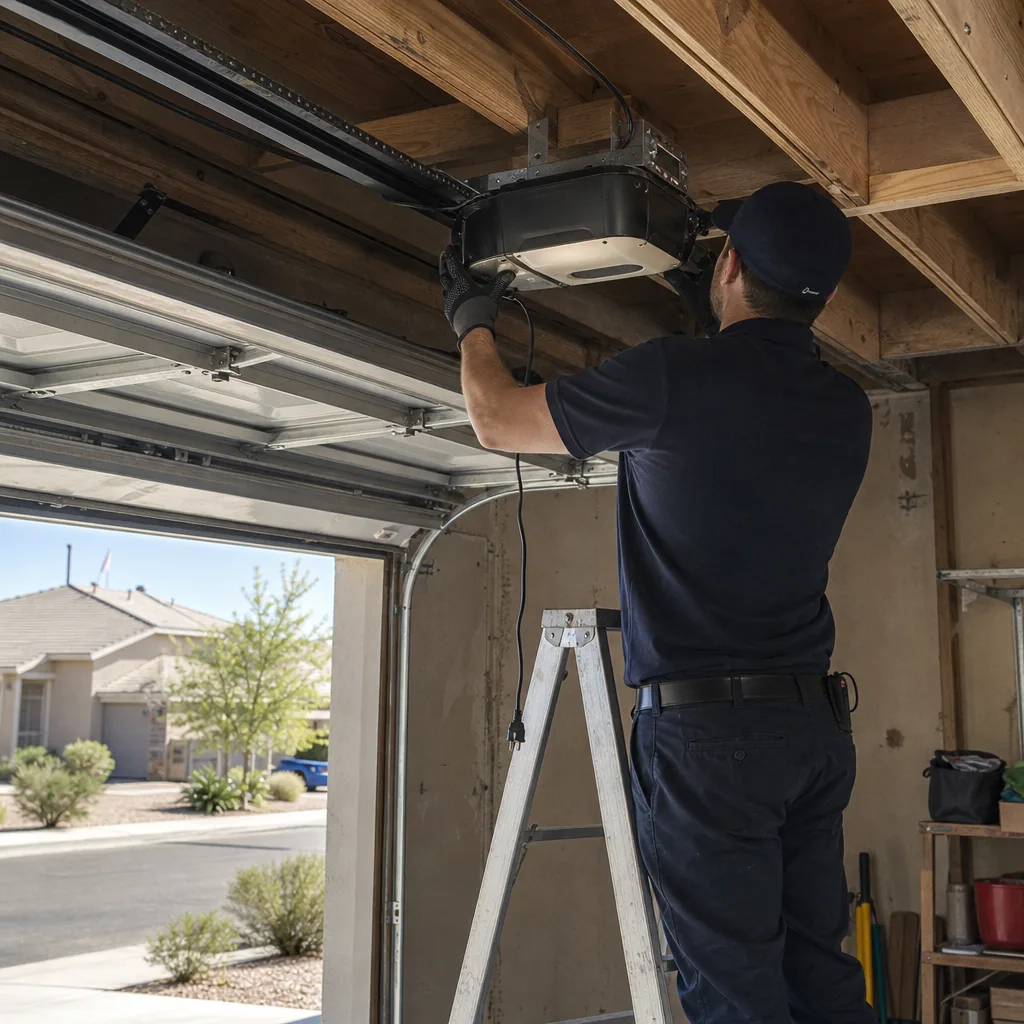
A hum with no movement means the motor is energizing but not turning, which narrows it to two components: the capacitor or the motor’s thermal overload. The capacitor is the more common of the two on older openers. It’s a cylinder inside the housing that gives the motor a phase shift to start rotating; when it weakens, the motor hums without producing startup torque.
Start with the thermal overload. If you’ve run the opener repeatedly (five, ten starts in a row while troubleshooting), the motor’s internal protection kicks in and locks it out for a period. Let it sit with the power off for fifteen minutes and try again. If it starts cold, the motor was overheating, which often traces back to an unbalanced door the motor has been working too hard to lift.
If it hums cold, the capacitor is the suspect. Capacitor replacement is a technician job because the housing has to come off and the capacitor has to be matched to the motor. In Whitney, we see a lot of capacitors fail on openers that are eight or more years old, especially in garages that get afternoon sun. This is one of the highest-return repairs we do; a $12 part saves a $400 opener replacement. It’s also why we photograph the failed component before we quote the replacement, a rule codified as Garage Door Opener Repair & Installation in Whitney.
How to Test the Safety Reversal System (UL 325)
UL 325 is the safety standard that governs residential garage door operators in the US, and every opener manufactured after 1993 has to comply with it. The standard requires two independent safety features: the auto-reverse (the opener reverses on contact with a 2-inch obstruction on the floor) and the photo-eye (a beam across the door opening that reverses the door if broken). Testing both annually is what the standard assumes. Here’s how to do it yourself.
- Place a 2-inch block on the floor at the center of the door’s path. Close the door with the remote. The door should reverse on contact with the block. If it doesn’t, the auto-reverse is failing; stop using the opener until it’s fixed.
- Test the photo-eye. With the door fully open, wave a hand or a length of board through the beam (the two small lenses mounted at the bottom of each track, a few inches off the floor). The door should not close, or should reverse immediately on breaking the beam. If it closes anyway, the photo-eye is failing.
- Check the beam alignment indicator. Most modern openers have a small LED on each photo-eye unit; both should be solid, not blinking. A blinking indicator is telling you the beam isn’t receiving.
- Test the manual release. Pull the red cord with the door closed and confirm the door is now disconnected from the opener and can be lifted by hand.
If any test fails, treat the opener as unsafe until repaired. The auto-reverse and photo-eye exist because a 300-pound door coming down on a child is a real and documented danger. If you’re unsure, call a technician; a safety reversal test is a fifteen-minute check that any reputable company will do without complaint.
Photo-Eye Alignment: The Most Misdiagnosed Problem
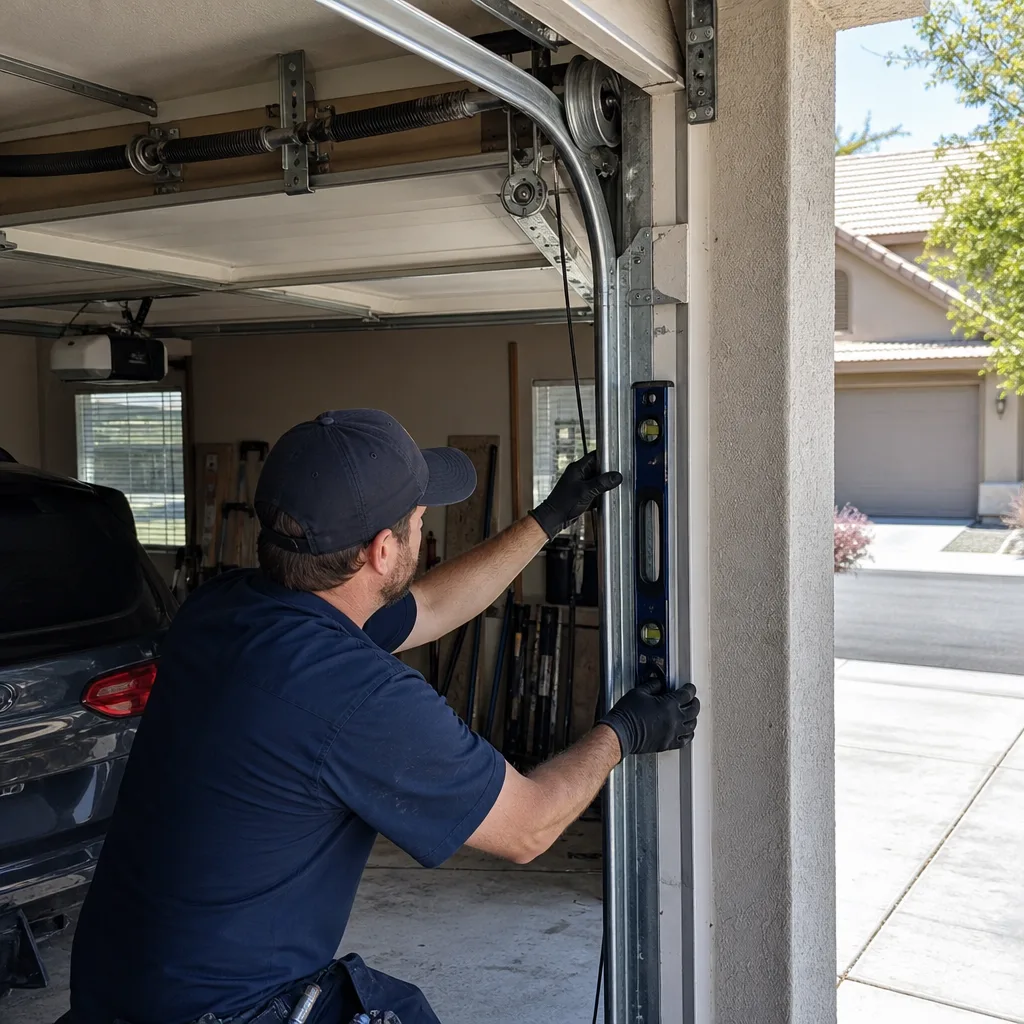
The photo-eye (also called the safety sensor) is two small units mounted a few inches off the floor on each side of the door opening, one sending an infrared beam and one receiving it. When the beam is broken, the opener refuses to close the door. The problem is that homeowners and techs both routinely misdiagnose the reason the beam is broken. There are three failure modes, and they need three different fixes.
- Broken (obstructed). Something is physically in the beam: a trash can, a hose, a stray leaf pile, a sagging bottom panel. Clear the path and test. If the door closes, that was it.
- Misaligned. The units are not pointed at each other. Common after a door has been hit, a bracket has loosened, or a child has knocked the eye with a bike. Loosen the wing nuts, angle the sender until the indicator LED goes solid, and retighten.
- Contaminated. A dirty lens (cobwebs, dust, spider eggs, sap) attenuates the beam enough to break it. Wipe both lenses with a dry cloth and retest.
Whats the fastest way to tell which one? Look at the LED on the receiver (the unit with the indicator light). Solid LED: beam is fine, problem is elsewhere. Blinking LED: beam isn’t being received, which puts you in the alignment-or-contamination bucket, not the obstruction bucket. A common unnecessary service call in Whitney comes from a homeowner who swept the door opening, saw the door still reverse, and called it in; ten minutes with a cloth and a screwdriver would have solved it.
What a Worn Drive Gear Looks Like
The drive gear is a nylon gear inside the opener housing that transfers motor rotation to the chain or belt. It’s designed to be the sacrificial part: cheaper to replace than the motor, and nylon is quieter than metal. When it fails, the teeth strip off, and the motor spins freely while the chain sits still. The symptom is exactly what you’d expect: opener runs, chain doesn’t move, door stays put.
If you take the light cover off (safe with the power disconnected) and shine a flashlight into the housing, you’ll usually see two things: stripped teeth on the gear, and a pile of white or yellow plastic shavings at the bottom of the housing. That debris is the tell. Describe it exactly like that when you call: “The opener runs but the chain doesn’t, and I see plastic shavings in the housing.” A technician hearing that sentence knows to bring the drive gear kit and will finish the job in one visit.
Drive gear replacement is one of the more economical repairs we do in Whitney because the part itself is inexpensive; most of the cost is the labor and the housing disassembly. It’s almost always worth doing on an opener under ten years old. On a unit pushing fifteen or more, run the numbers before deciding, because a fresh gear on a motor that’s already tired is a stopgap, not a fix.
Stop Here: When It’s Not the Opener
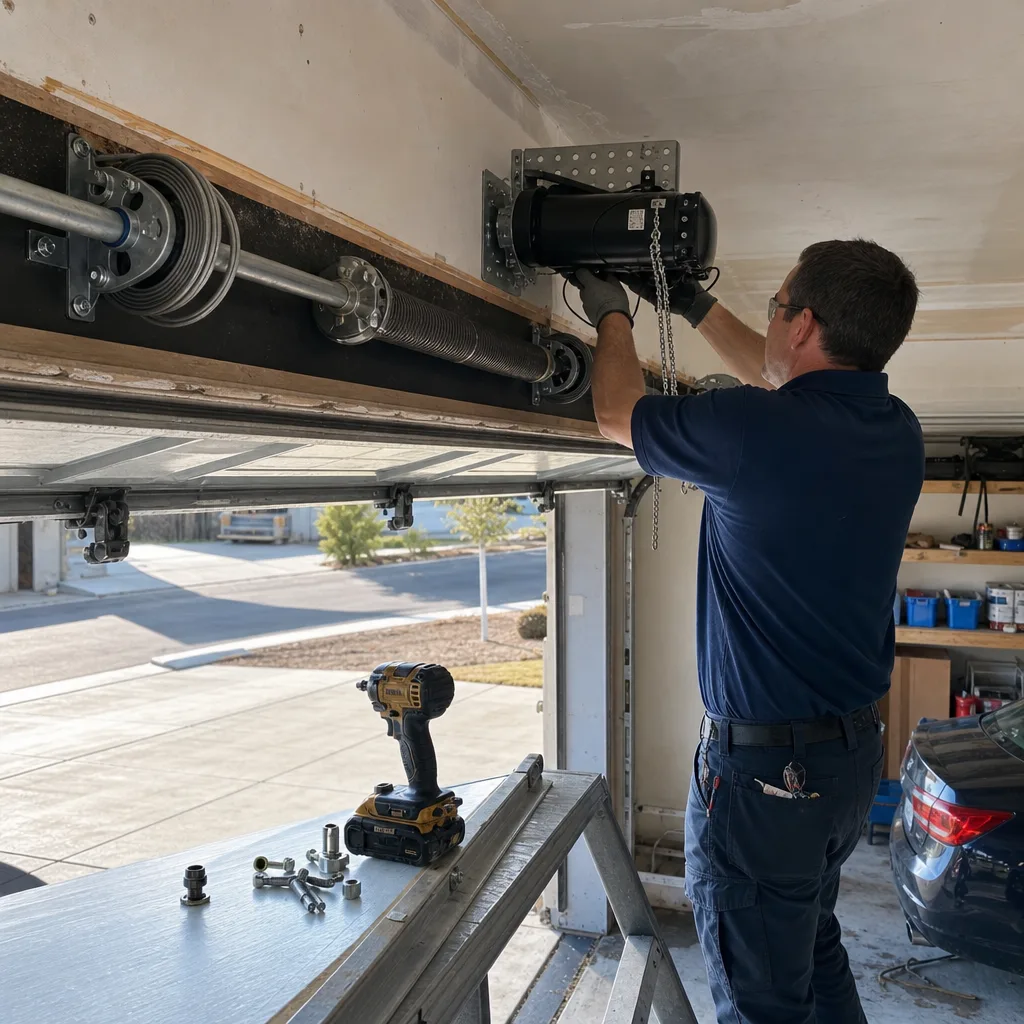
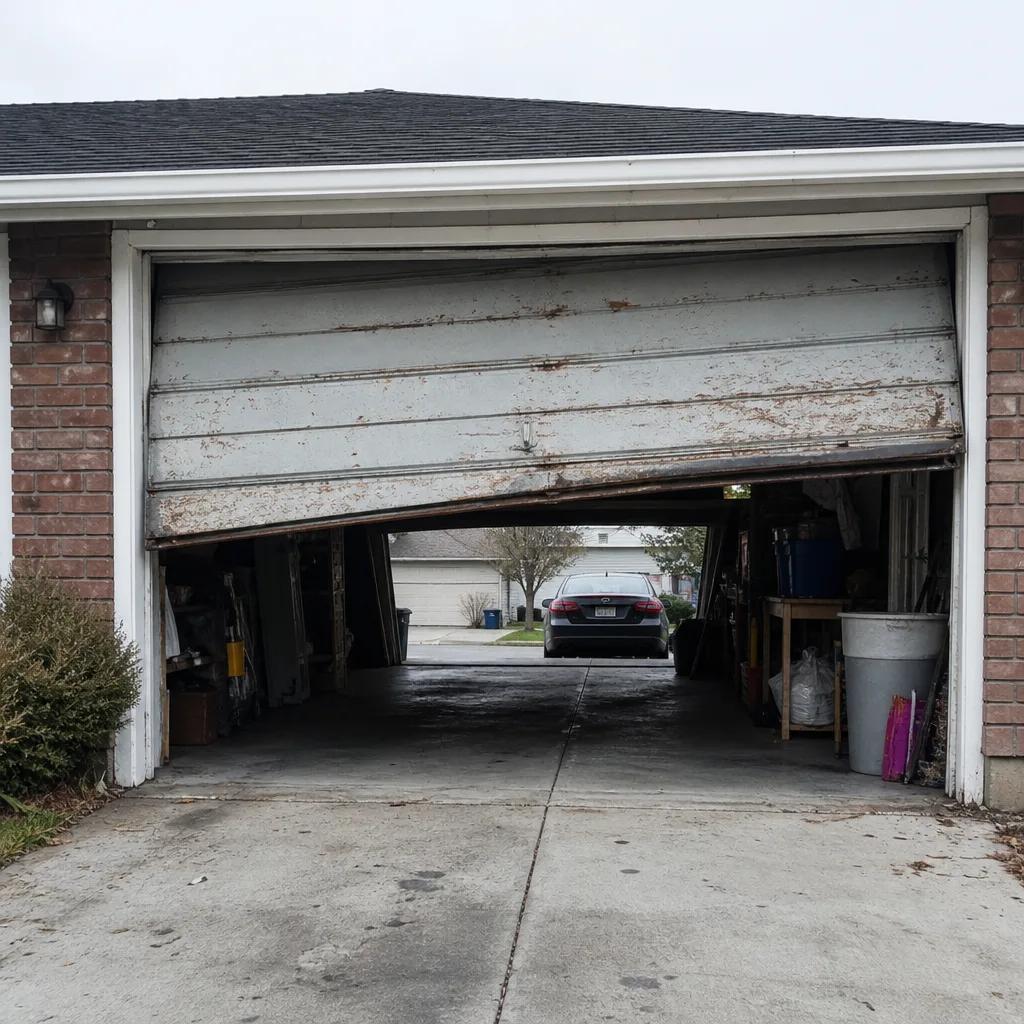
Some failures look like opener problems but aren’t. Recognizing these saves you a diagnostic fee and, more importantly, directs the repair to the component that actually failed. If you complete the door balance test (release the door with the red cord, lift it halfway, let go) and the door sags or drops, stop troubleshooting the opener. The problem is the door.
The three big look-alikes:
- Torsion spring failure. You’ll hear a loud bang from the garage, and the door will feel extremely heavy by hand. The opener may still run, but the door won’t lift or lifts a few inches and drops. Springs carry the door’s weight; the opener carries almost none. A broken spring is a technician job and never a DIY repair; the springs are under extreme tension and can cause severe injury. We covered this in more depth on our Garage Door Repair in Whitney page.
- Cable off the drum. One side of the door lifts and the other doesn’t, or the door binds and tilts. A slack or snapped cable is visible as a loose loop hanging off the drum. Also technician territory; a snapped cable under tension is dangerous.
- Bent track. The door binds at a specific point on the way up or down. Look at the vertical and horizontal tracks for kinks or dents. A door that’s hit something can bend a track section, and the opener will keep straining against the bind until it fails.
All three change the repair scope entirely. A drive gear replacement runs a fraction of what a spring replacement does, and a bent track can be cheaper still. Matching the symptom to the right component before anyone quotes is how you avoid paying for the wrong repair.
Common Mistakes to Avoid
- Adjusting the force setting to mask a balance problem. Turning up the force so a sagging door will close is a two-week fix that leads to a burned-out motor. The door needs balancing, not more force.
- Calling for a service visit before testing the photo-eye. Half the “opener won’t close” calls we field in Whitney resolve to a dirty lens or a stray object in the beam. Take thirty seconds with a cloth first.
- Assuming the motor is dead because it hums. The hum is the motor working. The capacitor or overload is the failure. Don’t replace the opener over a $12 part.
- Using generic remote batteries and skipping the re-pairing step. A fresh battery in a remote that lost its programming swaps the easy answer for a puzzle. Re-pair the remote after any battery change on LiftMaster and Chamberlain units.
- Ignoring the safety reversal test after any adjustment. Re-test the 2-inch block and the photo-eye after every force or limit adjustment. Adjustments can break the safety features if you overwind a setting.
- Unplugging the opener and calling it dead. Openers on a GFCI circuit trip more often than they fail. Check the outlet first; we’ve seen more than a few “dead openers” in Whitney garages where the outlet had tripped.
- Lifting a door with a broken spring by hand. The door will weigh several hundred pounds and the strain can cause injury. Leave it down and call.
See the difference
BeforeAfter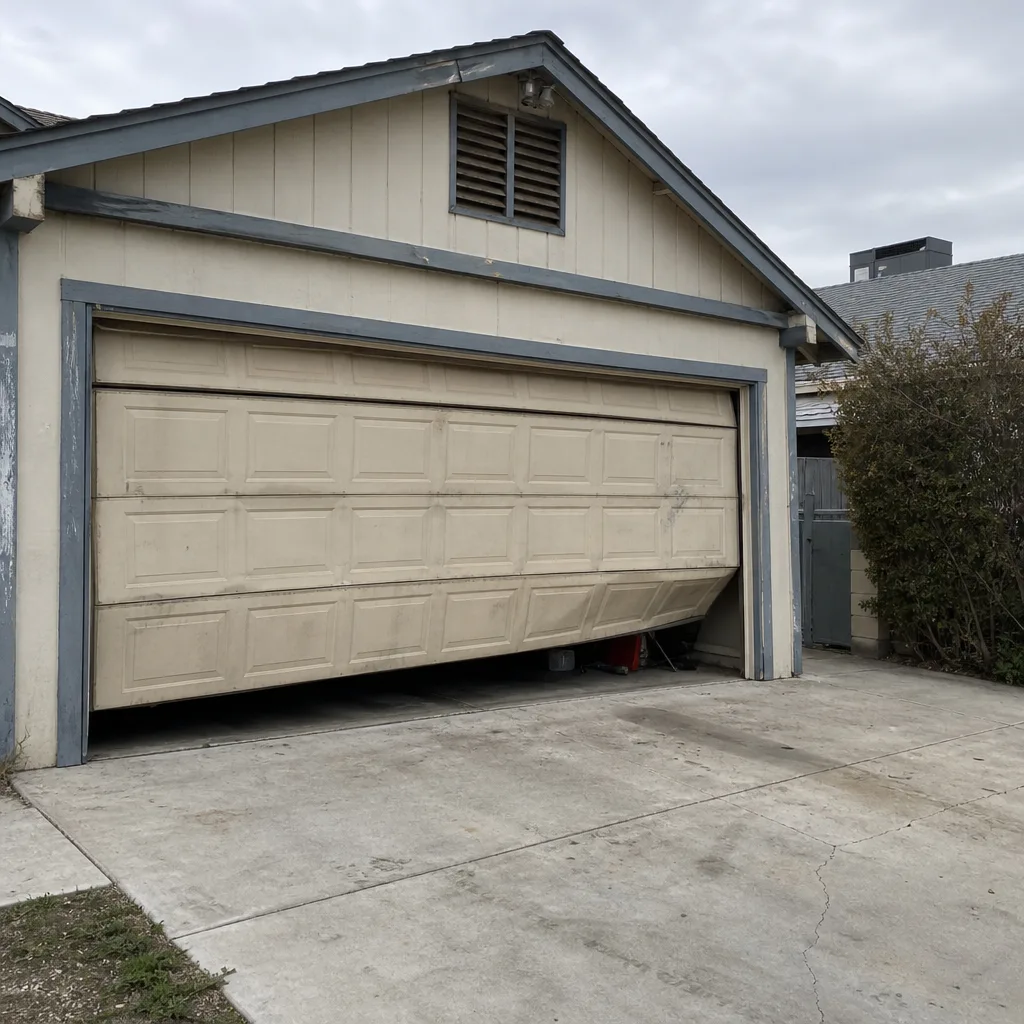 Before
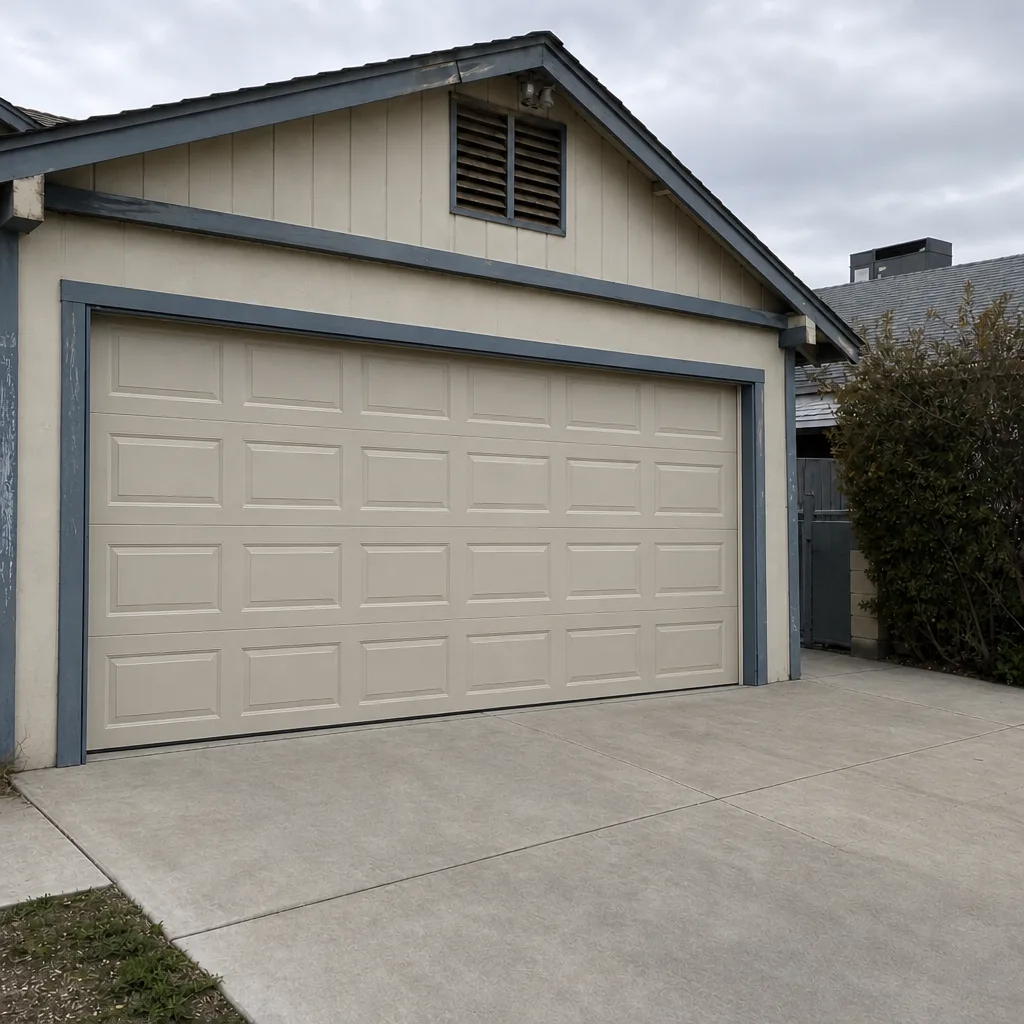 After
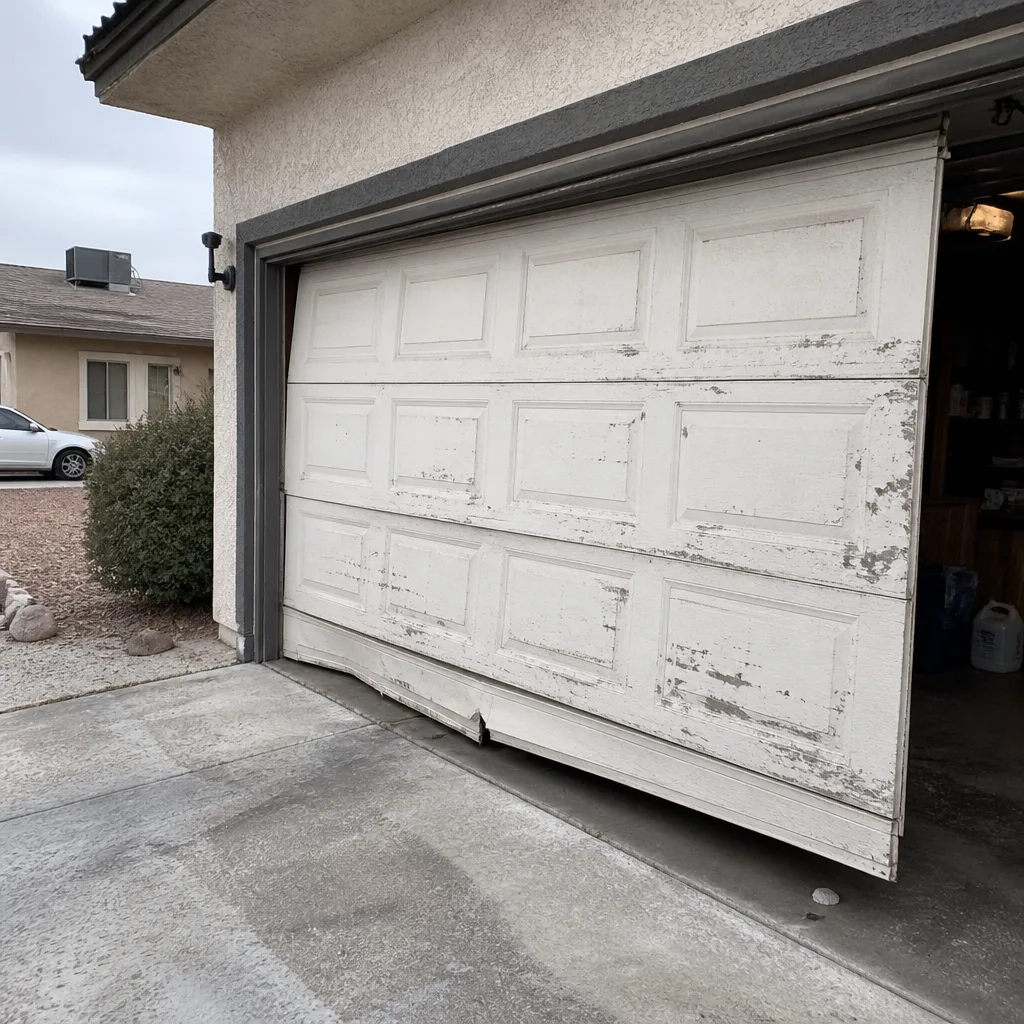 Before
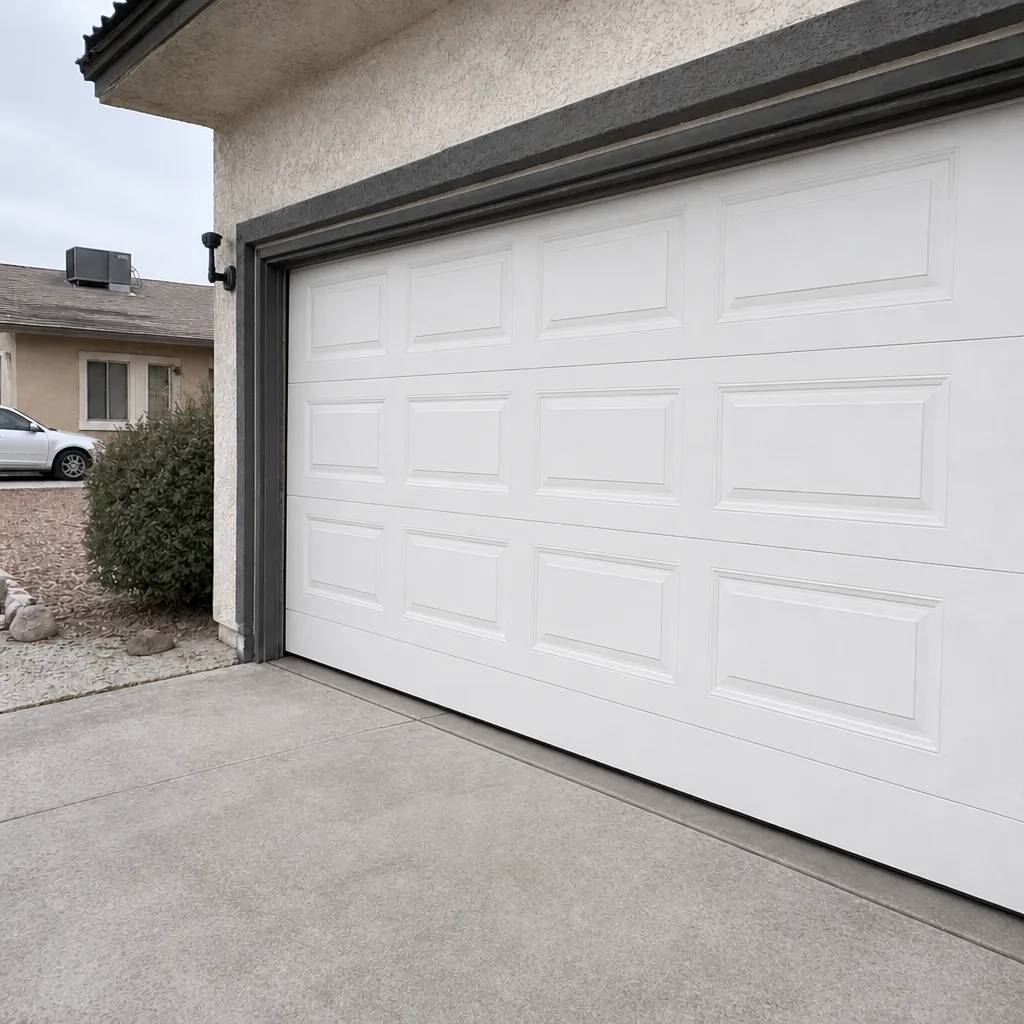 After
When to Call a Professional
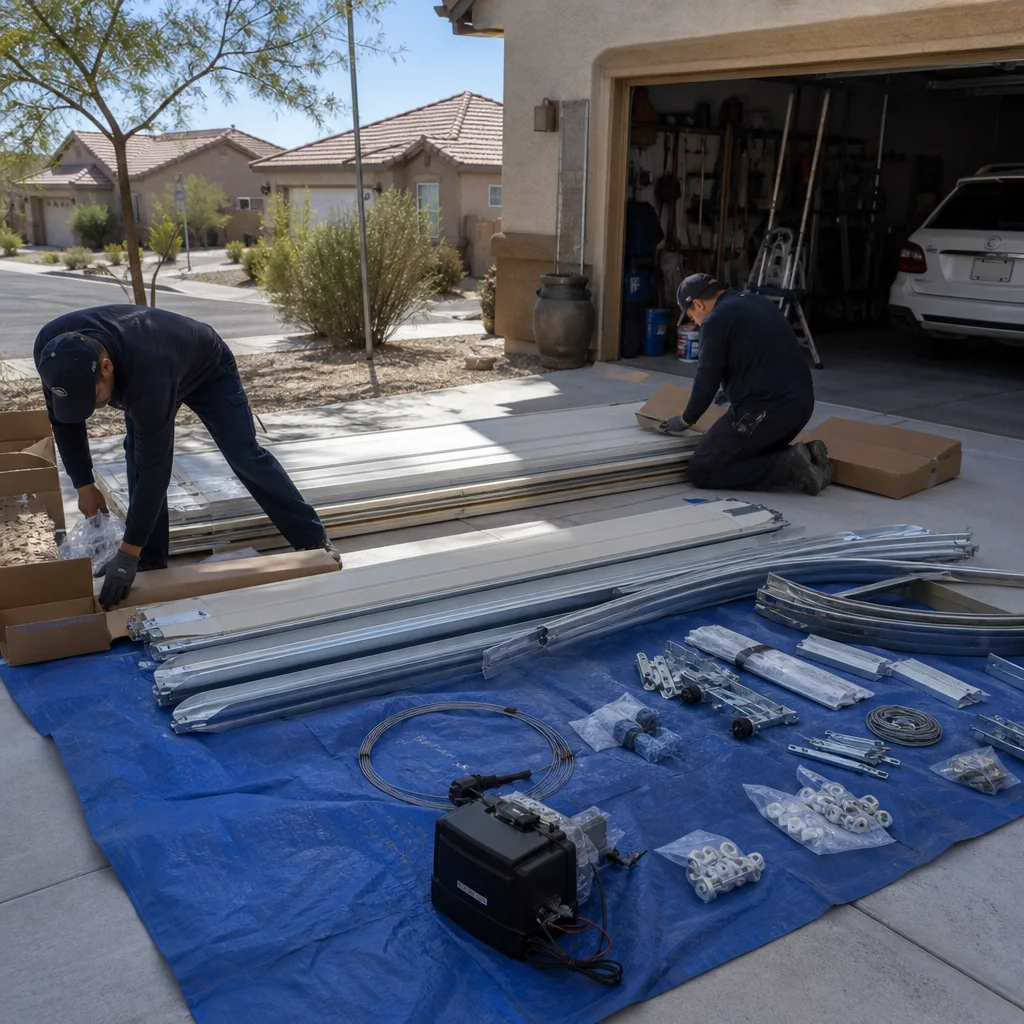
Call a professional for anything involving the springs, cables, or a capacitor replacement. Springs and cables are under extreme tension; a torsion spring can take a hand off, and no troubleshooting guide should encourage a homeowner to touch one. Same for capacitor replacement inside the opener housing, which requires disassembly and a matched part. Call us too if you’ve done the safety reversal test and it fails; that’s a safety issue, not an adjustment. And call when door balance is off in a way that no force adjustment fixes, because that’s a spring problem dressed as an opener problem.
Servo Garage Doors Whitney offers free estimates in Whitney and gives you a flat, written price and scope before any work starts. Call (888) 402-1096. We photograph the failed component before quoting a replacement, so you see what we see, and we include a documented photo record on every visit as part of our standard practice.
Frequently Asked Questions
The close-force limit is set too sensitive or the down-travel limit stops the door two inches short. Test the door balance by hand first; if it’s balanced, the fix is a small adjustment to the force setting. Call (888) 402-1096 for an exact quote on a service visit; estimates are free.
Common opener repairs in Whitney run $150 to $400, with drive gear replacement, capacitor replacement, and photo-eye alignment at the lower end and logic board replacement at the upper end. We quote a flat, written price before any work starts, per Clause 1 of The Haven Standard, so you’re not surprised by the invoice. Call (888) 402-1096 for an exact quote.
Yes. Emergency and same-day calls are available, and our phones are answered by a live person 24 hours a day, including holidays, not a recording. You’ll get a named technician and an on-the-way text rather than a callback window. Call (888) 402-1096.
No. The flat, written price and written scope are agreed before any work starts, so the invoice matches the quote. If we find something additional during the visit, we stop and re-quote in writing before proceeding. Call (888) 402-1096 for a free estimate.
Pull the red release cord, lift the door halfway by hand, and let go. A balanced door holds position; a sagging or dropping door has a spring or balance problem, not an opener problem. Call (888) 402-1096 for a free second opinion if you’ve got a written estimate from another company and want a second set of eyes.
Yes. The local technicians we connect you with are licensed and insured as their state requires, arrive in uniform, and pass a background check before working in your home. Every job includes a documented photo record you keep. Call (888) 402-1096 to book.
The Bottom Line
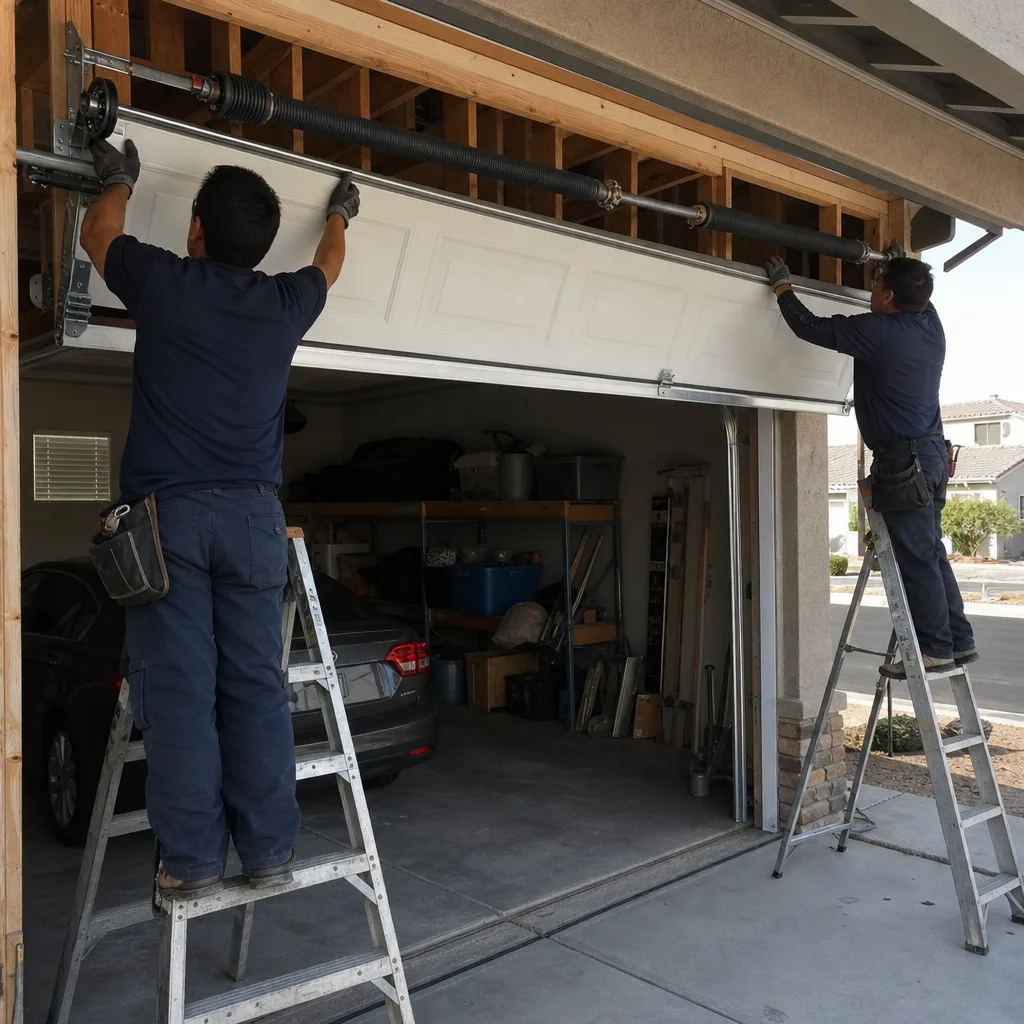
Most garage door opener problems trace to a short list of components: drive gear, limit switch, photo-eye, capacitor, or logic board. Match the symptom to the component, complete the UL 325 safety reversal test on anything you touch, and check door balance before you blame the opener. The repairs that look scary are often a $12 part and an hour of labor. The repairs that look small can be a spring, which is real money and real danger. Knowing which is which is what saves you the dispatch fee and the wrong invoice. When in doubt, get the written price first.
Servo Garage Doors Whitney serves the Whitney area with garage door repair, Garage Door Installation in Whitney, opener service, parts, and 24/7 emergency calls. Every job carries a flat, written price before work starts, a documented photo record, and the 365-Day Done Right Promise. Start at our Servo Garage Doors Whitney home page to see the full scope, or call (888) 402-1096 for a free estimate. If you’ve got a written estimate from another company, bring it in for a free second opinion, no coupon required.
Written by the team at Servo Garage Doors Whitney.