
Last updated November 18, 2026
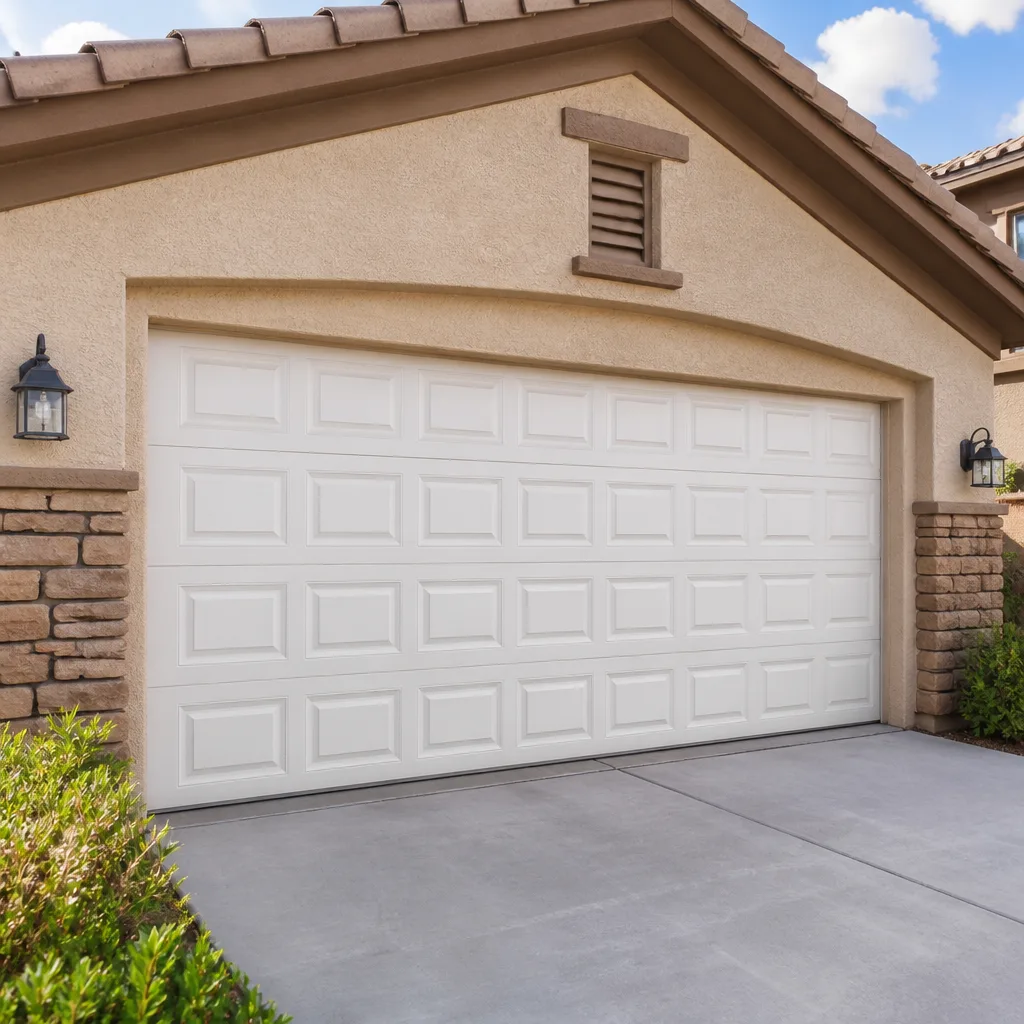 Raised-panel steel
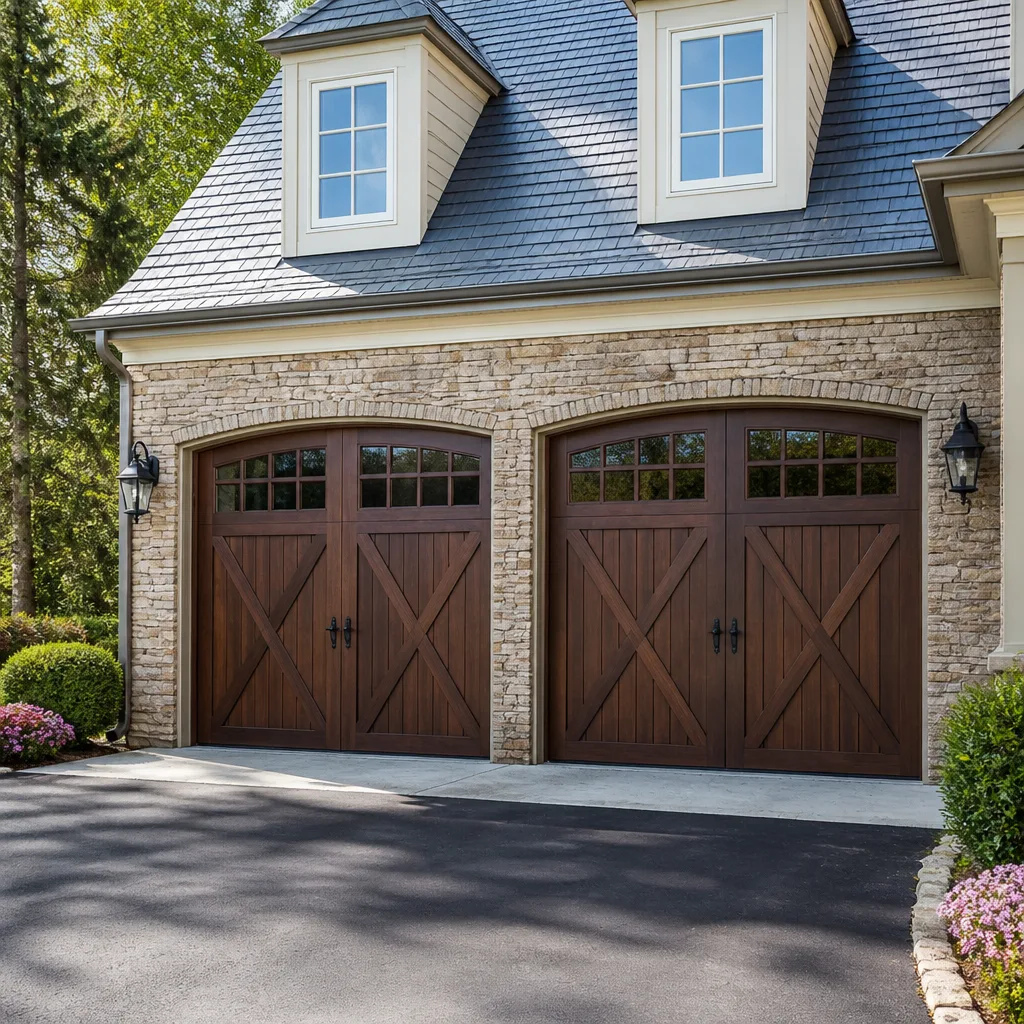 Carriage house
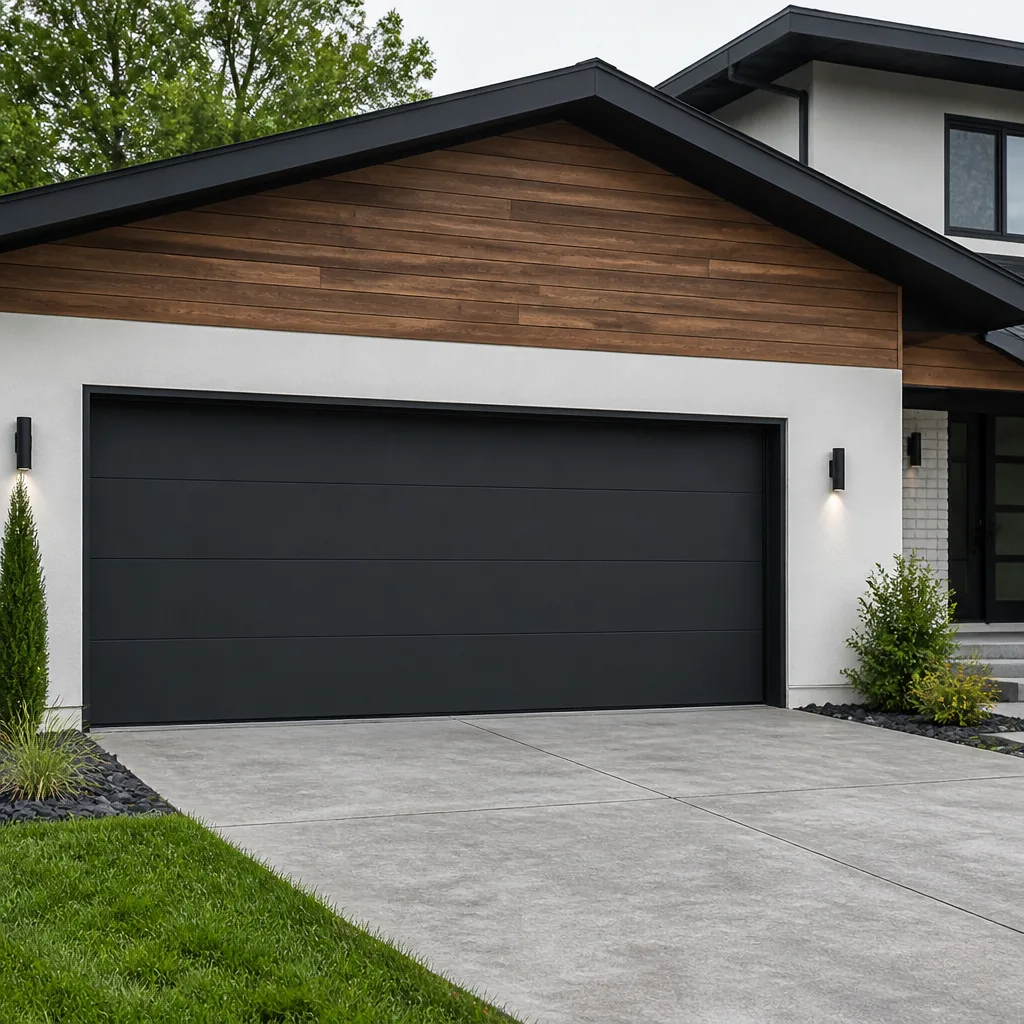 Modern flush
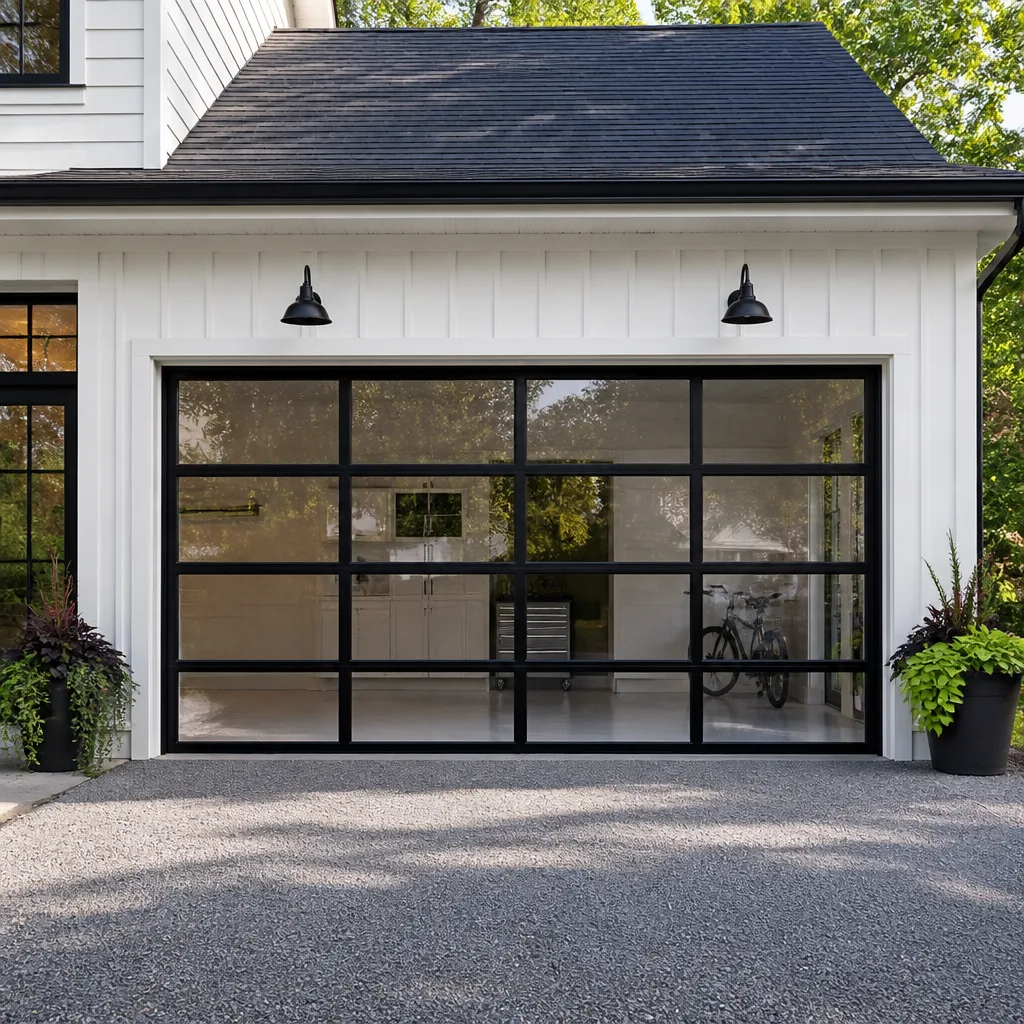 Full-view glass
 LiftMaster openers
 Chamberlain openers
Full 25-point door and opener safety check with every visit - springs, cables, rollers, tracks, and your LiftMaster or Chamberlain opener included
You get a price before we start. It does not change when the pro arrives.
Get your free estimateGarage Door Repair Troubleshooting: Common Problems and How to Fix Them
A door that “won’t open” is a symptom, not a diagnosis. The same complaint maps to eleven different root causes, four of which cost nothing to fix and two of which require a licensed technician before you touch anything. In our experience, roughly 60% of the service calls that get dispatched are operator-error issues a homeowner could have resolved in four minutes with a flashlight and a little patience. This guide draws that boundary precisely: which failures you can safely diagnose yourself, which part has actually failed, and which three conditions mean you stop troubleshooting and pick up the phone.
Quick Answer
To troubleshoot a garage door, work in a fixed order: confirm the opener motor runs, confirm whether the door moves at all, then check whether the travel is consistent. That sequence isolates the failure to a named component (sensor, limit switch, logic board, spring, cable, or track) instead of guessing. Anything involving a loaded torsion spring, a frayed lift cable, or a bent track above shoulder height ends the self-diagnosis immediately and calls for a technician.
Styles & brands we work with
- Raised-panel steel
- Carriage house
- Modern flush
- Full-view glass
- LiftMaster openers
- Chamberlain openers
Table of Contents
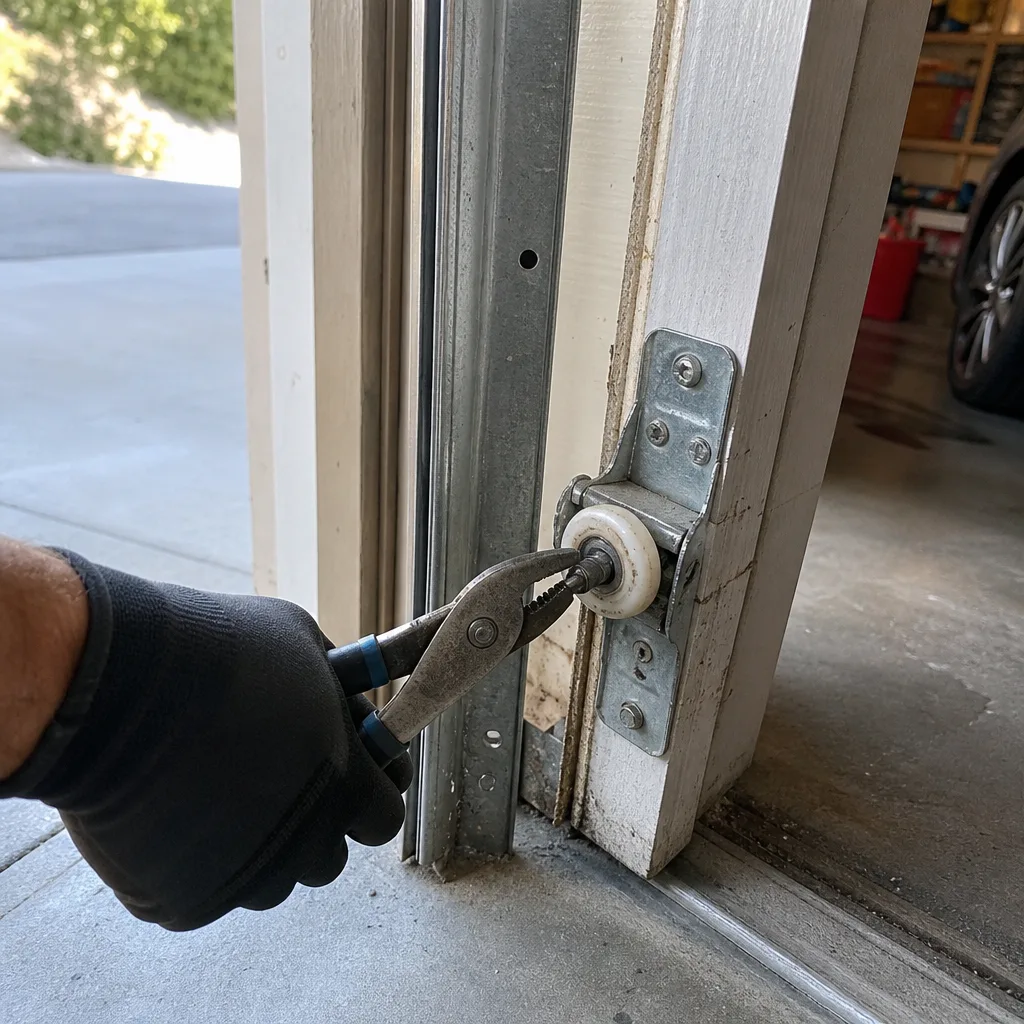
- Start Here: The Three-Question Decision Tree
- The Motor Runs but the Door Doesn’t Move
- Door Reverses Immediately After Closing
- Limit Switch Misfire vs. Logic Board Failure
- The Motor Makes No Sound at All
- Photo Documentation Checklist Before You Call
- Three Failures That End Troubleshooting Immediately
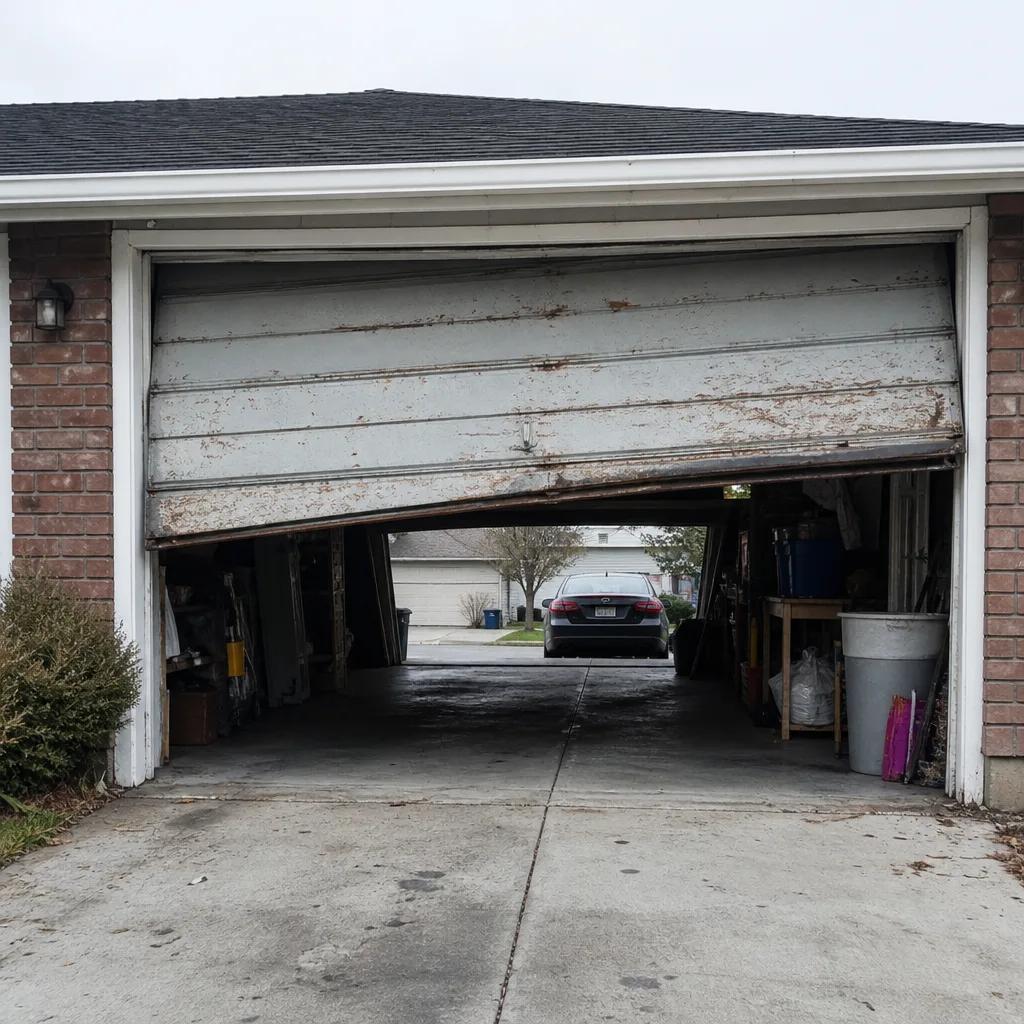 Before
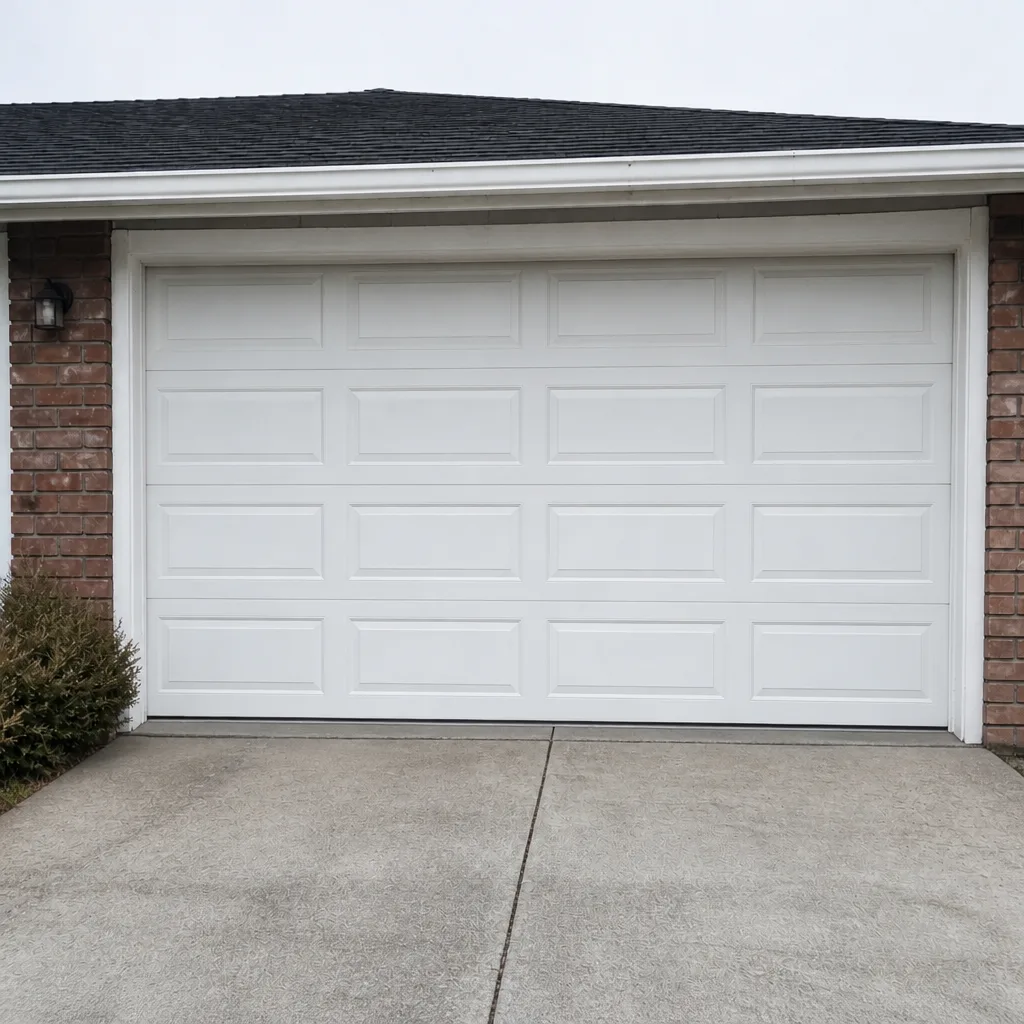 After
Start Here: The Three-Question Decision Tree
Every troubleshooting path begins with three questions, asked in this order. The answers narrow eleven possible causes down to two or three. We walk through this exact sequence because it’s how a technician arrives at a component name rather than a vague “it’s broken.”
- Does the opener motor run? Press the wall control (not the remote). If you hear the motor hum or see the trolley move slightly, the motor is alive and the problem is downstream. If there’s silence, the problem is upstream: power, logic board, or safety circuit.
- Does the door move at all? Watch the door for a full ten seconds. No movement at all suggests a mechanical bind, a broken spring, or a snapped cable. A slight lurch followed by a stop points to a travel adjustment or a sensor issue.
- Is the travel consistent? Open the door fully, close it, and open it again. If the door stops at a different point each cycle, you’re looking at a limit switch or a sensor misalignment. If it stops at the same point every time, the cause is fixed and mechanical.
Those three answers point you to the section below that matches your symptom. If the answer to question one is “no motor sound,” skip straight to the no-motor section. If the motor runs but the door lurches and stops, keep reading. A qualified garage door technician in Whitney sees this exact sequence play out on most calls, and it works because it forces order onto the diagnosis.
The Motor Runs but the Door Doesn’t Move
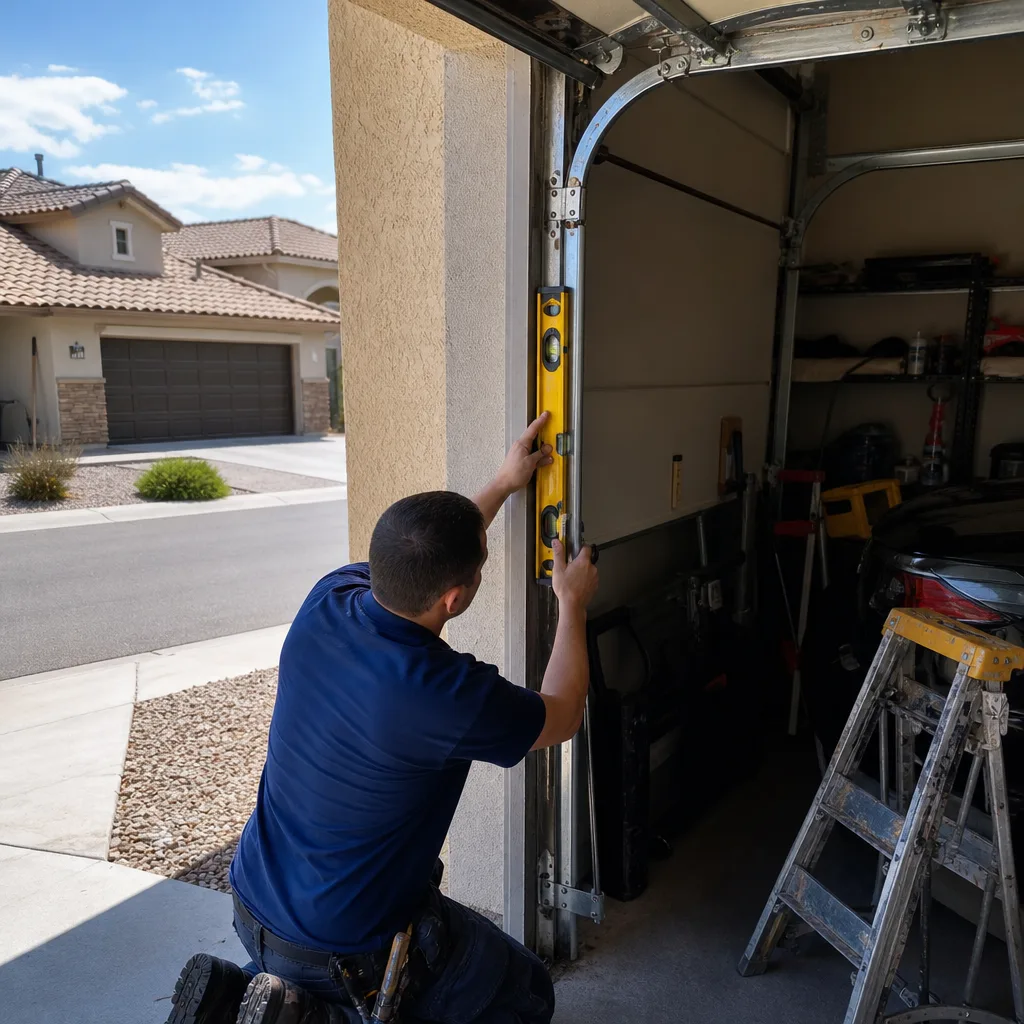
You hear the operator, but the door is still. That gap is where most homeowners assume the worst. It usually isn’t. The motor running with no door movement means the operator is fine and the disconnect is between the operator and the door.
- Trolley disengaged. Most openers have a manual release rope. If someone pulled it (often by accident during a power outage), the trolley carriage is off the chain or belt and the opener runs in place. Pull it back toward the opener to re-engage. If it won’t click back, the trolley is worn.
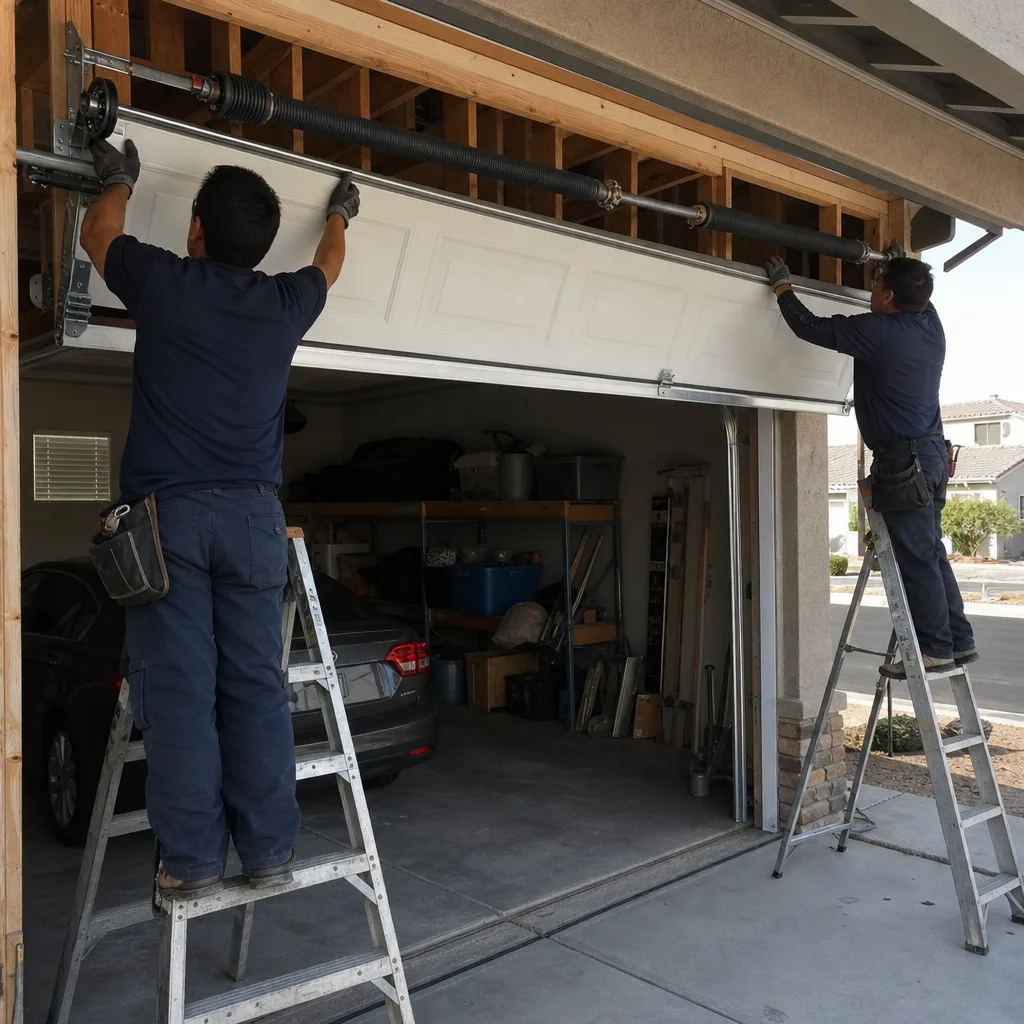
- Broken torsion spring. Look at the horizontal shaft above the door. A broken spring shows a clean gap at the coil. This is the single most common reason a motor runs and the door stays put. It is not a DIY repair.
- Snapped lift cable. The cable on the side of the door, wrapped on the drum, will whip loose when it breaks. Frayed or snapped cables are dangerous under tension.
- Operator force limit set too low. On a Genie or LiftMaster opener, if the force adjustment was turned down, the opener will run for a second and stop because it thinks it hit an obstruction.
If the trolley is engaged, the door moves freely by hand, and the motor still won’t lift it, the operator force or logic is the issue. If the door doesn’t move freely by hand, a spring or cable has failed. That distinction takes two minutes and saves the truck roll.
Door Reverses Immediately After Closing
A door that goes down then pops back up almost always means the safety reversing system thinks something is in the way. In our experience, this is the single most misdiagnosed symptom, and homeowners routinely assume it’s a spring problem when the spring is fine. The photo eyes at the bottom of the track (one on each side, about six inches off the floor) are the culprit about nine times out of ten.
Here’s how to confirm in under two minutes:
- Look at the LED on each photo eye. Solid means aligned; blinking means misaligned or blocked.
- Wipe both lenses. Dust and spider webs on a Chamberlain or Craftsmansensor will trigger a reverse.
- Check that both eyes are pointed at each other. If one was bumped by a bike or a lawnmower, gently nudge it back until the LED goes solid.
- Check the sun. In a Whitney garage with a west-facing door, direct afternoon sun can flood one sensor and make it fail intermittently. A small sun shield solves it.
If the eyes are aligned and clean and the door still reverses, the issue is the logic board receiving a false signal or a damaged sensor wire. A damaged wire behind drywall or a pinched cable near the track is a job for a technician. The key point: a reversing door is a sensor or logic issue, not a spring issue, and should be ruled out before anyone quotes a spring replacement.
Limit Switch Misfire vs. Logic Board Failure
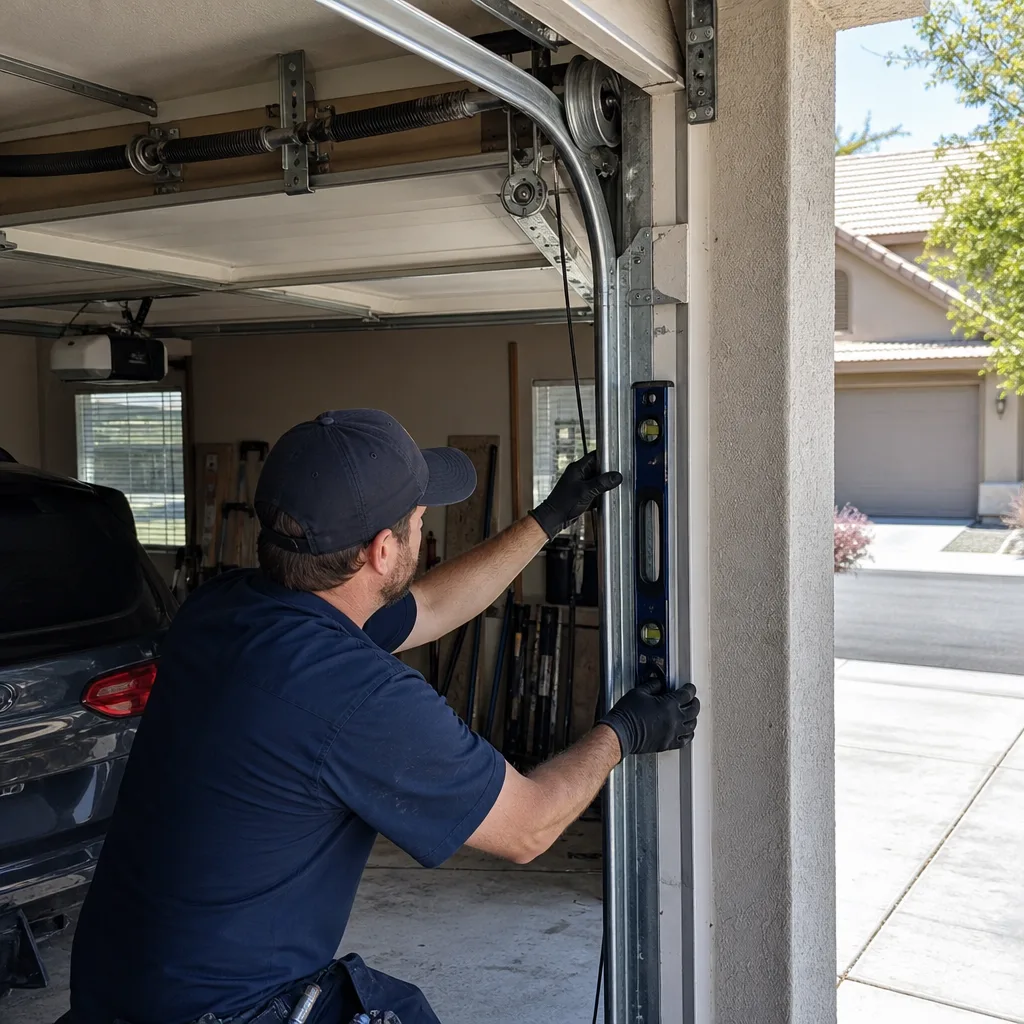
Here’s a distinction that saves real money. A door that stops short of the floor, or reverses before fully closing, or doesn’t open all the way, can have either a limit-switch misfire or a logic board failure. The external behavior looks nearly identical. The fix does not: a limit switch adjustment is typically under $50, a logic board replacement is typically $150 – $250 on most residential operators. On some older units, the logic board alone runs past $200.
Limit switch misfire: The opener “thinks” it’s reached open or closed earlier than it has. This shows up as a door that stops at the same wrong point every cycle, then runs correctly if you adjust the travel screw. A limit switch that responds to adjustment is working. If adjusting it brings the door back to a full cycle, you’ve fixed it.
Logic board failure: The board sends the wrong signals to the motor, or the motor runs in one direction only, or the opener loses its memory of travel after a power flicker and won’t relearn it. If you’ve adjusted the travel screws on a Wayne Dalton or Amarr operator and the door still behaves the same way, the board has likely failed at the control chip level.
The DIY test: turn the travel adjustment screw a half turn in the direction the door needs to move. If the door responds, the limit switch is alive. If nothing changes, the board isn’t accepting the input. That’s a five-minute test that prevents a $200 swap for a $40 adjustment.
The Motor Makes No Sound at All
Silence from the opener means the problem is upstream of the operator. Work through these in order:
- Outlet power. The opener plugs into a ceiling outlet. Check that the outlet has power with a lamp or a tester. Tripped GFCI outlets in garages are common in Whitney, especially after summer thunderstorms.
- Wall control. If the wall button works but the remote doesn’t, the issue is the remote, battery, or radio receiver. If neither works, it’s the operator’s power or logic. Swap the wall button for a known-good one if you have it.
- Safety circuit. Some operators, including several Genie models, won’t run at all if the photo eye circuit is broken. A snapped sensor wire will kill the whole opener.
- Burned-out logic board capacitor. If the outlet is live and the wall control is wired correctly, and the board shows no light, the board is dead. Replacement is $150 – $250 installed.
One more rule: if the opener is a decade-old Craftsmans or Chamberlain unit that’s failed at the board, weigh the repair against replacement. A $200 board on an aging unit is worth doing once. Twice is money toward a new operator, and we say so on the written quote rather than upselling a board it doesn’t need.
Photo Documentation Checklist Before You Call
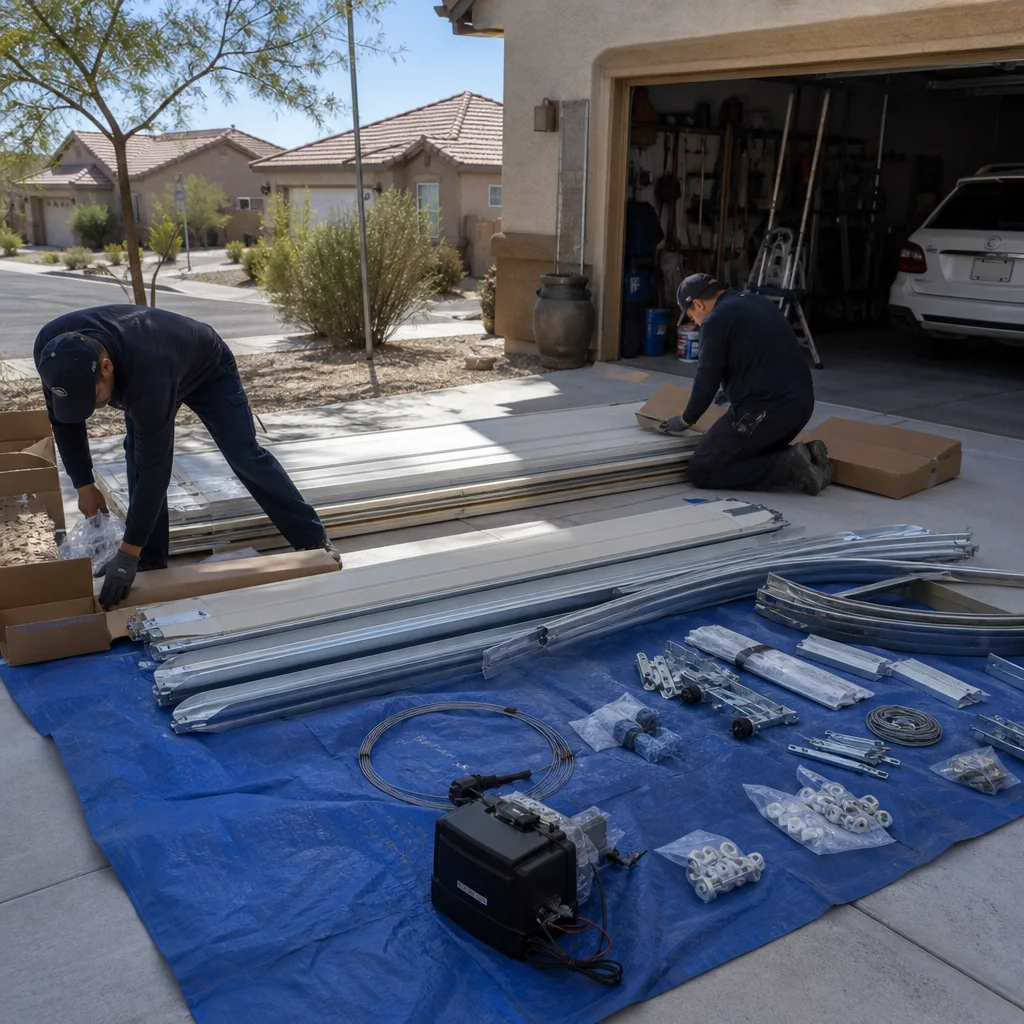
Clause 4 of The Haven Standard is the reason a technician photographs the failed part before quoting a replacement, so the customer sees what we see. You can do the same before you call, which means the technician arrives with context instead of starting from zero. A few photos in good light save ten minutes of on-site diagnosis.
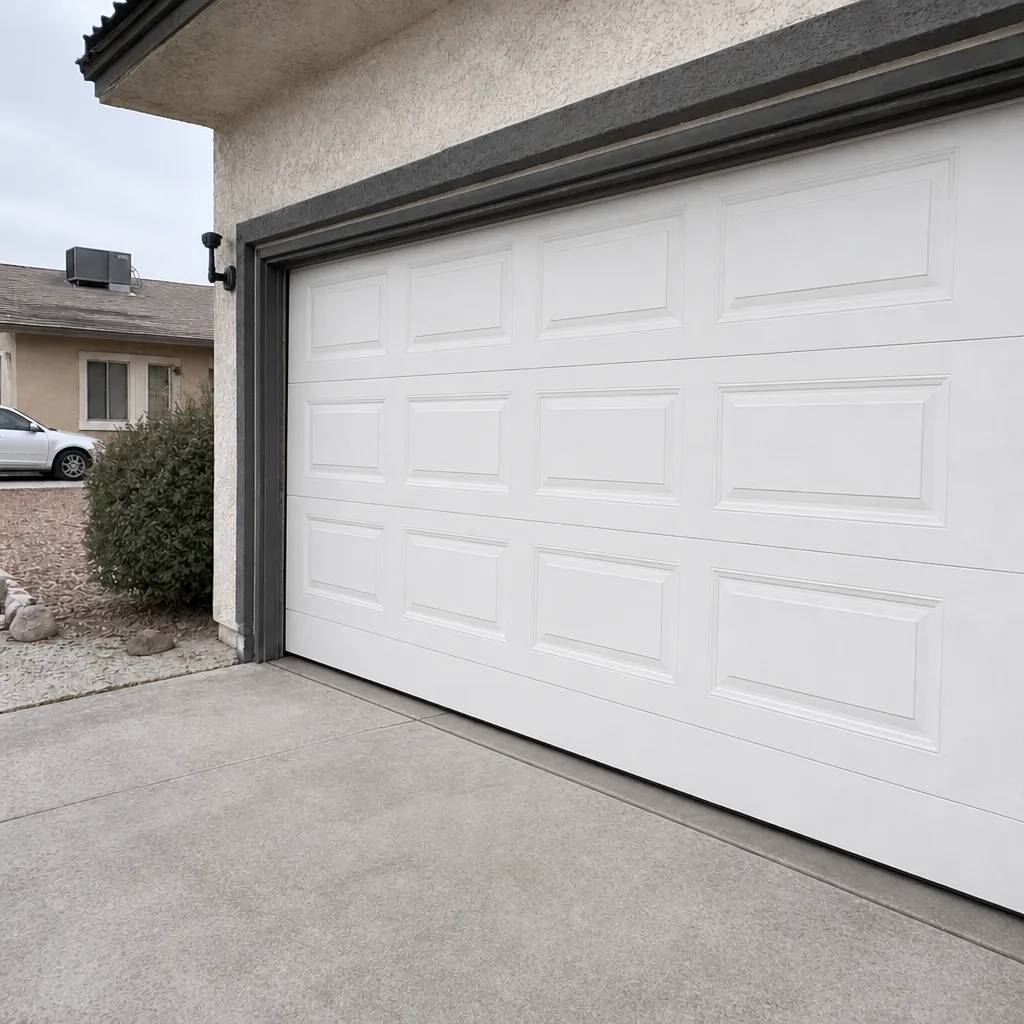
- Full door from the outside, so the technician sees the panel and alignment.
- The torsion shaft above the door, close enough to show the spring coils and any gap.
- Each lift cable at the drum and at the bottom bracket.
- Both photo eyes, lit or unlit, with the LED status visible.
- The opener unit, including model plate and any error LED codes.
- The wall control and the point where the door stops (measure it: inches from the floor).
Include a one-line description with your photos: “Door reverses two feet off the floor, opener model visible in photo 5.” That sentence and a couple of pictures are the difference between a clear quote and a diagnostic visit. Servo Garage Doors Whitney collects the same record on every visit and hands it to the customer, so the homeowner knows exactly what was found and what was done.
Three Failures That End Troubleshooting Immediately
Three conditions take the door out of DIY territory. Stop just before touching them, and call a licensed technician.
- Broken torsion spring under load. The springs above the door hold the full weight of the door in tension. A broken spring is instantly recognizable (a clean gap at the coil) and instantly dangerous if you try to remove or re-wind it. Never attempt to loosen the set screws on the spring cone or remove the spring yourself. The stored energy can cause serious injury.
- Frayed or snapped lift cable. The cable wraps the drum and runs the full height of the door. When it snaps, it whips loose at high speed. Do not try to re-wind it onto the drum by hand, and keep the door closed until a technician arrives.
- Bent track above shoulder height. A track section that’s bent or out of vertical keeps the door pinned in the rails. Straightening it requires controlled leverage at height, and a partial bend can restraighten under load. That’s a technician job, not a hammer job.
If any of these three are present, the troubleshooting part of this guide is done. Everything else in the guide was about naming the component; the part replacement itself is a licensed, insured repair where the written price comes before any tool touches the door.
Common Mistakes to Avoid
- Force-adjusting the opener instead of fixing the bind. Turning up the force screw masks a failing spring until the door drops. In Whitney, we see this most often on doors that got “fixed” after the last power outage.
- Replacing the photo eyes when the spring is the problem. A reversing door and a spring break look similar to a homeowner but come from opposite ends of the system. Test the spring first, then the eyes.
- Pulling the manual release while the door is open. On a loaded torsion system, releasing the door at the open position drops it hard on the tracks. Pull the release only with the door fully closed.
- Ignoring a limit-switch misfire until it becomes a board failure. Adjust the travel when the door first stops short, not after a month of overriding it. The board can only absorb so much.
- Greasing the tracks. Track rollers and hinges need a light lube, but grease in the track collects grit and jams the rollers. We see this in Whitney garages after a summer of dust.
- Disengaging the trolley to “test” a spring. A door that won’t hold itself closed with the trolley off is a sign the spring is done. That’s information, not permission to operate it manually.
- Calling for a full replacement when the quote is a spring and a cable. Most broken doors need a component, not a door. Get a written price that names the part before anyone quotes a new door.
See the difference
BeforeAfter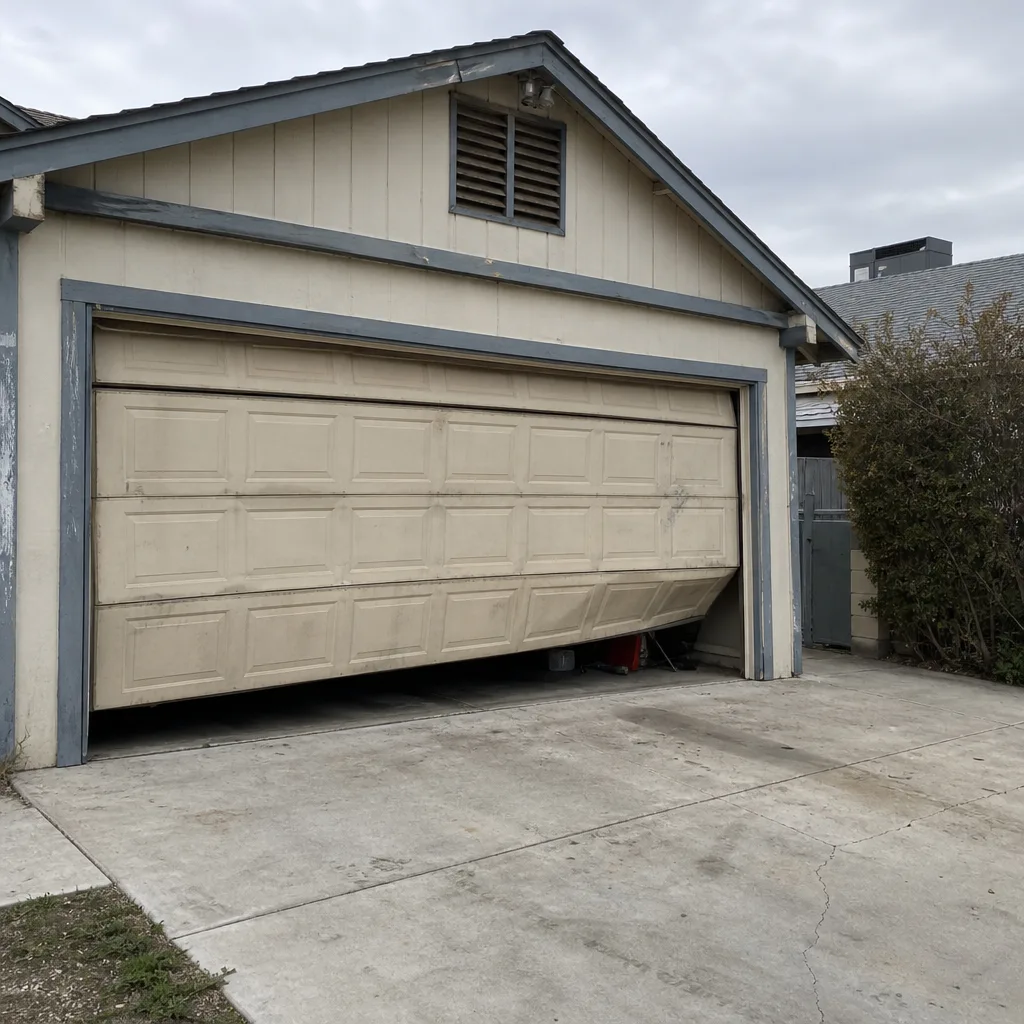 Before
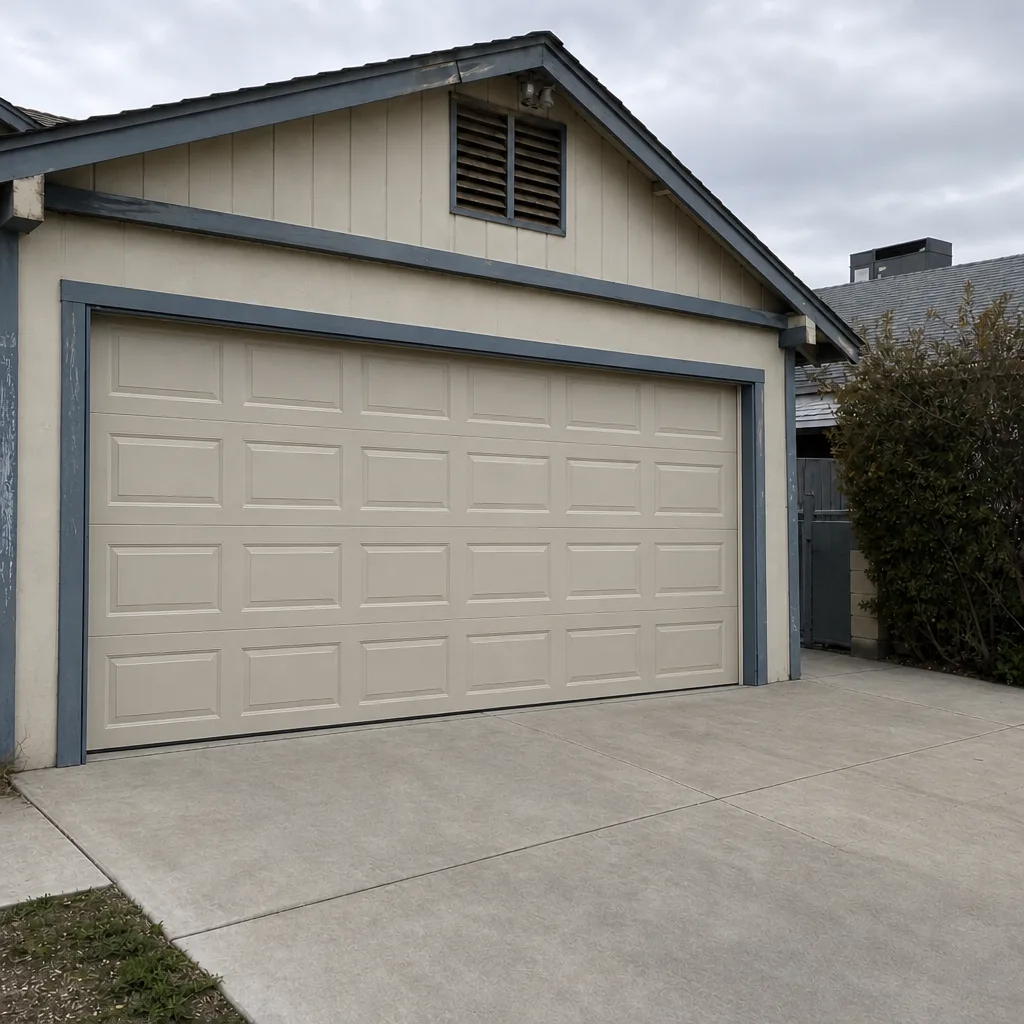 After
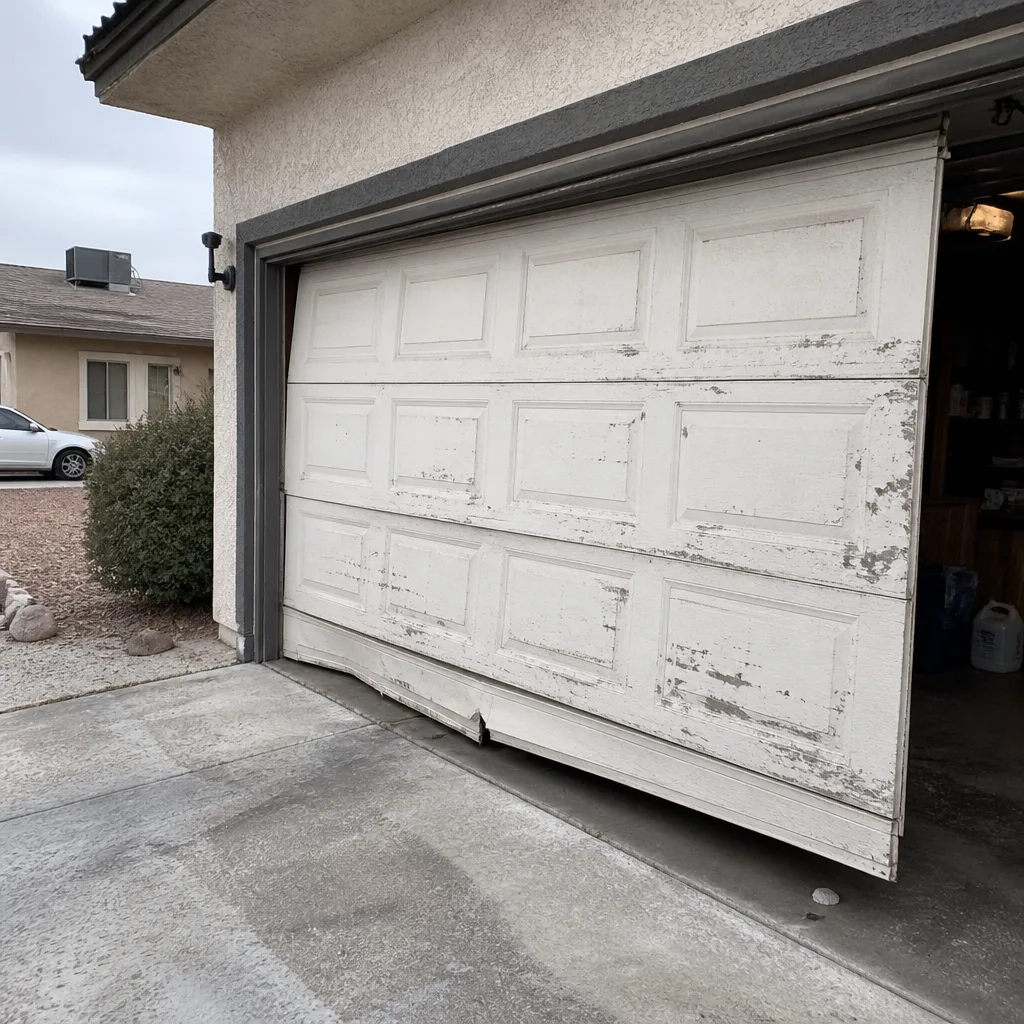 Before
 After
When to Call a Professional
Call a technician if the door has a broken torsion spring, a snapped or frayed lift cable, a bent track, or any of the three stop-conditions above. Call if the motor is dead and you’ve confirmed the outlet has power. Call if a limit-switch adjustment didn’t fix a door that stops short on three consecutive cycles, which points to a logic board. And call if you simply don’t want to climb a ladder above your car in a Whitney garage in August. Servo Garage Doors Whitney offers free estimates and a written price before any work starts, with a documented photo record of what was found and what was done. Call (888) 402-1096 to schedule, or to get a second opinion on any written estimate you already have.
Frequently Asked Questions
Broken torsion springs and misaligned safety sensors account for most calls. A spring break is a mechanical failure with a visible gap at the coil; a sensor misalignment shows as a reversing door with a blinking LED. Either way, the three-question decision tree names which one you have in under five minutes.
No. The torsion spring holds the full door weight in tension, and releasing it without the right tools and technique can cause serious injury. A trained technician with a winding bar and the correct winding count does it safely. The written price for a spring replacement is quoted before any work starts.
Usually not. A door that reverses immediately after closing almost always has a misaligned or dirty safety sensor, not a failed spring. Check that both photo eyes are clean, pointed at each other, and showing a solid LED. If they are, the issue is the logic or wiring, and a technician should look at it.
Component repairs typically run $180 – $340 for a spring or cable job, $150 – $250 for a logic board, and under $50 for a limit-switch adjustment on most residential openers. Prices vary with the operator brand (LiftMaster, Genie, Chamberlain, and others) and the door weight. Servo Garage Doors Whitney quotes a flat, written price and written scope before any work begins, so the number doesn’t move once the technician starts.
Adjust the travel screw a half turn and watch the door. If the door responds, the limit switch is alive and the fix is an adjustment. If nothing changes, the board is likely dead. That five-minute test separates a $40 fix from a $200 one.
Photograph the full door from outside, the torsion shaft and spring coils, both lift cables, both photo eyes with LED status visible, the opener model plate, and the exact point where the door stops. A one-line description of the symptom with the model number saves on-site diagnostic time. Servo Garage Doors Whitney documents findings on every visit and hands the customer the record when the technician leaves.
The Bottom Line
Most garage door problems come down to five or ten named components, and the three-question decision tree (motor running? door moving? travel consistent?) lands you on the right one. The safe-to-fix list is short: sensor misalignment, remote battery, limit-switch adjustment, trolley re-engagement, outlet power. The hands-off list is even shorter and harder: broken torsion spring, frayed lift cable, bent track. Everything else is a named part with a known price range, and the troubleshooting in this guide gets you there before a technician touches the door. For the parts, brands, and Whitney-specific repair options, start with Servo Garage Doors Whitney home, then read the Garage Door Repair in Whitney page for service detail.
When it’s time to bring in a professional, the goal is a written price and a documented record, not a verbal estimate. Servo Garage Doors Whitney quotes a flat price in writing before any work starts, photographs the failed component before quoting a replacement, and delivers a photo record of the job when the technician leaves. That system is the same one that produced 18,000+ garage doors made right since 2015, and it’s what makes it possible to say the 365-Day Done Right Promise out loud. Call (888) 402-1096 for a free estimate.
Related pages: Garage Door Installation in Whitney for replacement and new-door projects, and Garage Door Opener Repair & Installation in Whitney for operator-specific service, board replacement, and smart-opener setup.
Written by the team at Servo Garage Doors Whitney.